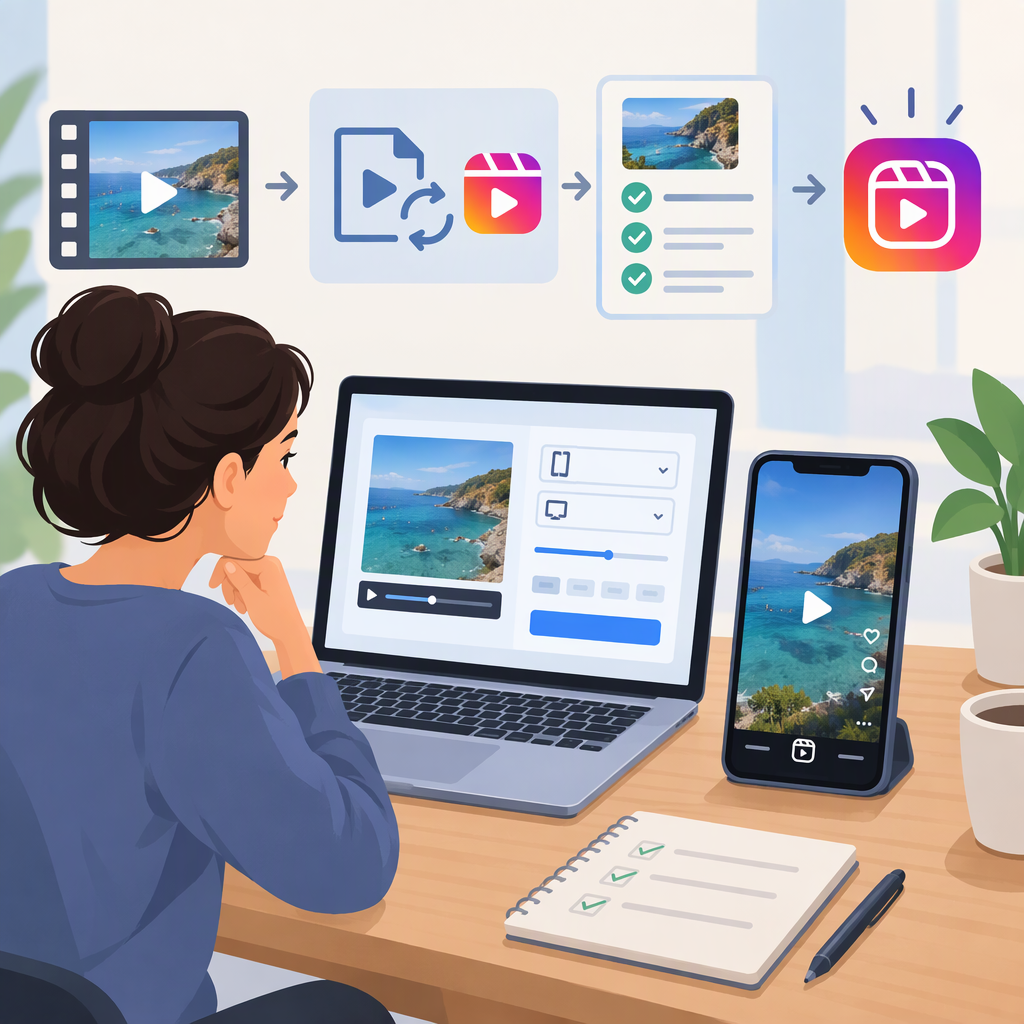
Instagram Reels Video Converter: How to Prepare and Check a Video
An Instagram Reels video converter prepares a video file for upload—for example, by changing its format, dimensions, or orientation. If your video already meets Instagram’s current requirements and displays as intended, you may not need to convert it at all.
This guide covers preparing your own source video for a Reel. Editing changes the content; converting changes how the file is encoded or framed. Downloading or converting a Reel that someone else has published is a different task and isn’t covered here.
What Format Should a Video Meet Before Upload?
Use Instagram’s current Help Center guidance for the upload route you plan to use. Check the required or accepted file format, video encoding, frame dimensions or aspect ratio, frame rate, duration, and file size—but only where Instagram specifies them for that route.
There isn’t a verified, current official organic-upload specification in the research available for this article, so this guide does not present a numeric preset as an Instagram requirement. Third-party guides publish differing limits, which is another reason not to treat an unsourced preset as authoritative. (toolsrift.com)
Before exporting, look up the current Instagram Help Center article about Reels size and aspect ratios, and confirm that the instructions apply to your upload method. Don’t substitute specifications for Reels ads or a scheduling service for requirements for a regular in-app upload; those may apply to different workflows.
A Practical Workflow for Converting Your Own Video
- Keep the original. Make a separate copy to convert so you can return to the source if the export looks wrong.
- Inspect the source. Note its current format, dimensions, orientation, duration, and whether its sound and picture play correctly. Use your editing software or file details to inspect these properties; the exact menu names depend on the software and device.
- Check the applicable requirements. Consult current Instagram guidance for your upload route. If a value or limit is not stated there, don’t assume a third-party recommendation is a platform rule.
- Choose the conversion you actually need. Convert the file type only if necessary. If the video needs reframing, choose a crop or canvas that keeps the important subject visible. Cropping can cut off parts of the image; fitting footage into a different canvas can leave unused space. Preview the result before exporting.
- Export a copy, then inspect it. Play the exported file from beginning to end. Check framing, text, sound, and whether the exported file’s properties match the requirements you checked.
- Upload and review the preview. Check the Reel’s preview before sharing. Conversion can prepare a file, but it cannot guarantee that every upload will be accepted or look identical on every screen.
Example: Suppose your source video is horizontal but the finished Reel should show a person standing near the edge of the frame. A simple center crop could cut that person off. Preview a reframed version before exporting; if the crop loses important content, use a layout that keeps the full image visible instead. This is a framing trade-off, not a guarantee about how Instagram will display or accept the file.
How to Choose a Conversion Method
Compare options against the job you need done, rather than choosing by a “best converter” label:
- Input and output support: Can it open your original file and export in a format accepted for your upload route?
- Framing controls: Can you crop, resize, or fit the image while seeing what will be cut off or left visible?
- Export controls: Can you set the output properties required by current Instagram guidance?
- Preview and file checks: Can you watch the export and inspect its properties before uploading?
- Watermarks and limits: Does the method add a watermark or restrict export length, resolution, or file size? Check the terms for the specific tool and plan.
- Privacy: If the service uploads files to a server, read its current privacy and data-handling information before sending private or sensitive footage.
A desktop editor may suit a workflow that needs detailed framing and export controls; a simpler converter may be enough for a straightforward format change. Neither category is automatically safer, higher quality, or more compatible. Those points depend on the particular tool, its settings, and how you use it.
Quick Pre-Upload Checklist
- I checked the current requirements for my upload route.
- The exported file matches the applicable requirements I could verify.
- The framing keeps the important subject and text visible.
- I watched the export and checked its sound.
- I kept the original file.
- I reviewed the upload preview before sharing.
If an upload fails, re-check the current in-app or Help Center instructions and the exported file’s properties. Don’t assume that changing the file extension alone converts a video; a converter must actually export the file in the needed format.