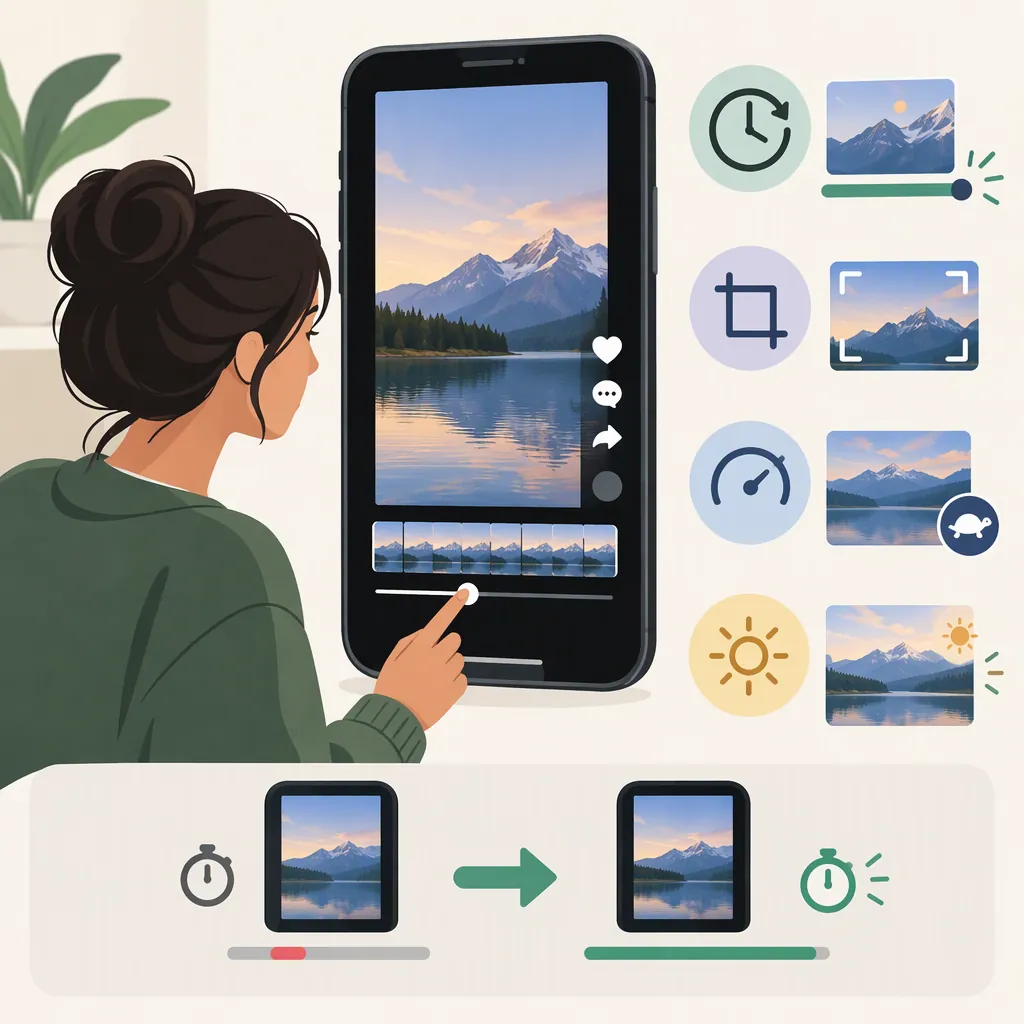
How to Make a Picture Last Longer in a TikTok Video
To make a picture last longer, increase its clip duration in a video timeline. If your TikTok editor offers photo timing controls, select the picture and extend its duration. Otherwise, make a slideshow in a separate video editor, set the photo durations there, and upload the finished video. A supplied guide also describes an Adjust Clips workaround and recording photos with Green Screen, but it was last updated in December 2022; those TikTok steps may not match your current app. [c1]
Adjust Duration Rather than Picture Speed
For a still picture, the useful setting is duration: how long the image stays on screen. Decide how many seconds you want the picture to remain visible, then look for a clip-duration setting or a timeline boundary you can extend. The supplied guide describes both a duration control and dragging a photo scene on an external editor's timeline. [c1]
Treat a swipeable photo post and a timed slideshow video as different editing goals. The methods described here concern making pictures stay on screen within a video; they do not establish how to control a viewer's swiping behavior.
Source limitation: The only supplied reference is a third-party tutorial last updated on December 6, 2022, not current TikTok documentation. Its claims about default photo lengths, button locations, and available controls should not be treated as universal current behavior. [c1]
Check for Photo Timing Controls in TikTok
First, inspect your editing screen for a timeline or clip-adjustment control. If you can select an individual picture and change its duration, increase the time and preview the result.
If those controls are missing, the supplied guide describes this older Adjust Clips workaround: [c1]
- Start a post and select your pictures along with a video clip.
- Open Adjust Clips, if it appears.
- Switch from Sound Sync to Default, if those options are present.
- Delete the temporary video clip from the timeline.
- Select a picture and adjust its length.
- Confirm the edits and preview the slideshow.
These labels and this workflow come from the 2022 tutorial, so do not assume the workaround still works. If the controls do not appear or the photo length cannot be changed, use the external-editor method below instead. [c1]
Set Photo Lengths in a Separate Video Editor
For timing that you can set before uploading, use a video editor with editable photo scenes. The supplied guide demonstrates this approach with a vertical slideshow and individual scene durations. [c1]
- Create a vertical project; the guide uses a 9:16 aspect ratio.
- Import your pictures and place them in the intended order.
- Select the picture you want to hold longer.
- Enter the desired duration, or extend its scene on the timeline.
- Repeat for the remaining pictures and preview the whole sequence.
- Export the slideshow as a video, then upload that video to TikTok. [c1]
Use the timing plan below as an illustrative starting point, not a platform requirement. Check whether each picture remains visible long enough for its details or accompanying text to be understood.
Example Photo Timing Plan
Photo 1 — Opening image: 3 seconds.
Photo 2 — Main image with details: 6 seconds.
Photo 3 — Closing image: 3 seconds.
Total planned duration: 12 seconds before any transition adjustments.
Preview check: Can you comfortably read the text and inspect the main image? If not, extend that photo and preview again.
Consider the Green Screen Recording Method
The supplied guide offers another approach: use TikTok's Green Screen effect to display a picture and record it for the desired amount of time. It describes choosing a photo, holding the record button, releasing it when the desired duration is reached, and repeating with another image. [c1]
This is a recording method rather than direct editing of a photo clip. The guide also warns that a face or other camera-visible content can appear in front of the image. Preview the composition before relying on this approach. As with Adjust Clips, availability and interface details are not verified for the current app. [c1]
Check the Finished Video
Before finishing, preview the complete sequence rather than just the edited picture. Use this checklist to evaluate the timing you intended:
- Does the target picture stay visible for the full planned interval?
- Is any text readable without rushing?
- Do transitions leave enough time to see the image clearly?
- Does the audio still fit the revised sequence?
- If you used a temporary video clip, has it been removed?
If you mean a picture placed over a moving video rather than a slideshow photo, the supplied reference does not document picture-overlay duration controls. Do not assume the slideshow instructions apply to that editing mode.
FAQ
Why Can't I Find Adjust Clips?
The supplied tutorial describes an older workflow in which adding a video alongside photos exposes Adjust Clips. It does not verify the current TikTok interface or explain every reason the control might be absent. If that workflow is unavailable, set photo durations in a separate editor and upload the exported video. [c1]
Should I Slow Down a Picture or Extend Its Duration?
For a still picture, extend its duration so it stays on screen longer. The supplied guide describes setting a photo scene's length directly in an external editor. If the image includes animation or movement, changing speed is a different editing goal from simply holding the still image longer. [c1]
Does Every TikTok Photo Have a Fixed Default Length?
Do not rely on a universal default. The supplied 2022 tutorial reports a 2.5-second duration for photos in its slideshow workflow, but that is a dated third-party description, not confirmation of current behavior across editing modes. Check your own preview and timeline. [c1]