How to Choose a Wireless Stereo Mic for Content Creators
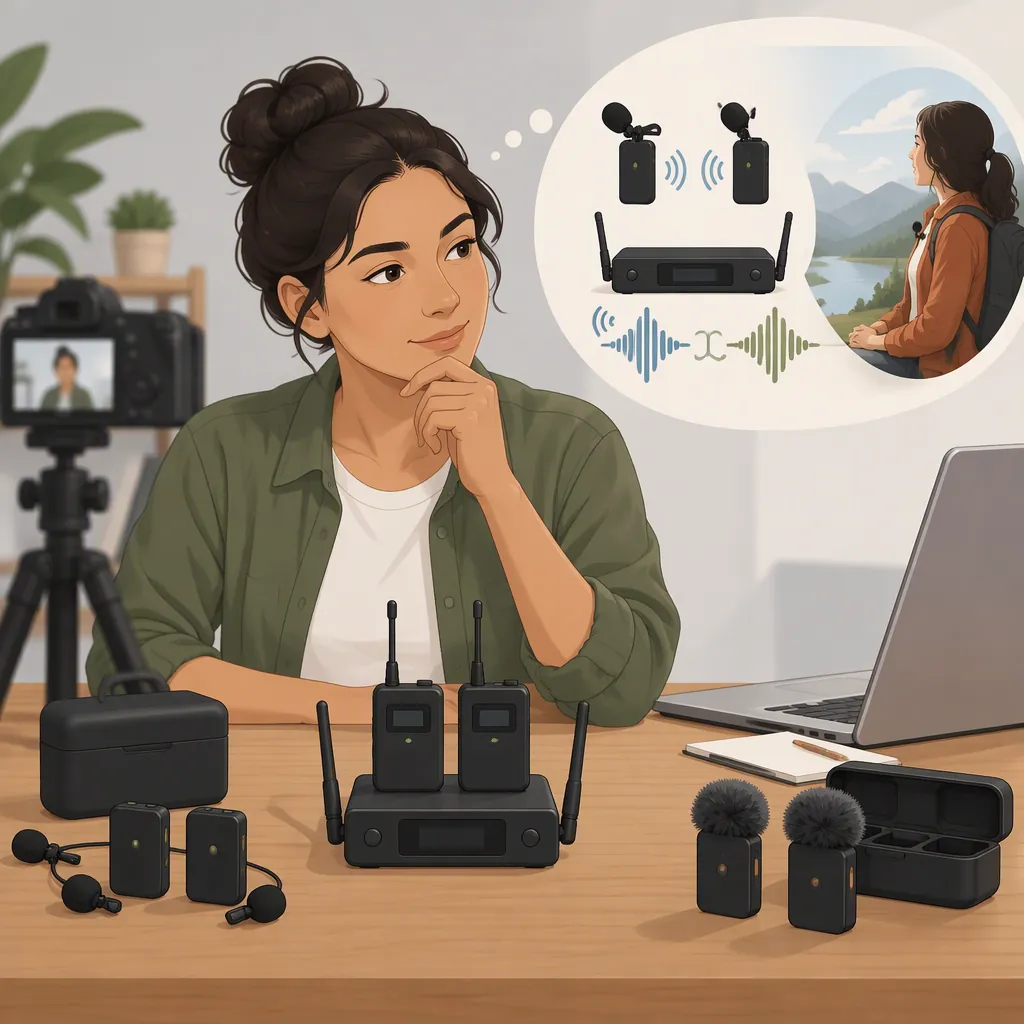
Choose a wireless stereo mic by defining the recording result first: two speakers you can edit separately, or a scene whose left-right sound perspective you want to preserve. Then verify the channel behavior through your receiver, recording app, editor, and final export. Compare device compatibility, microphone placement, battery needs, and transmission range alongside that channel requirement. [source_1]
A useful selection rule is to treat channel handling as a requirement to demonstrate—not a capability to assume from a “stereo,” “dual-channel,” or “dual-transmitter” label.
Define What You Need from Stereo
Before comparing equipment, describe what you need to do with the recording.
| Recording goal | Capability to verify | What to do if the test falls short |
|---|---|---|
| Solo speech | A usable voice recording in your intended device and app | Prioritize placement and recording compatibility rather than a stereo label |
| Two-person interview | Each speaker remains separately adjustable in the editor | Recheck channel settings; do not count the setup as meeting an independent-editing requirement |
| Music or environmental sound | The capture setup and saved recording preserve the intended left-right perspective | Review the capture arrangement and channel routing before accepting it for spatial recording |
| Interviews plus environmental sound | Both workflows work in their intended configurations | Test each configuration separately rather than assuming one mode covers both |
Use Channel Terms Precisely
For your comparison, use these practical distinctions:
- Separate signals: Your acceptance test is whether you can identify and adjust each microphone’s recording independently in the editor.
- Combined output: Check whether both microphone signals are delivered together, rather than as separately adjustable recordings.
- Left-right assignment: Check whether one microphone is assigned to the left channel and another to the right. For an interview, evaluate this as a way to preserve speaker separation—not as proof that the microphones capture the scene’s spatial perspective.
- Sound-scene stereo: Your acceptance test is whether the capture arrangement and recording preserve the left-right relationships you intend to hear.
Write down both the capture goal and the output arrangement. “Two microphones, speaker A on left and speaker B on right” is a more useful requirement than “stereo microphone.”
Evidence scope: The cited guide covers general wireless-microphone selection and mentions dual-channel recording and dual-transmitter systems. It does not establish complete channel routing, sound-scene stereo capture, or exact device-and-app compatibility. The comparison rules and tests here are suggested evaluation methods, not verified product capabilities or measured performance results. [source_1]
Check the Whole Recording Chain
Device compatibility is a selection factor. Some wireless systems include adapters, while others are platform-specific. [source_1]
Document the complete intended setup:
Microphone → transmitter → receiver → connection or adapter → recording device → recording app → editor → export
Do not mark compatibility as confirmed merely because a connector appears to fit. Use these questions to identify what still needs verification:
- Does the exact receiver version support your device and intended connection?
- Does your recording app accept audio from that receiver?
- Which channel modes are available, and which one matches your goal?
- Can you monitor audio with this configuration? If so, what point in the chain are you monitoring?
- Can the editor expose and adjust the recorded channels as intended?
- Does the final export preserve the voice balance or left-right presentation you need?
Keep a short comparison record for each candidate:
| Requirement | Evidence to record |
|---|---|
| Device and app compatibility | Exact device, receiver version, adapter, app, and settings |
| Channel handling | Selected receiver mode and observed channels in the saved file |
| Editing control | Result of adjusting each speaker or channel independently |
| Export behavior | Result of reopening and listening to the exported file |
| Unresolved limitations | Anything not confirmed by documentation or a recorded test |
An unresolved channel requirement should remain marked unverified, even if other parts of the setup work.
Match the Microphone to the Shoot
The guide describes clip-on lavaliers as hands-free options, handheld microphones for interviews and reporting, and shotgun microphones with wireless transmitters for directional recording that requires careful positioning. It also identifies range, battery life, and build quality as comparison factors. [source_1]
Turn those categories into practical requirements:
- Hands-free presentation: Evaluate placement, clothing contact, and visibility on camera.
- Two-person interviews: Decide whether each speaker needs a microphone or whether they will share a handheld microphone.
- Directional recording: Plan who will aim and position the microphone throughout the take.
- Moving shots: Test the actual movement path with the intended receiver and recording device.
- Long sessions: Record the power needs of every required component and plan charging or battery changes.
- Outdoor recording: Include wind protection in the setup and test it under the planned conditions.
Compare documented specifications separately from your test results. Neither a stated range nor a battery-life figure should substitute for checking the intended workflow.
Run a Recorded Workflow Test
The guide recommends a pre-recording sound check, careful microphone placement, consistent handheld distance, and outdoor wind protection. [source_1]
Extend that sound check through editing and export. The following steps are suggested acceptance tests, not reported performance results.
Test Speaker Separation
- Record a spoken label identifying microphone A, then speak into it while microphone B is switched off or muted where supported.
- Repeat with microphone B.
- Record both speakers together.
- Open the saved file in the editor and note where each microphone appears: a separate file, track, channel, or combined recording.
- Attempt to adjust each speaker’s recorded signal independently.
Accept the setup for independent editing only if the editor provides the separate control you need. Do not use left-right playback alone as the acceptance criterion.
If the test does not provide separate control, inspect the receiver mode, recording-app settings, and editor import settings. Repeat the test after each change so you can identify which configuration produces the required result.
Test the Intended Left-Right Perspective
Record identifiable sounds from planned left and right positions, announcing each position during the test. Keep the capture arrangement and orientation documented.
Listen to the saved recording and the final export using a playback setup that allows you to judge left and right separately. Compare what you hear with the positions you recorded. If the result is centered, reversed, or otherwise differs from your goal, review the capture arrangement, routing, and export settings.
Treat this as a check of that configuration—not proof of stereo capability in every recording situation.
Pre-Recording Verification Checklist
- Record the device, app, receiver connection, and channel mode.
- Identify each microphone’s signal in the saved recording.
- Confirm the editing control required for each speaker.
- Test both speakers together.
- Check clothing contact, handling noise, and wind during normal movement.
- Test the planned movement path and microphone placement.
- Compare channel behavior before editing, after import, and after export.
- Reopen the export and check the intended voice balance or left-right presentation.
- Document the power plan and unresolved limitations.
FAQ
Does a Dual-Channel Label Confirm Stereo Capture?
Do not treat the label alone as confirmation. Verify what the channels contain, how they are routed, and whether they meet your recording goal. The cited guide mentions dual-channel systems but does not establish sound-scene stereo capture or complete output routing. [source_1]
For interviews, test separate speaker control. For spatial recording, test the intended left-right perspective.
Can One Wireless Setup Work with Both a Phone and a Camera?
Verify each configuration separately. Some systems include adapters, while others are platform-specific. [source_1] Record the exact receiver version, connection, device, and app used in each test; success with a camera does not serve as verification of the phone configuration.
What Should I Check If Both Speakers Appear Together in the Recording?
First compare the result with your requirement. If you need independent speaker control, inspect the receiver’s channel mode, recording-app settings, and editor import behavior, then repeat the one-microphone-at-a-time test. This is a suggested troubleshooting sequence extending the guide’s recommendation to check audio before recording. [source_1]
Which Wireless Stereo Microphone Is Best for Content Creators?
There is no supported product ranking here. The cited guide provides general criteria—including compatibility, battery life, range, and microphone type—but not a controlled stereo comparison. [source_1]
Choose by demonstrated fit: the required recording outcome, compatible device-and-app configuration, manageable placement and power needs, and a saved-file-to-export test that meets your acceptance criteria.