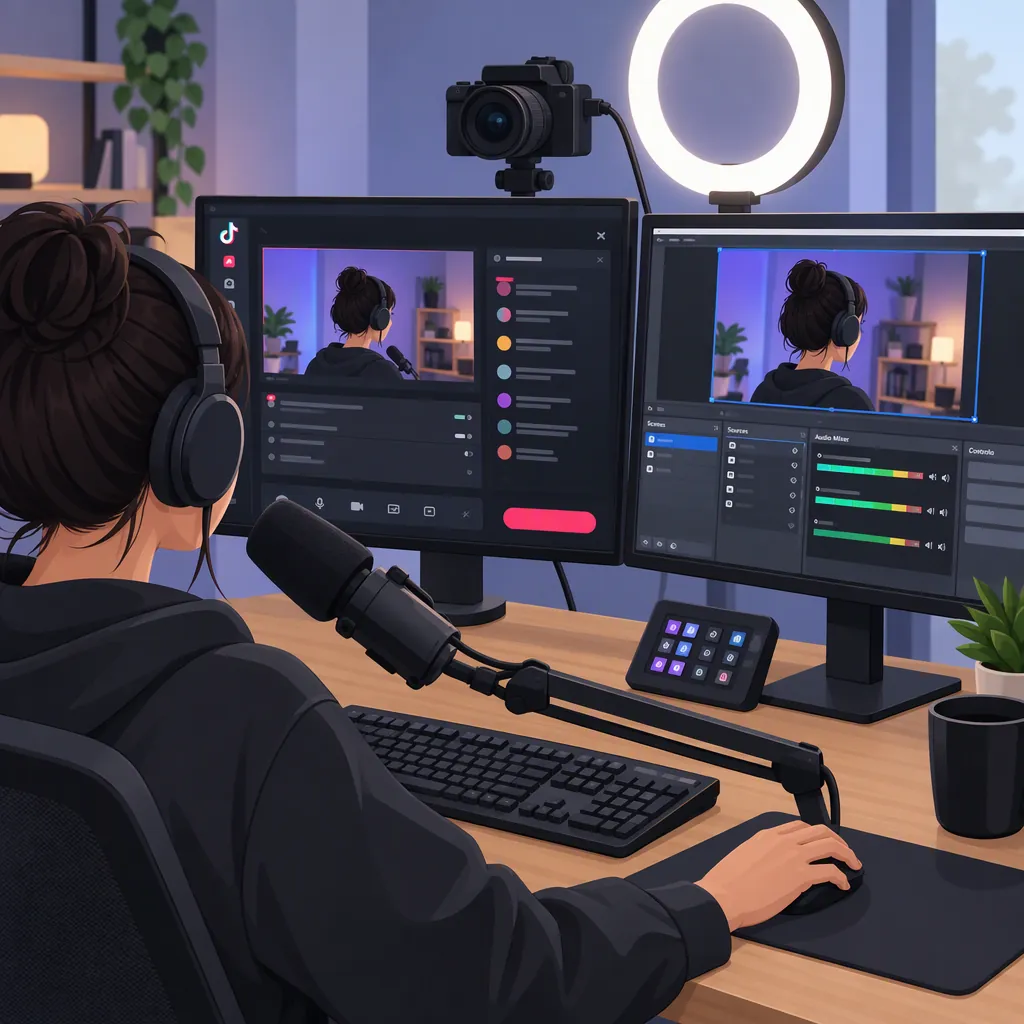
TikTok Live Studio and Obs: Direct Obs Streaming Setup and Workflow Choices
To stream directly from OBS to TikTok, the documented method uses a TikTok server URL and stream key under Settings > Stream > Custom. TikTok LIVE Studio is presented as a separate streaming alternative that does not require a stream key—not as a required companion to OBS. This article primarily covers direct OBS setup; it does not provide a verified LIVE Studio setup or OBS-to-LIVE-Studio connection tutorial. [ref_1]
Before you begin: The supporting source is a third-party tutorial dated January 4, 2023, not current official TikTok documentation. Confirm account access, interface controls, and available settings before following it. The source does not establish current eligibility, regional availability, or LIVE Studio operating-system support. [ref_1]
Choose Your Streaming Workflow
Separate these three goals before configuring your software:
| Workflow | When to consider it | What the tutorial supports |
|---|---|---|
| Direct OBS → TikTok | Your account provides a TikTok server URL and stream key, and you want OBS to send the broadcast. | A direct streaming setup using OBS’s Custom service setting. [ref_1] |
| TikTok LIVE Studio alone | Your account has LIVE Studio access, and you want to use that application as the broadcaster. | It identifies LIVE Studio as TikTok’s streaming application and says it does not need a stream key, but gives no setup walkthrough. [ref_1] |
| OBS → TikTok LIVE Studio | You want an OBS scene to appear inside LIVE Studio. | No documented connection procedure, supported input list, or audio-routing instructions. [ref_1] |
If your account does not expose streaming credentials, do not assume the direct OBS method is available. Likewise, the tutorial’s mention of LIVE Studio does not establish that your account has access to it.
Set up Direct Obs Streaming
Use the following sequence only if TikTok provides a server URL and stream key for your account. The source describes these OBS controls; confirm their labels and availability in your installed version. [ref_1]
1. Create a Dedicated Obs Setup
If you already use OBS for another destination:
- Open Profile and create a TikTok-specific profile.
- Open Scene Collection and create a separate collection for your TikTok scenes.
The tutorial recommends this separation for existing OBS users. [ref_1]
2. Choose Your Video Orientation
Open Settings > Video and decide whether your composition will be portrait or landscape before arranging sources.
The tutorial specifies:
- Portrait: Set both resolution boxes to 1080 × 1920.
- Landscape: Set Output (Scaled) Resolution to 1920 × 1080. [ref_1]
These are tutorial settings, not verified current TikTok requirements. Arrange your content so important text and camera details remain readable in your chosen layout.
3. Add Your Screen and Camera
In the Sources panel, select + and add the sources you need:
- Screen: Choose Display Capture, then select the intended display.
- Camera: Choose Video Capture Device, then select the intended camera.
The tutorial describes resizing and repositioning these sources after adding them. [ref_1] Review the captured display for private messages, account details, or other information you do not intend to broadcast.
4. Configure Computer Audio and Your Microphone
Follow the tutorial’s audio sequence:
- Check whether your computer-audio source already appears in the Audio Mixer. If it does, open its properties and confirm the selected device.
- If it is not present, add an Audio Output Capture source and select the intended device.
- Add an Audio Input Capture source and select your microphone.
- Mute an unwanted webcam microphone if it is active.
- Optionally add a Noise Suppression filter to the intended microphone. [ref_1]
Before broadcasting, check that your microphone responds in the mixer and that unintended sources are muted. Confirm which capture options your OBS version makes available rather than assuming every installation has identical controls.
5. Review Encoding Settings
The tutorial recommends 60 FPS, hardware encoding, and a bitrate of 6,000–10,000 Kbps under its output setup. These values are historical recommendations, not established current platform requirements or settings guaranteed to suit every computer and connection. [ref_1]
Compare them with any current requirements shown in your streaming interface and test your setup. Do not treat the highest suggested bitrate as mandatory.
6. Enter Your TikTok Credentials
In OBS:
- Open Settings > Stream.
- Set the service to Custom.
- Paste the server URL and stream key supplied by TikTok.
- Save the settings. [ref_1]
Keep the stream key out of screenshots, shared notes, and captured windows. The tutorial’s TikTok account-navigation instructions are historical; if credentials are not available in your account, it does not establish a current way to obtain them.
Check the Broadcast Before Starting
Use this preflight checklist:
- Confirm that OBS is the application sending the broadcast.
- Confirm that your account provides the required credentials.
- Check canvas orientation, camera framing, and screen placement.
- Review visible windows for private information.
- Check microphone and computer-audio activity.
- Mute unintended audio sources.
- Locate the start and stop controls in both OBS and TikTok.
The tutorial warns that starting the stream in OBS can make the TikTok broadcast live immediately. Finish your scene and audio checks before selecting Start Streaming. [ref_1]
If You Want to Use Obs Inside TikTok Live Studio
A combined workflow is different from direct OBS streaming. Entering TikTok credentials in OBS configures OBS to send the broadcast; it is not a documented method for transferring an OBS scene into LIVE Studio. [ref_1]
Before attempting a combined setup, verify these items in your installed applications:
- Video input: Does LIVE Studio offer an input that can receive the OBS output you intend to use?
- Audio input: How will the intended microphone and computer audio reach LIVE Studio?
- Broadcast controls: Which application will start and end the actual TikTok session?
Treat picture and sound as separate checks rather than assuming one input selection handles both. The supporting tutorial does not explain OBS virtual-camera integration, audio routing between the applications, or LIVE Studio capture inputs. That evidence gap does not mean a combined workflow is impossible; it means a verified procedure is not available from this source. [ref_1]
End the Direct Obs Session
The tutorial instructs users to end the broadcast in two places:
- Select Stop Streaming in OBS.
- End the LIVE session in TikTok’s live center. [ref_1]
Check both interfaces to confirm the session has ended, using the controls currently available in your account.
FAQ
Do I Need a TikTok Stream Key to Stream from Obs?
For the direct OBS method described here, yes: you need both a TikTok server URL and stream key. Whether your account currently provides them is not established by the tutorial. [ref_1]
Does TikTok Live Studio Require a Stream Key?
The January 2023 tutorial says LIVE Studio does not need a stream key. That statement does not establish current account access requirements. [ref_1]
Can Obs and TikTok Live Studio Work Together?
The source does not document a connection between them. Verify available video and audio inputs before attempting a combined workflow; the direct OBS steps above are not an integration guide. [ref_1]
Are 60 Fps and 10,000 Kbps Required?
No requirement is established by this source. It recommends 60 FPS and a bitrate range of 6,000–10,000 Kbps, but those tutorial recommendations should not be treated as current TikTok requirements. [ref_1]