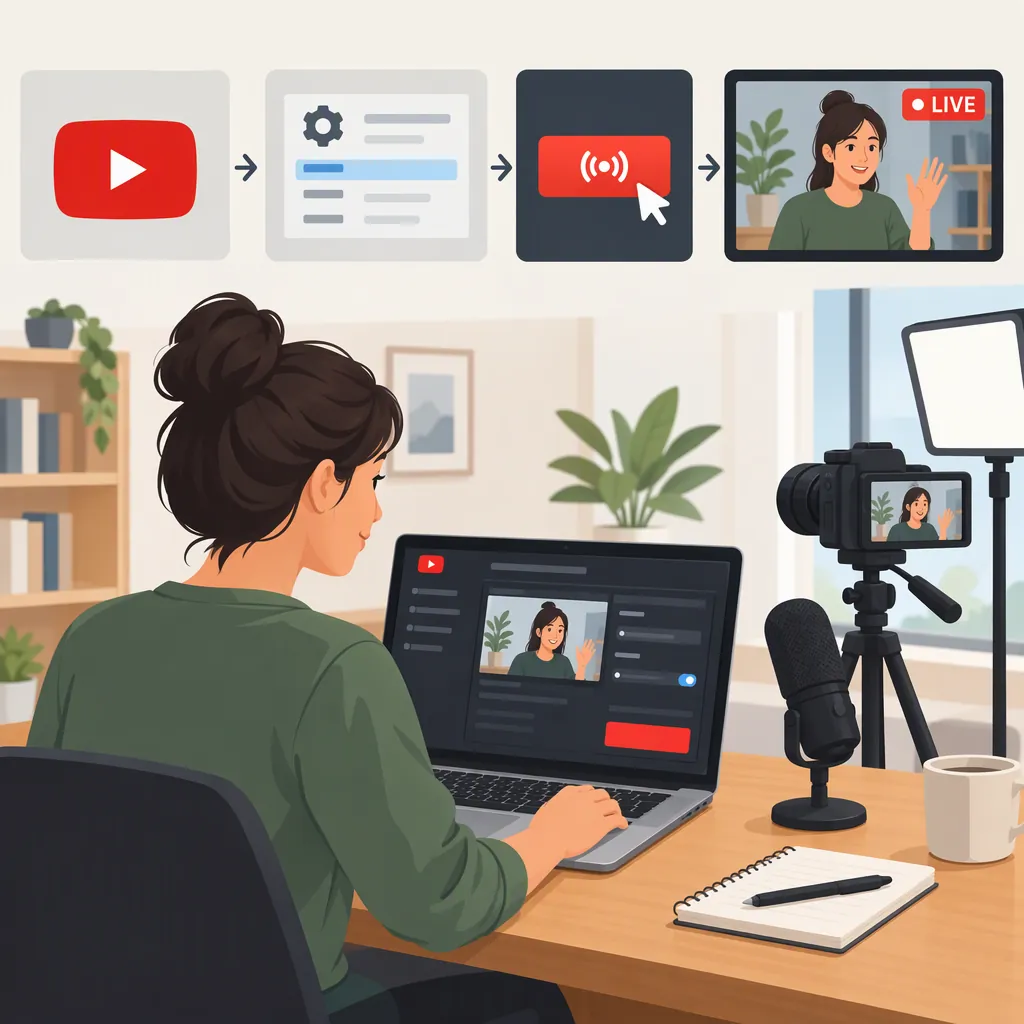
How to Start a Live YouTube Channel
To start a live YouTube channel, create a channel with your Google account, verify it, and enable live streaming. You must be at least 16 and have no live streaming restrictions in the past 90 days. Choose a webcam, mobile device, or encoder, then test your setup before broadcasting. Allow up to 24 hours for first-time activation, and check the additional requirements if you plan to stream from the mobile app. [yt-start] [yt-help] [beginner-guide]
1. Create Your YouTube Channel
Start by creating a channel, then set up its live streaming access.
YouTube’s channel setup instructions are: [yt-start]
- Sign in to YouTube with a Google account.
- Select your profile picture, then Settings.
- Select Create a new channel.
- Choose a profile picture, channel name, and handle.
- Select Create channel.
In YouTube Studio, use Customize channel to add a banner and description. YouTube identifies these as channel setup options. [yt-start] For a live-focused channel, consider describing your subject, intended audience, and planned format. Only publish a broadcast schedule if you expect to maintain it.
2. Verify Your Channel and Check Eligibility
Before planning a public broadcast, confirm the requirements in YouTube’s live streaming guidance: [yt-help]
- You must be at least 16 years old.
- Your channel must be verified.
- You must have had no live streaming restrictions in the past 90 days.
YouTube’s creator guide describes phone-number verification as part of getting started. The supplied beginner guide explains that first-time live activation can take up to 24 hours. Complete verification and activation ahead of your intended broadcast rather than assuming access will be immediate. [yt-live] [beginner-guide]
Mobile streaming has additional requirements. The supplied beginner guide states that streaming through the YouTube mobile app requires at least 50 subscribers, while webcam and encoder streaming do not have a subscriber minimum. YouTube’s official overview confirms that mobile has separate requirements but does not enumerate them in the supplied text; check your channel’s current eligibility before relying on the mobile route. [beginner-guide] [yt-help]
3. Choose Your Streaming Method
YouTube supports several streaming methods. Choose according to what you need to show, not how elaborate the setup looks. [yt-help]
| Method | Suitable Starting Point | What to Consider |
|---|---|---|
| Webcam | A simple presentation or conversation from a computer | YouTube’s webcam method requires a computer with a webcam. |
| Mobile | Phone-based updates or vlogging | Confirm the additional mobile eligibility requirements first. |
| Encoder | Gameplay, overlays, or a production using external equipment | YouTube describes encoders as supporting sources such as microphones, cameras, and preamps. |
These method descriptions come from YouTube’s official overview. [yt-help] For an initial talking-head broadcast from a computer, consider the webcam route. If your content requires gameplay or multiple visual elements, consider an encoder instead. These are workflow recommendations, not requirements to buy equipment.
4. Open Live Control Room and Prepare the Stream
On a computer, open YouTube Studio and select Create → Go live to access Live Control Room. YouTube identifies Live Control Room as the desktop interface for setting up and managing streams. [yt-help] [yt-live]
Follow the prompts for your chosen streaming method. Before starting, review your title, description, audience settings, and visibility. The supplied beginner guide recommends configuring the stream and testing before making it public. [beginner-guide]
Check the format previews too. YouTube’s supplied Help page says Live Control Room streams default to both horizontal and vertical formats, with the vertical version initially using a center crop. It also describes a Dual stream setting that can be turned off before streaming. Review the actual controls available in your account rather than assuming your entire horizontal frame will appear in the vertical version. [yt-help]
For an encoder setup, use the connection settings shown for your stream and the encoder’s own instructions. The provided sources do not establish one bitrate, resolution, or encoder configuration that suits every setup.
5. Test Before Broadcasting Publicly
YouTube recommends testing your setup and network before streaming. Its creator page also describes Live Practice Mode as a private setting for testing before going live. Use it if it is available in your workflow. [yt-live]
Treat the checklist below as a practical rehearsal plan, not a platform requirement. Test the same camera, microphone, content, and connection you intend to use during the broadcast. If something fails, simplify the setup and repeat the test before announcing a start time.
Pre-Broadcast Rehearsal Checklist
- Confirm that live streaming access is enabled.
- Check that the intended camera and microphone are selected.
- Speak at your normal presentation volume and review the audio.
- Inspect the picture, lighting, and any shared content.
- Review horizontal and vertical previews where applicable.
- Remove personal information from the frame and any shared screen.
- Confirm the intended visibility and audience settings.
- Prepare a short outline and decide who will monitor chat.
- Rehearse starting and ending the broadcast.
6. Run and Review Your First Broadcast
Once your test is satisfactory, confirm the intended public visibility and use the start controls for your selected method. Keep the first broadcast focused: introduce the topic, explain what you will cover, and leave space for relevant questions.
YouTube provides live chat, polls, Q&A, and moderation tools. It also allows creators to assign moderators. [yt-live] Consider arranging moderation in advance so you can concentrate on presenting.
All live content must follow YouTube’s Community Guidelines and Terms of Service. An active live streaming restriction cannot be bypassed by streaming from another channel. [yt-help]
After ending the broadcast, review whatever recording and metrics are available. Note any audio problems, confusing transitions, or framing issues, then choose one change to test before the next stream. This review process is a suggested production practice, not a promise of audience growth.
FAQ
Do I Need 1,000 Subscribers to Go Live on YouTube?
The supplied beginner guide says webcam and encoder streaming have no subscriber minimum, while the YouTube mobile app requires at least 50 subscribers. YouTube’s official overview confirms additional mobile requirements without listing the threshold in the supplied text. Check current eligibility for your chosen method; do not treat 1,000 subscribers as a universal live streaming requirement. [beginner-guide] [yt-help]
Why Can’t I Go Live Immediately After Verification?
The supplied beginner guide states that first-time live streaming activation can take up to 24 hours. Verification is also not the only requirement: YouTube requires a minimum age of 16 and no live streaming restrictions in the past 90 days. Review eligibility and activation status before troubleshooting your equipment. [beginner-guide] [yt-help]
Do I Need Encoder Software for My First Stream?
No. YouTube also supports webcam and mobile streaming. Its official guidance describes webcam streaming as a way to broadcast from a computer with a webcam, while encoders support gameplay, overlays, and external equipment. Choose an encoder only if your planned production needs that workflow. [yt-help]