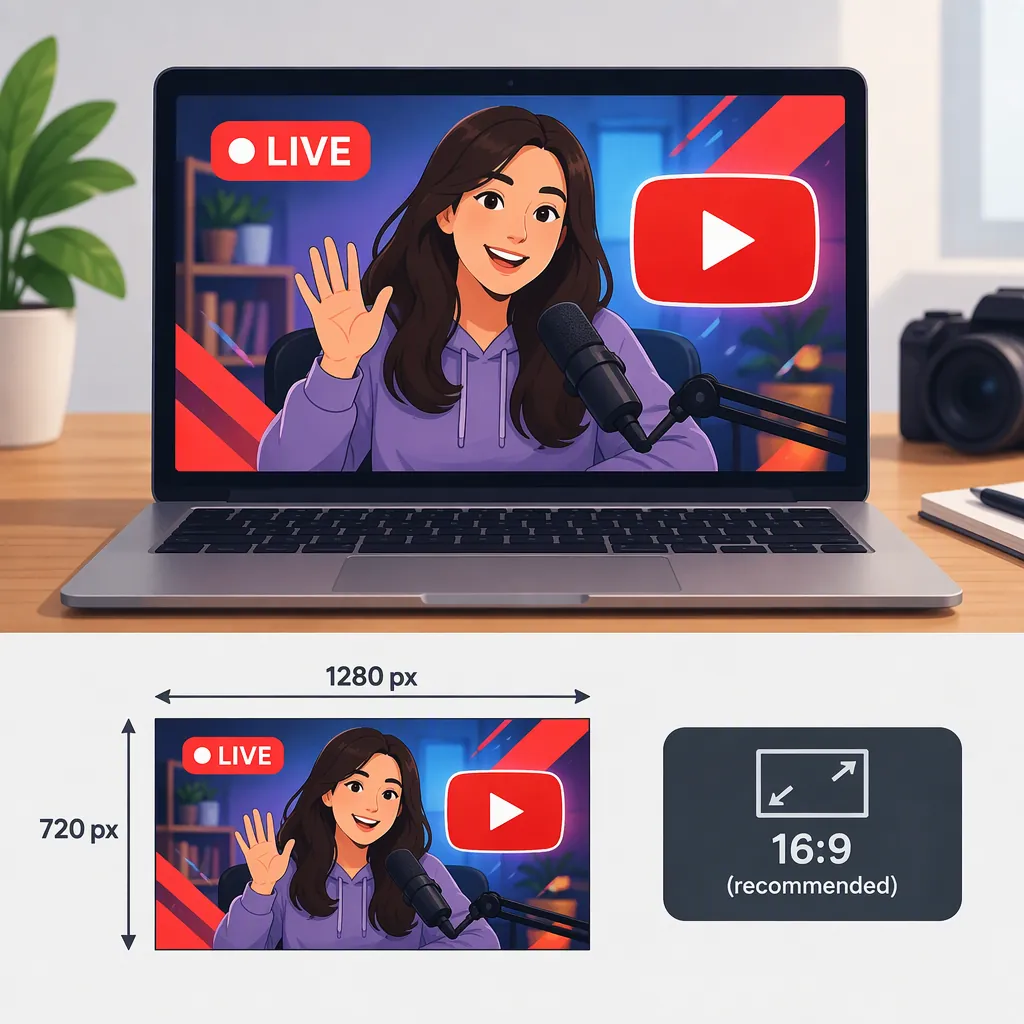
How to Make a YouTube Live Stream Thumbnail: Size and Design
Start your YouTube live stream thumbnail with a suggested 1280 × 720-pixel, 16:9 working canvas, one clear subject, and a short headline. Build the layout, check it at a small preview size, then save an editable master and inspect the exported image. Streamlabs recommends simplifying thumbnails, enlarging key elements, and checking reduced-size readability. [c1]
The canvas size above is a design starting point—not a verified current YouTube upload requirement. Check the technical requirements before preparing your final export.
Choose a Working Canvas and Verify Upload Requirements
For this workflow, create a 1280-pixel-wide by 720-pixel-high landscape canvas. Keep the subject image, background, headline, and optional event label on separate layers so you can revise them later.
Separate your design setup from the platform’s requirements:
| Item | Guidance for this workflow |
|---|---|
| Working dimensions | Suggested 1280 × 720 pixels |
| Working aspect ratio | 16:9 landscape |
| Accepted upload dimensions | Verify before exporting |
| Accepted file formats and file-size limit | Verify before exporting |
| Custom-thumbnail eligibility | Confirm for the intended account |
Technical limitation: the available evidence does not confirm current YouTube live-stream-specific dimensions, formats, file-size limits, eligibility, or upload steps. Before export, consult YouTube’s official Help documentation for custom video thumbnails and any requirements shown in the upload interface. Check that the guidance applies to the live stream you are preparing; general design advice is not a platform specification.
Make the Thumbnail in Six Steps
The following tool-neutral workflow uses a hypothetical session titled “Live Workshop: Photographing Small Products.” Its thumbnail should represent the actual workshop, not an unrelated result.
1. Create the Canvas
Open a new 1280 × 720-pixel document in an image editor that lets you position images and text separately.
For the workshop example, start with an uncluttered background and leave space for a product photo and headline. You do not need to fill every area with an element.
Output: an editable landscape document ready for artwork.
2. Place and Crop the Main Subject
Choose one focal subject: the presenter, an object being demonstrated, or an activity viewers will see. Place it on the canvas and crop away details that do not help explain the session.
For the example, use a photo of the small product and lighting setup that will be demonstrated. Keep the relevant equipment visible without trying to show the entire room.
A face is optional. Streamlabs treats face imagery as a choice to evaluate for the channel, rather than a universal requirement. [c1]
Output: one prominent subject that accurately represents the broadcast.
3. Simplify the Background
Remove, crop, or soften background details that compete with the subject. If the photo remains busy, try a plain background behind the main subject.
Streamlabs recommends focusing on two or three key elements and making them large rather than crowding the thumbnail with details. [c1] For this example, those elements could be the product photo, the headline, and an optional workshop label.
Output: a clear visual hierarchy without unnecessary decoration.
4. Add a Short Headline and Optional Live Label
Write a headline that adds useful information rather than simply repeating the stream title. Streamlabs recommends bold, thick fonts and roughly four or five words of thumbnail text; these are design guidelines, not YouTube text limits. [c1]
For the hypothetical workshop:
- Stream title: “Live Workshop: Photographing Small Products”
- Thumbnail headline: “Product Lighting Setup Walkthrough”
- Optional label: “Live Workshop”
Use that headline only if the session includes the promised walkthrough. Streamlabs advises keeping imagery relevant to the content and avoiding misleading clickbait. [c1]
Keep detailed logistics in the title or description when they would crowd the image. If a date or time is essential to the artwork, include the time zone and recheck it after schedule changes.
Output: a short, accurate headline with only the event details the image needs.
5. Check the Layout at a Small Size
Zoom out until the thumbnail resembles a small browsing card. Streamlabs recommends reduced-size checks because details that appear clear while editing can become difficult to distinguish in a smaller preview. [c1]
Ask:
- Can I identify the main subject immediately?
- Can I read the headline without enlarging the preview?
- Does the optional label compete with the headline?
- Are important details too close to the edges?
If the design fails this check, shorten the text, enlarge the subject, or remove a competing element before adding decoration.
Output: a layout that remains understandable in a small preview.
6. Save the Master and Inspect the Export
Save the layered master before exporting. After checking current upload requirements, export in an accepted format and open the exported file separately.
Inspect the actual file for missing layers, unintended cropping, spelling errors, and readable text. Keeping the master makes it easier to correct event details or create a replay version without rebuilding the design.
Output: an inspected image file plus an editable master.
Review Live Details and Replay Wording
Before publishing, compare the thumbnail with the planned title and session outline. Thumbnail text should add information, not merely repeat the title. [c1]
Also ask: Will this artwork still make sense after the broadcast? Wording such as “Live Now” or a date-specific label may need revision for a replay. This is an editorial recommendation, not a claim that YouTube automatically changes thumbnails.
Pre-Publish Checklist
- The subject and headline match the planned broadcast.
- The headline is readable in a small preview.
- Text adds useful information without unnecessary repetition.
- Dates, times, time zones, and guest names are accurate if included.
- Essential elements have breathing room around the edges.
- The exported image has no unintended cropping or missing layers.
- Current upload requirements and account eligibility have been checked.
- The editable master is saved.
- Time-sensitive wording has a replay plan.
A clearer design does not guarantee more clicks or viewers. Treat these steps as a way to make the thumbnail understandable and accurate, not as a predictable performance formula.
FAQ
What Size Should a YouTube Live Stream Thumbnail Be?
Use 1280 × 720 pixels, with a 16:9 aspect ratio, as the suggested working canvas for this guide. This is not a verified current YouTube upload specification; check accepted dimensions, formats, and file-size limits before exporting.
How Much Text Should the Thumbnail Include?
Use a short headline that remains readable in a small preview. Streamlabs suggests roughly four or five words and bold, thick fonts. That is a design guideline, not a YouTube text limit. [c1]
Should the Thumbnail Say “Live”?
A live-session label is optional editorial wording, not a requirement established here. Include it only when accurate, and review time-sensitive labels when preparing the replay artwork.
Do I Need a Face in the Thumbnail?
No universal design rule requires one. Choose a face when it helps explain the session; otherwise, the demonstrated object or activity may be a better focal subject. Streamlabs recommends evaluating face imagery for the channel rather than assuming it always works better. [c1]
Should the Thumbnail Repeat the Stream Title?
Not necessarily. Streamlabs recommends using thumbnail text to add information instead of simply repeating the title. [c1] For example, “Product Lighting Setup Walkthrough” can complement “Live Workshop: Photographing Small Products” if that walkthrough is actually included.