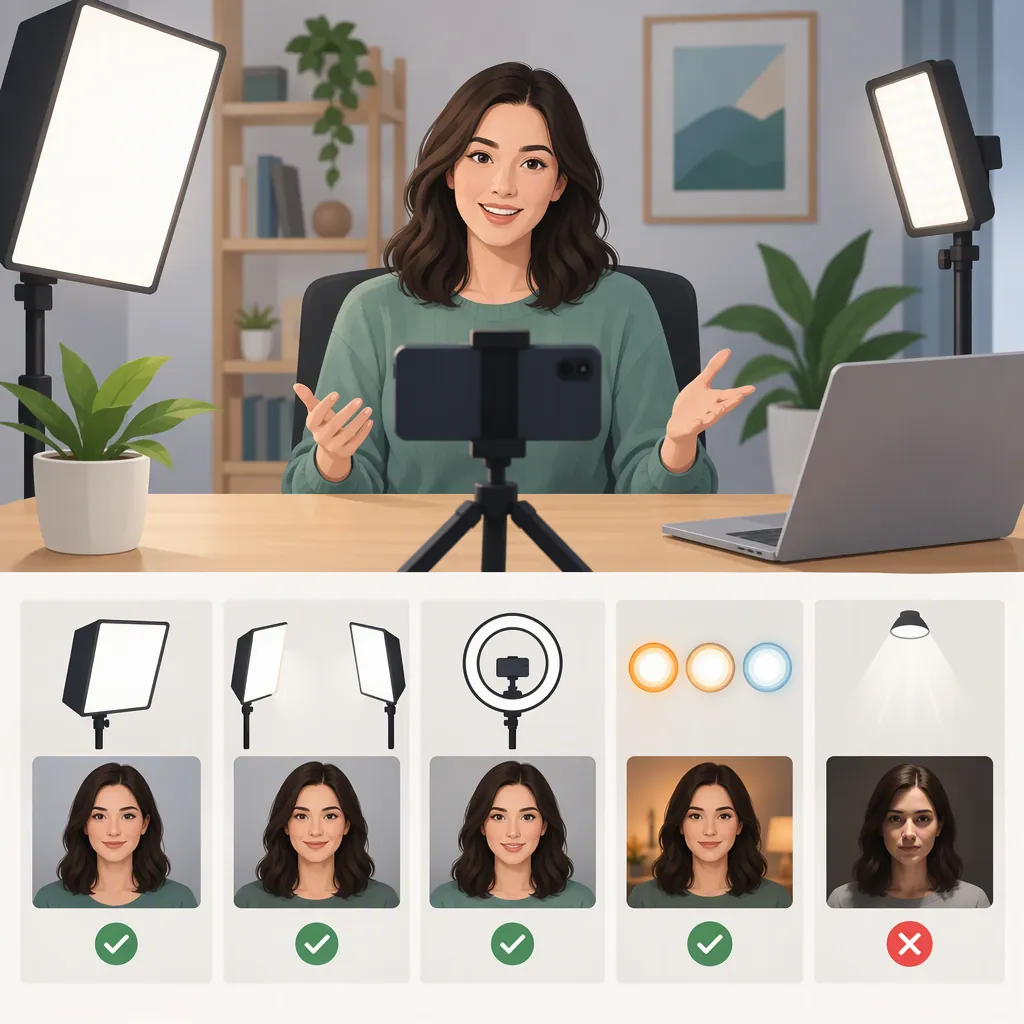
How to Choose Lighting for Live Streaming
Start with one adjustable main light that fits your space and lights your face comfortably. Compare the size of the light source, diffusion, brightness controls, color temperature, and mounting flexibility before adding background lights. Judge the result through your streaming camera: placement and distance matter as much as the light’s category. [c1] [c2]
Start with Your Frame and Available Space
Choose lighting for the shot you actually use: a seated facecam, a desk demonstration, or a wider standing presentation. COLBOR’s guide describes ring lights as facecam options, softboxes as options for larger shots, LED panels as compact alternatives, and RGB lights as background accents. These are starting points, not guarantees of a particular result. [c1]
Before comparing equipment, note where the camera sits, how much room you have beside the desk, and whether a stand or clamp can occupy that space. Mounting flexibility matters because it lets you change the light’s height and angle rather than accepting a position that creates glare or awkward shadows. [c1]
Begin with the main light. Live Streaming Pros explicitly describes a single main light as a valid starting setup; additional lights can come later if the image needs them. [c2]
Lighting Planning Checklist
- Describe the frame: facecam, desk demonstration, or standing shot.
- Mark the camera position and your usual seated or standing position.
- Identify usable space for a stand or compatible clamp.
- Note whether glasses reflect the current light.
- Decide whether the priority is face lighting, wider coverage, or background lighting.
- Test one main light before planning additional lights.
Compare Light Types Without Assuming a Winner
| Light Type | Useful Starting Role | What to Evaluate |
|---|---|---|
| Ring light | Compact face lighting | Facial highlights and reflections in glasses |
| LED panel | Lighting in a space-constrained setup | Emitting area, diffusion, and positioning options |
| Softbox-equipped light | A larger, softened source for face or wider shots | Space required for the light, modifier, and stand |
| RGB accent light | Background color or creative effects | Whether it serves a separate background need |
These roles reflect the categories discussed in the supplied guides, but neither guide establishes a universal best type. [c1] [c2]
The guides also differ in emphasis: COLBOR recommends ring lights among options for soft face lighting, while Live Streaming Pros warns that ring lights and small panels can produce more specular highlights. The practical distinction is the apparent size of the source and its distance from the subject—not simply whether its label says “ring” or “panel.” A larger or closer source generally produces softer light. [c1] [c2]
Prioritize Useful Controls over Extra Effects
Brightness adjustment: Look for control that lets you adapt the light to your setup. Evaluate adjustments in the camera preview, because automatic camera exposure can change how bright the image appears as you change the light. [c1] [c2]
Color temperature: This describes the light’s warm-to-cool appearance, not its brightness. Lower Kelvin values look warmer; higher values look cooler. Adjustable color temperature offers flexibility, but the supplied sources do not establish one setting that is correct for every room and camera. [c1] [c2]
Diffusion and source size: Consider both the light and any modifier. A compact fixture is not automatically a soft source, and a large source placed far away can appear smaller to the subject. [c2]
Mounting: Check whether the available mount lets you place the light where the camera image looks best. Height and tilt adjustments are useful for working around glare and shadows. [c1]
Color rendering: COLBOR recommends a CRI of 95 or higher. Treat that as the manufacturer’s selection guideline, not an independently verified guarantee of accurate colors across your entire camera setup. [c1]
Test Placement Through Your Streaming Camera
Use the following sequence as a practical test plan, rather than a fixed lighting formula. Live Streaming Pros identifies source size, distance, direction, brightness, and color temperature as the main variables to explore. It also notes that frontal lighting can reflect in glasses. [c2]
Change one variable at a time so you can see which adjustment helps. There is no need to force a prescribed angle or brightness setting when the supplied guidance emphasizes adapting the setup to your space. [c2]
One-Light Camera Test
1. Open the preview in the camera or streaming software you will use.
2. Sit or stand in your normal presentation position.
3. Turn on the main light and inspect your face, shadows, and glasses reflections.
4. Adjust the light’s direction and height; compare the preview after each change.
5. Compare a closer position with a farther position, keeping the frame consistent.
6. Adjust brightness while watching whether automatic camera exposure changes the image.
7. Adjust color temperature separately from brightness.
8. Record the position and settings you prefer before testing any background light.
Understand the Evidence Limits
This article draws on a manufacturer’s selection guide and a tutorial from a live-production education business. The supplied material offers practical guidance, but it does not provide a controlled comparison of lighting products. COLBOR’s page includes recommendations for its own products; those recommendations are not used here as evidence that a particular model is best. [c1] [c2]
The most defensible selection approach is therefore to compare the controls and physical setup you need, then evaluate the image through your own camera. Neither source supports a universal product ranking or a single lighting arrangement that works for every streaming space. [c1] [c2]
FAQ
Is One Light Enough for Live Streaming?
Yes, one main light is a valid starting setup. Establish the face lighting first, then consider additional lights only for a specific visual purpose, such as lighting the background. [c2]
Should I Choose a Ring Light or a Softbox?
Compare available space and the image each source produces. A ring light can offer a compact setup, while a larger softbox can produce softer lighting. Source size, distance, and reflections matter more than the category alone. [c1] [c2]
What Color Temperature Should I Use?
There is no universal setting established by the supplied guides. Color temperature controls warm-to-cool appearance, not brightness. Compare settings through your camera and account for its white-balance behavior. [c2]
How Can I Reduce Light Reflections in Glasses?
Test a different light direction and height while watching the camera preview. The supplied tutorial notes that light directly in front of the subject can reflect in glasses; adjustable mounting gives you more positioning options. [c1] [c2]