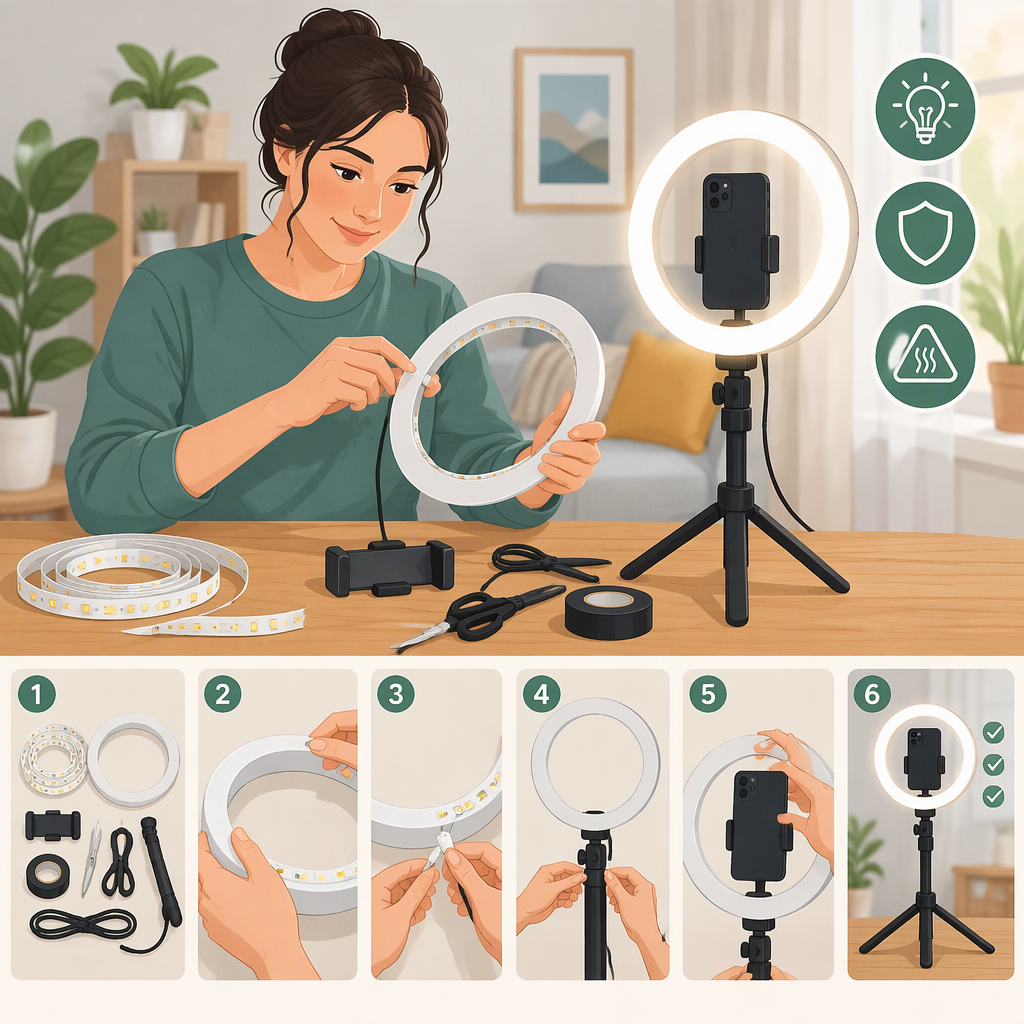
How to Make a TikTok Ring Light at Home: A Safer DIY Guide
Short answer: The cautious way to make a ring-style light at home is to use a complete, ready-to-use USB LED strip—not loose LEDs or modified mains wiring—and attach it to a frame only if the strip’s instructions permit that mounting surface and curve. Because strip requirements vary, there is no universally safe frame or power setup to assume. If your strip’s instructions do not clearly support your planned arrangement, skip the powered DIY build and try a window or an existing lamp instead.
This guide does not test a particular light or certify a homemade fixture as safe. For filming, keep the phone on its own stable support, separate from the light frame.
What You Need—And When to Skip the Build
For a conditional USB-strip version, gather:
- A complete USB LED strip assembly with its supplied controller and documented power requirements. Do not cut, splice, or rewire it.
- A rigid loop-shaped frame and attachment method that the strip’s own instructions allow. The instructions matter: some strip guidance specifies a heat-dissipating mounting surface and warns against covering the strip, so do not assume cardboard, foam, fabric, or another material is suitable. (aspectled.com)
- A separate, stable phone or camera support. Keeping the camera independent avoids relying on a homemade light frame to hold both the light and device.
- No improvised diffuser. A diffuser can change how light falls, but placing material over a strip can conflict with its instructions. Leave it uncovered unless the manufacturer explicitly permits a particular accessory or cover.
If you do not already have a compatible strip and frame, the build may not be simpler than using what you have. Try sitting near a window with soft daylight, or repositioning an existing lamp. Adobe’s portrait-lighting guidance describes cloudy-window light as an option for more even illumination; it is a starting point, not a guarantee for every room or shot. (adobe.com)
Assemble Only If the Strip Instructions Allow It
- Read the strip’s instructions first. Confirm the approved power source, mounting surface, bending limits, and whether the strip must remain uncovered. If the instructions do not address your planned frame or mounting method, do not guess.
- Prepare the frame while the strip is unplugged. Use only a frame and attachment approach compatible with the manufacturer’s directions. Make a broad, smooth loop rather than tightly coiling or sharply folding the strip. One strip-light guide, for example, warns against bends below a 1.5-inch diameter; that figure is specific to that guide, not a universal rule for all strips. (aspectled.com)
- Attach the strip as instructed. Do not puncture it, press hard on its light-emitting surface, cover it with craft materials, or run it while it remains coiled. Follow the manufacturer’s directions if they differ from general craft advice.
- Connect only the supplied or explicitly specified power setup. Do not modify mains wiring or substitute an unapproved power source. Keep the controller and cable from hanging where they could pull the frame over.
- Check the setup before filming. Place the light on a stable support. Check that the frame cannot tip, the strip is not coming loose, the cable is not under tension, and the phone support is secure. If anything shifts, heats unusually, smells odd, flickers, or appears damaged, switch it off and stop using it.
These steps do not establish that any particular homemade arrangement is safe. The strip’s own instructions control whether its frame, power source, and installation are suitable.
Position the Light and Test the Shot
Place the light in front of you, with the phone or camera on its own support and the lens aimed through or just beside the loop. Start with the light near the camera’s direction, then make a short test recording. There is no single distance or brightness setting that fits every room, light, and camera.
Review the clip for visible results:
- Uneven light or unwanted shadows: adjust the light’s position and retake the test. If a window gives a more pleasing result, use it instead.
- Glare or discomfort: dim the light using its built-in control, move it farther away, or stop using it. If you wear glasses, check the recording for reflections.
- Bright areas losing detail: lower the light output if the strip has a control, or move the light farther away; then review another short test.
- The frame or mount entering the shot: reposition the phone and light separately. Do not make the phone mount less stable just to center it in the loop.
A test clip is a practical check, not proof of a particular brightness, image quality, or safety level. Change one thing at a time so you can see what affected the shot. For general portrait lighting, Adobe notes that diffused light can spread illumination and soften shadows, but that does not mean it is safe to cover this particular LED strip with homemade material. Follow the strip maker’s instructions instead. (adobe.com)
When to Choose Another Light
Do not use the DIY setup if its frame is unstable, its strip’s mounting or power requirements are unclear, or it causes uncomfortable glare. A window or an existing lamp may be a simpler alternative; compare them by recording a short test in the actual filming position. Results depend on the light, room, and framing, so do not assume the DIY version will be cheaper, brighter, softer, or better.
Bottom line: Use a complete USB strip only when its own instructions support the frame, mounting, and power arrangement you plan to use. Otherwise, skip the powered build and use an existing light source you can position safely.