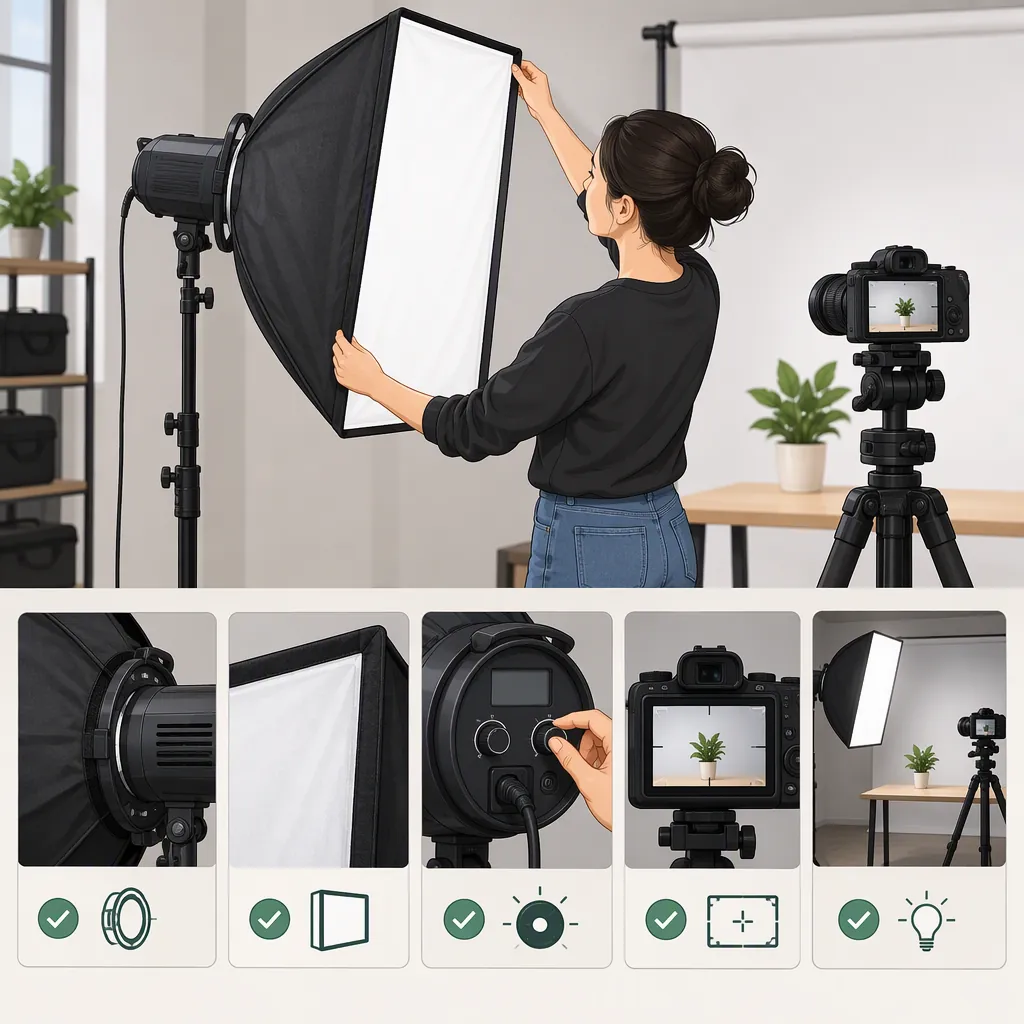
Choosing a Neewer 660 Softbox for Filming
Choose a NEEWER 660 softbox by confirming the exact light model and documented modifier compatibility first, then checking whether the installed setup meets your shot’s lighting, exposure, and framing requirements. The number “660” alone is not enough to establish fit.
Evidence boundary: NEEWER’s bi-color lights collection lists the NL660 Bi-Color LED Video Light and the 2 Pack NL660 Bi-Color 660 LED Video Light and Stand Kit. It does not establish a specific softbox’s compatibility, attachment procedure, complete kit contents, or softbox-specific performance. Its collection-level mount filters should not be treated as NL660 specifications. This guide therefore provides a selection and testing process, not a verified softbox recommendation. [ref_1]
Identify the Exact Light and Candidate Softbox
Record the model designation from the light’s label, then cross-check it against the light’s documentation. If you are evaluating a kit, use its contents list rather than its name to identify included accessories.
Keep the light and modifier identities separate. A candidate listing that mentions “660” or shows a similar-looking panel still needs documentation connecting that modifier to your exact light model.
Model Identification Record
- Exact model on the light label: ______
- Light manual or documentation title: ______
- Kit designation, if applicable: ______
- Documented included accessories: ______
- Candidate softbox model: ______
- Compatibility document and relevant entry: ______
- Required adapters or attachment components: ______
- Compatibility status: confirmed / unresolved
Verify Compatibility Before Installation
Use the following order to evaluate a candidate. These are documents to seek, not information confirmed by the collection page.
- Check the softbox’s public compatibility list. Look for the exact light model, not just a number or product-family name.
- Read the modifier’s installation instructions. Identify the attachment method and any restrictions.
- Check required components. Distinguish what is supplied from adapters or other parts required separately.
- Cross-check the light’s documentation. Review any relevant attachment, ventilation, orientation, and support requirements.
- Resolve ambiguity before proceeding. If model names are abbreviated, instructions conflict, or a required component is unidentified, keep compatibility marked unresolved.
Before treating fit as confirmed, answer these questions:
| Check | What to establish |
|---|---|
| Model match | Does the compatibility documentation explicitly identify your light? |
| Attachment | Is there a documented installation method for this combination? |
| Components | Are all required attachment parts identified and available? |
| Access and ventilation | Can installation follow the light’s documented requirements without obstructing necessary access? |
| Orientation and support | Can the intended light position and stand arrangement follow the applicable instructions? |
Do not replace missing documentation with assumptions about dimensions, mounts, or visual similarity. The available collection page does not resolve these compatibility questions. [ref_1]
Define What the Filming Setup Must Achieve
Before testing, write down your shot requirements. This makes “suitable” a decision about your production rather than an assumed property of the softbox.
Consider:
- Framing: Can the light and modifier remain outside the intended frame?
- Subject rendering: Are shadow edges and facial highlights appropriate for the look you want?
- Glasses and reflective objects: Do reflections obscure details that must remain visible?
- Background: Is the amount of light reaching the background acceptable?
- Exposure: Can you achieve the intended exposure within the camera settings you are willing to use?
- Working space: Does the documented installation fit the available space and intended light position?
For example, if keeping a wider composition is essential, record that requirement before testing rather than accepting tighter framing merely to hide the modifier.
Run a Controlled Filming Comparison
Only proceed once compatibility and installation requirements are resolved. Install and support the modifier according to the applicable instructions.
First Round: Compare Without Changing Settings
Record a short baseline clip without the modifier and a second clip with it installed. For this first comparison, keep these conditions unchanged:
- Camera position and framing
- Subject position
- Light position, direction, and output settings
- Light color setting, where adjustable
- Ambient lighting
- Camera exposure and white balance
Use fixed exposure and white balance rather than automatic settings for this comparison. Record any unavoidable change in position or setup; do not treat a changed arrangement as a like-for-like comparison.
Review both clips for shadow edges, facial highlights, background spill, reflections, exposure, and frame clearance. This is a proposed evaluation method, not a report of testing or a prediction of NL660 softbox performance. The available source supplies no softbox-specific measurements or comparison footage. [ref_1]
Second Round: Test a Practical Configuration
If the first comparison reveals a problem, make deliberate adjustments to create a usable shot. You might change the light angle, position, or output, or adjust camera exposure within your production’s limits.
Record this as a separate practical-configuration test. It answers “Can this setup meet my needs?” rather than “What changed when only the modifier was added?”
Shot Comparison Log
| Record | Notes |
|---|---|
| Shot requirements and framing | ______ |
| Camera position, exposure, and white balance | ______ |
| Subject position | ______ |
| Light position, direction, output, and color setting | ______ |
| Ambient lighting | ______ |
| Baseline clip filename | ______ |
| Modifier comparison clip filename | ______ |
| Unavoidable changes between clips | ______ |
| Shadow and highlight observations | ______ |
| Background spill and reflections | ______ |
| Exposure and frame clearance | ______ |
| Second-round adjustments and clip filename | ______ |
| Requirements still unmet | ______ |
| Result | suitable / needs adjustment / unresolved / unsuitable for this shot |
Turn Observations into a Selection Decision
Keep documented compatibility separate from shot suitability. A modifier can pass the fit check yet fail to meet your filming requirements.
Use the table below to decide what to investigate next. These are troubleshooting steps, not promises that an adjustment will solve the problem.
| Observation | Next step | Decision criterion |
|---|---|---|
| Light or modifier appears in frame | Check available space, light position, and camera framing in a separate practical test. | Accept only if you can preserve the required composition and documented installation conditions. |
| Glasses reflections obscure the eyes | Adjust the light’s angle or position and record another clip. | Judge whether the eyes remain visible in the subject’s expected positions. |
| Shadows or facial highlights do not suit the intended look | Try a different light position or direction, then compare again. | Use the desired appearance of the shot as the standard; do not assume the modifier guarantees it. |
| Background spill is distracting | Reassess light direction and subject/background placement within the available space. | Check whether the background meets your visual requirements without compromising the subject. |
| Exposure is inadequate at acceptable camera settings | Test permitted light-output or position adjustments separately. | If the intended exposure still cannot be achieved within your limits, reevaluate the lighting arrangement. |
| Installation obstructs required access or conflicts with instructions | Recheck the model match, attachment method, and required components. | Do not proceed with that arrangement unless the conflict is resolved through applicable documentation. |
Assign the final result consistently:
- Suitable: Compatibility is documented, installation follows instructions, and the practical test meets your shot requirements.
- Needs adjustment: Compatibility is documented, but one or more shot requirements remain unmet and further testing is needed.
- Unresolved: Compatibility, installation requirements, or essential test results remain unknown.
- Unsuitable for this shot: The tested configuration does not meet a required condition within your available space and acceptable settings.
The collection page alone is insufficient to name a specific compatible softbox or estimate its output. A defensible selection needs both documented fit and an acceptable result in your intended shot. [ref_1]
FAQ
Which Softbox Fits a Neewer 660?
The available NEEWER collection page does not identify a compatible softbox. Match the exact model on your light to the candidate modifier’s compatibility list and installation instructions; the NL660 listings alone do not establish fit. [ref_1]
Does the Nl660 Two-Light Kit Include Softboxes?
The collection lists an NL660 two-light light-and-stand kit, but its listing text does not establish that softboxes are included. Check the exact kit’s documented contents rather than treating its name as a complete accessories list. [ref_1]
How Bright Will the Light Be with a Softbox?
The available reference contains no softbox-specific output measurement, so it cannot support a verified brightness estimate. After documented installation, compare clips at fixed settings, then run a separate practical test to determine whether your intended exposure is achievable. [ref_1]
What Should I Do If Compatibility Documents Disagree?
Keep the candidate marked unresolved. Recheck the exact light and modifier model designations, document versions, attachment instructions, and required components. Do not use the collection page to settle the conflict: it does not provide item-level softbox compatibility or installation details. [ref_1]
Sources
- [ref_1] Bi-Color LED Lights – NEEWER