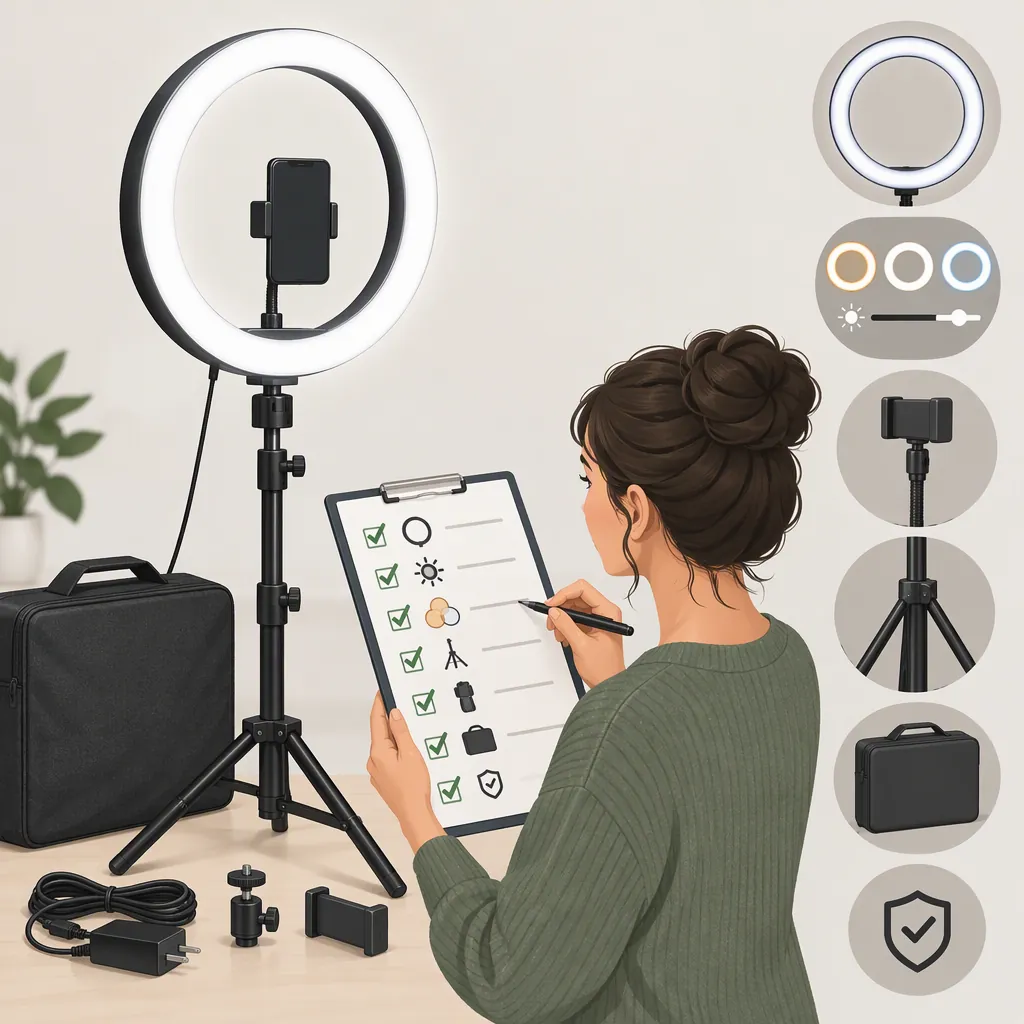
How to Choose a Yesker 14-Inch Ring Light: Listing and Setup Checks
To evaluate a Yesker 14-inch ring light, first confirm the exact model and size variant, then compare its documented dimensions, power requirements, mounting, and kit contents with your filming setup. Rule out confirmed mismatches; leave missing specifications unresolved rather than assuming compatibility.
Evidence limit: The Walmart Yesker category-page excerpt reviewed here lists 10-inch and 18-inch ring lights, not a 14-inch model. It therefore cannot confirm a 14-inch model’s specifications or accessories. This does not establish that no such model exists elsewhere. [source_1]
Verify the Exact Model First
For a listing described as a Yesker 14-inch ring light, check that these details agree:
- Listing title: Does it identify the size you intend to compare?
- Selected variant: Is the selected option actually 14-inch, rather than another size shown on the same page?
- Model identifier: Is there a model number or other identifier tying the specifications to that option?
- Dimensions: Does the listing explain what “14-inch” measures—for example, the outside diameter or the opening?
- Included parts: Is the parts list specific to the selected variant?
If the title, selected option, and specification table conflict, keep the model identity unresolved. Do not borrow specifications from another size to complete the listing.
Check Dimensions, Power, and Controls
Use these checks to decide whether a documented specification fits your setup—not merely to collect numbers.
| Check | How to assess fit | What to do with a mismatch or missing detail |
|---|---|---|
| Light dimensions | Compare the stated dimensions with the space available around your planned camera or phone position. Confirm what the advertised diameter measures. | Rule out an option that will not fit. If the measurement is unclear, seek clarification before comparing sizes. |
| Power input and connector | Identify the power source available at your filming location, then compare it with the light’s stated input requirements and connector. | Do not assume a connector alone establishes compatibility. If the required input or power supply is unspecified, leave compatibility unconfirmed. |
| Cable and power supply | Compare the listed cable length with the intended cable route. Check whether the required supply is included or must be obtained separately. | Rule out a kit if you cannot provide its required power arrangement. Treat an unspecified cable length or supply as an unresolved setup detail. |
| Brightness and color controls | Decide which adjustments your filming setup requires, then check whether the exact listing documents them. | Do not infer adjustment ranges from photographs or another model. Missing control specifications prevent a confident comparison. |
| Mounting connection and load limits | Compare the documented mount with your intended equipment connection, and any published load limit with the equipment it must support. | Rule out a confirmed incompatibility or exceeded limit. Do not assume compatibility when the relevant specification is absent. |
| Phone holder | Compare the holder’s stated fit range with your phone’s dimensions while its case is attached. Check support for your intended orientation. | Rule out a holder whose documented range does not fit. If the range or orientation is unspecified, confirm it before relying on the holder. |
These are general selection checks, not confirmed features of a Yesker 14-inch product.
Match the Kit to Your Filming Setup
Measure the Intended Position Before Comparing Stands
Set your camera or phone at the height and framing you plan to use. Measure the intended light or mounting-point height from the surface on which the stand will rest: the desktop for a desk stand, or the floor for a floor stand.
Compare that measurement with the stand’s documented adjustment range. Check what the manufacturer means by “stand height”; it may not describe the height of the light’s center. If the measurement reference is unclear, do not treat the range as proof that the light will reach your planned position.
- Confirmed mismatch: Your required position falls outside the documented usable range.
- Needs confirmation: The listing gives a height range without explaining where it is measured.
- Potential fit: The documented range covers your planned position, subject to the mounting and placement checks below.
Compare the Assembled Footprint with Available Space
Measure the usable desk or floor area where the stand will sit. Compare it with the stand’s documented base or fully opened footprint—not just its folded dimensions.
Check that the planned placement leaves room for your equipment and cable route. If the opened footprint exceeds the available area, exclude that stand from the comparison. If no assembled dimensions are provided, space compatibility remains unknown.
Check the Device and Mounting Arrangement
For a phone setup, measure the phone with its case attached and compare those measurements with the holder’s specified fit range. Confirm that the holder supports the orientation you intend to use.
For a separate camera, check its mounting requirements and the intended support arrangement. Do not assume that a phone holder can support a camera, or that a stand supplied with the light includes a suitable camera mount.
Evaluate Demonstrations Cautiously
If a demonstration is available, compare its conditions with your intended use:
- Is the camera framing similar to yours?
- Is the light positioned where you expect to place it?
- Are reflections in glasses visible?
- Can you assess facial illumination and access to controls?
A demonstration can help you identify questions to investigate, but it does not guarantee the same result in a different room or setup.
Use a Listing Verification Worksheet
Complete this worksheet for each exact listing. Record the listing’s wording where possible, and write “Not specified” rather than filling gaps from another model.
| Field | Listing detail | Your setup requirement | Result |
|---|---|---|---|
| Model identifier and selected size | Exact model and size you intend to evaluate | ||
| Meaning of advertised diameter | Measurement needed for your space comparison | ||
| Light dimensions | Available space around the planned position | ||
| Stand height range and measurement reference | Planned light or mounting-point height | ||
| Opened stand footprint | Usable desktop or floor area | ||
| Required power input and connector | Available compatible power source | ||
| Included supply and cable length | Required supply and cable route | ||
| Brightness and color controls | Adjustments needed for your setup | ||
| Mounting connection and load limit | Equipment connection and supported load | ||
| Holder fit range and orientation | Phone-with-case dimensions and orientation | ||
| Included accessories | Parts needed for the planned setup |
Use “Fits,” “Does not fit,” or “Needs confirmation” in the result column. “Fits” means the documented detail matches your requirement; it is not a performance rating.
Compare Only Confirmed Details
Compare listings using the same worksheet fields. Keep each specification attached to its exact model and variant. The Walmart excerpt’s 10-inch and 18-inch product titles describe different accessories and controls; those descriptions cannot be combined into a hypothetical 14-inch kit. [source_1]
Make the selection decision in this order:
- Exclude confirmed mismatches. Examples include an incompatible holder range, an unsuitable stand height, insufficient placement space, or a power requirement you cannot meet.
- Separate unresolved options. Missing model identity, power requirements, mounting details, or essential dimensions prevent a confident fit decision.
- Compare documented fits. Among options that meet your requirements, compare controls and included parts without treating unlisted features as present.
- Keep performance conclusions separate. A specification match does not establish illumination quality or results in your room.
The Walmart excerpt does not provide a supported basis for rating a Yesker 14-inch ring light’s performance or recommending it over another model. [source_1]
FAQ
Does the Walmart Yesker Category-Page Excerpt Confirm a 14-Inch Ring Light?
No. The excerpt does not identify a 14-inch model, but it is not evidence that one does not exist elsewhere. [source_1]
Does a Yesker 14-Inch Ring Light Include a Stand and Phone Holder?
That is unconfirmed by the Walmart excerpt. Check the included-parts list for the exact model and selected variant before relying on either accessory. [source_1]
How Do I Know Whether the Stand Height Will Work?
Measure the intended light or mounting-point height from the surface supporting the stand. Compare it with the documented adjustment range, using the same measurement reference. If the listing does not explain how height is measured, treat the fit as unresolved.
Is the Advertised 14-Inch Size Enough to Choose a Ring Light?
No. Use size as one comparison field. Also verify power, controls, stand placement, mounting, holder fit, and included parts against your setup. An advertised diameter alone does not confirm those requirements.
What Should I Do When an Important Specification Is Missing?
Mark it “Not specified” and identify what must be confirmed. If the missing detail determines whether the light can fit, mount, or receive compatible power in your setup, leave the option unresolved rather than assuming it will work.