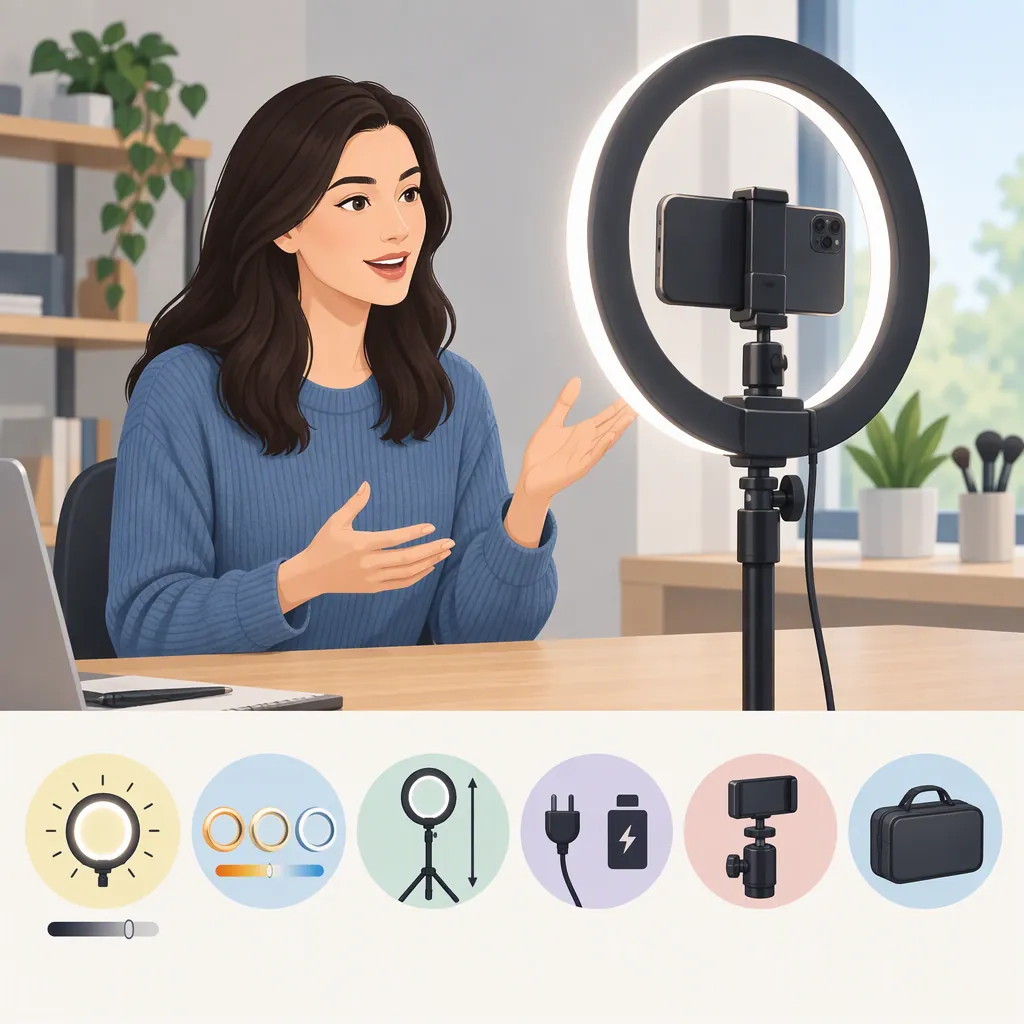
How to Choose the Best Ring Light for Video Shooting
Choose a ring light that fits your framing, mounting arrangement, power access, and desired appearance on camera. Before deciding, check recorded footage at your intended distance and camera settings. The provided source is a retail collection page, not an independent comparison, so it does not establish a best model for video shooting. [ring_source]
Start with Your Shooting Setup
Treat “best” as a match to your recording needs rather than a universal ranking. Write down what you will film before comparing specifications.
- Framing: Will you record a close-up, a seated presentation, or a wider standing shot?
- Camera: Will you use a phone, webcam, or a separate camera? Note its mounting requirements and whether you need access to the screen while recording.
- Space: Measure the available floor or desk area, including room for the stand, cables, and your movement.
- Location: Decide whether the light will remain installed or travel between shoots.
- Power: Identify available outlets and whether battery operation is a requirement.
- Appearance: Decide what you want the face, glasses, background, and reflective objects to look like in the finished footage.
Use these notes as pass-or-fail requirements. A light that cannot fit your setup should not remain on the shortlist just because its listing emphasizes brightness or size.
Shooting Requirements Worksheet
Complete before comparing lights:
- Recording device and mount needed: ______
- Intended framing: ______
- Subject-to-light distance: ______
- Available desk or floor space: ______
- Outlet access or battery requirement: ______
- Typical recording duration: ______
- Glasses or reflective objects in frame: ______
- Maximum total budget, including required accessories: ______
Compare Features That You Can Verify
For each candidate, distinguish a documented specification from a promotional description. Mark missing information as unknown rather than filling it in by assumption.
| Check | What to Verify |
|---|---|
| Physical fit | Outer dimensions, stand footprint, height range, and clearance for your camera. |
| Brightness adjustment | Available controls and whether you can adjust the light comfortably from your recording position. |
| Color adjustment | Whether adjustment is available and whether its stated range meets your planned setup. |
| Mounting | Camera or phone compatibility, supported load, tilt adjustment, and included adapters. |
| Power | Required power supply, included cables, and documented battery options if needed. |
| Transport | Packed dimensions, weight, and whether a carrying case is included. |
| Package contents | Exactly which stand, holder, adapter, and power accessories are included. |
Do not use ring diameter alone as the deciding criterion. Require the overall setup to meet your space, framing, and mounting needs. Likewise, treat claims about color quality, flicker, or battery runtime as unverified unless supporting documentation or a relevant test is available.
Judge the Light in Recorded Footage
If a demonstration or hands-on evaluation is available, assess the light with a repeatable recording checklist. This is a proposed evaluation method, not a report of tested results.
- Recreate your framing. Use the recording device, subject position, and light distance you expect to use during a shoot.
- Keep comparisons consistent. Use the same exposure and white-balance settings where your device allows manual control. Note any automatic settings you cannot disable.
- Try the controls. Record at several brightness settings and, if available, different color settings.
- Inspect the subject. Check skin appearance, bright areas, shadows, and whether the result matches your intended style.
- Inspect reflections. Look at glasses, jewelry, screens, and shiny props. Try changes in light position before accepting the setup.
- Check motion. Record a short clip with normal movement, then inspect playback for visible banding or flicker at your intended frame rate and shutter setting.
- Check practical use. Confirm access to the camera controls, cable routing, and stand placement. Follow the equipment's setup and load instructions.
If you only have seller demonstrations, note which conditions differ from your own. Do not treat footage recorded with unspecified settings as proof that your setup will produce the same result.
Candidate Evaluation Log
Candidate: ______
Evidence reviewed or test performed: ______
Camera, frame rate, and shutter setting: ______
Light distance and brightness setting: ______
Framing and mounting requirements met: yes / no / unknown
Appearance acceptable in recorded footage: yes / no / unknown
Reflections acceptable: yes / no / unknown
Visible flicker or banding observed: yes / no / not tested
Power requirement met: yes / no / unknown
Required accessories confirmed: yes / no / unknown
Unresolved questions: ______
Make a Decision Within the Evidence Limits
The supplied reference is Lume Cube's ring-light collection page. It presents retail listings and promotional material; the supplied text does not provide an independent, controlled comparison of ring lights for video shooting. It therefore supports identifying the source's scope, not declaring a winning model. [ring_source]
Build your shortlist around confirmed requirements. Separate each candidate's documented features, relevant recorded demonstrations, and unanswered questions. If a critical requirement remains unknown—such as mounting compatibility or behavior at your recording settings—leave the conclusion open.
A defensible final choice is the candidate that meets your required setup conditions and gives acceptable recorded results within your budget. If none does, reconsider the lighting arrangement rather than forcing a ring light to be the answer.
FAQ
Which Ring Light Is Best for Video Shooting?
No best model can be established from the supplied evidence. The reference is a retail collection page rather than an independent comparison. Choose by confirmed setup requirements and relevant recorded results, not by a ranking unsupported by tests. [ring_source]
What Size Ring Light Should I Choose?
Start with your intended framing, available space, camera clearance, and stand placement. Compare candidate dimensions against those requirements, then evaluate footage at the distance you plan to use. This article does not establish a universal size recommendation.
How Should I Check a Ring Light for Flicker?
Record a test at your intended frame rate and shutter setting, trying the brightness levels you expect to use. Inspect playback for visible flicker or banding and note the exact settings. An acceptable result in one test should not be treated as verification of every possible setting.
What Should I Verify Besides the Light Itself?
Confirm the stand, camera or phone holder, adapters, power supply, and cables needed for your setup. Check package contents rather than assuming accessories shown in photographs are included.