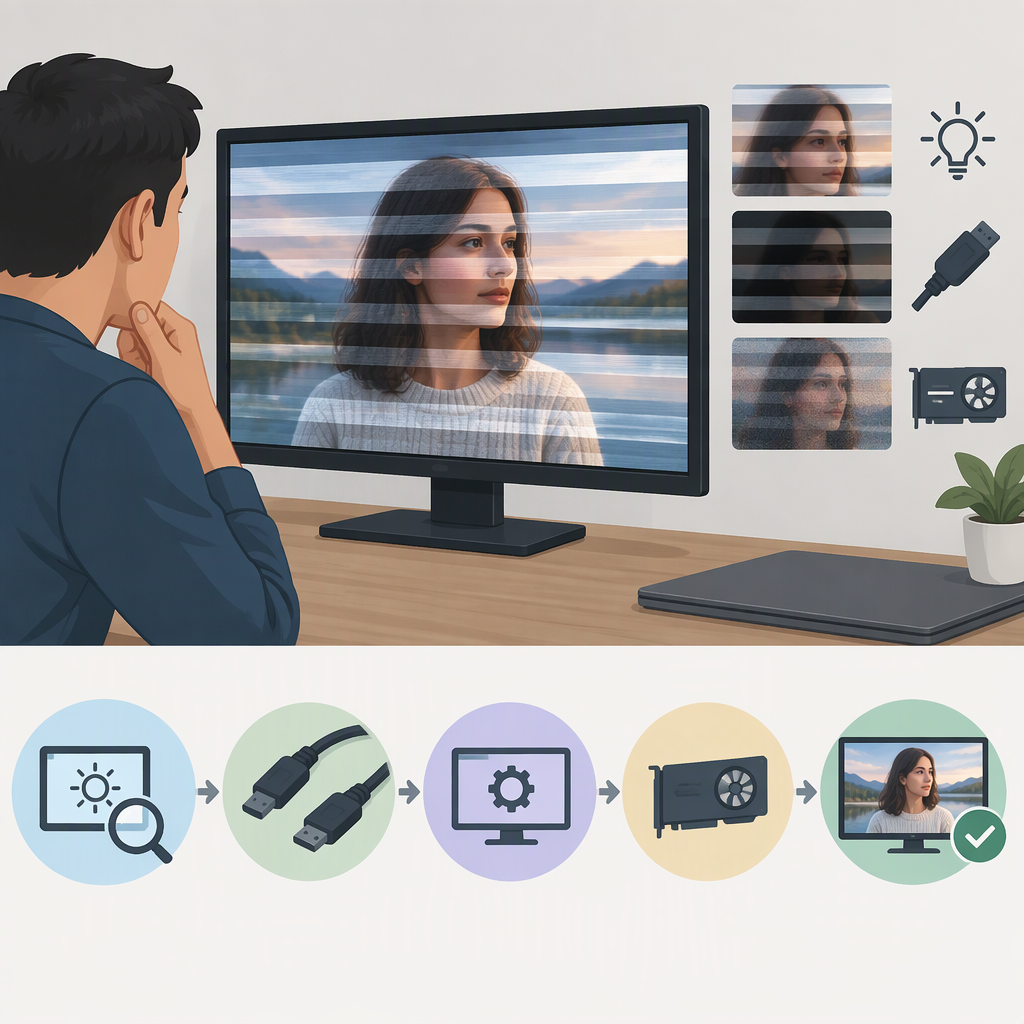
Light Flickering in Video: How to Diagnose and Fix It
If light flickers in your video, don’t assume the camera or the fixture is faulty. First note what the image is doing, then make a short, repeatable test and change one thing at a time. If changing a camera setting changes the symptom, investigate capture settings; if changing a light or its control changes it, investigate that part of the setup. These comparisons help narrow the search, but do not prove a single cause.
A Controlled Troubleshooting Path
- Record a baseline. Keep the camera, framing, light position, brightness, and recording mode unchanged. Record a short clip and note whether the whole image pulses, bands move across it, or only particular lights or areas change.
- Check playback. Review the recorded file, not only the camera’s live view. Note whether the symptom is present in the file and whether it is consistent across the clip.
- Change one variable. Test a camera setting while leaving the light untouched. Restore the baseline, then test the light or its control separately. Keep notes so you can compare the clips.
- Follow the change. If a camera adjustment reduces the problem, continue with camera settings. If changing one light or its control makes a difference, investigate that light and its documentation. If neither does, test another suitable light or camera mode if available.
- Retest the complete setup before recording anything important. A result from one camera, mode, light, and brightness level does not guarantee the same result with another combination.
Describe the Symptom First
Two common visible patterns are worth distinguishing:
- Brightness or color pulsing: the image, or a region of it, repeatedly changes in brightness or color.
- Horizontal or moving bands: parts of the image have different brightness or color, sometimes with bands that move between frames.
Lighting can change faster than is apparent to the eye. Sony describes older fluorescent sources as cycling at 100 or 120 Hz and some LED lighting and signage as cycling at hundreds or thousands of hertz; it also explains that a camera may capture different parts of a frame at different points in a light’s cycle. Those are examples, not a way to identify a particular fixture from footage alone. (sony.com)
Also note whether the effect appears in the recorded file, only in the camera display, or only during playback on a particular screen. A symptom that appears only in one viewing situation calls for a different investigation than a visible exposure change recorded in the clip.
Camera Settings to Test
Keep your chosen frame rate, then test shutter speed in small steps while recording short clips. Shutter speed affects exposure time and how motion looks, so a setting that reduces flicker may change motion blur. Sony’s general movie-setting guidance uses roughly twice the frame rate as a starting point for shutter speed—for example, 30p at 1/60 second—and separately advises accounting for flickering indoor lights. Treat that as a starting point, not a universal anti-flicker fix. (sony.com)
If the light is affected by mains frequency, regional power frequency can matter. Sony lists 1/50 or 1/100 second for 50 Hz regions, and 1/60 or 1/120 second for 60 Hz regions as shutter speeds that may reduce flicker. But those values may not solve flicker from every LED, dimmer, camera, or recording mode. Try a compatible alternative your camera supports and inspect the actual recorded result. (sony.com)
For an illustrative comparison, a creator recording at 30p might capture one short clip at 1/60 second and another at a nearby available shutter speed, with every other setting unchanged. This is a proposed test, not a verified result or a promise that either clip will be flicker-free. If your camera offers a model-specific variable-shutter or anti-flicker control for movies, consult its help guide: supported features and limits vary by model and mode. Sony, for example, notes that some anti-flicker functions are not available on every camera, and its support guidance distinguishes movie-capable shutter adjustment from still-image-only features. (sony.com)
If bands persist, check the camera’s documentation for your recording mode and shutter type. Sequential sensor readout can contribute to uneven capture under changing light; changing shutter type is not a guaranteed remedy and may not be available or suitable in every video mode. (canon-europe.com)
Check the Light and Its Controls Safely
If camera-setting tests do not help, test the lighting side without opening or repairing equipment:
- If the light has a dimmer or brightness control, record a short comparison at its current level and at another manufacturer-approved level. Change nothing else. If the appearance changes, the light’s output or control setting is relevant to investigate; it does not establish the exact electrical cause.
- If several lights are on, test them one at a time when practical. Then compare with another suitable light, keeping the camera setup fixed.
- Check the fixture and dimmer documentation for recording or flicker-related guidance. A visible change when swapping a light is useful evidence about that setup, not proof that all lights of that type behave the same way.
Do not open a fixture, alter wiring, or attempt electrical repairs. Stop and consult the equipment manufacturer or a qualified professional if the issue involves damaged equipment, unusual heat, odor, noise, or anything beyond normal user controls. No lighting-side change can be guaranteed to eliminate flicker in every camera-and-light combination.
Correct the Footage or Reshoot?
Try post-production only after inspecting a short test on a duplicate or separate version of the clip. Check whether the flicker is mild and consistent, how much of the frame and clip it affects, and whether a correction visibly changes detail, color, or motion. Compare the result with the uncorrected original; do not assume a filter can reconstruct image information that was not captured cleanly.
Be careful with effects called “anti-flicker.” Adobe’s documented Premiere Pro Anti-flicker Filter is aimed at thin lines and sharp edges that flicker when shown on interlaced displays; Adobe notes that increasing the filter strength can soften the image. That is a specific display-related use, not documentation of a general fix for lighting-driven brightness pulsing or rolling bands in recorded footage. (helpx.adobe.com)
If the lighting change is strong, bands obscure important details, or a test correction visibly damages the image, improving the capture and recording again is the more dependable option when feasible. If the footage is irreplaceable, a correction attempt may still be worthwhile—but review the entire affected section at normal playback size and be prepared for an imperfect result.
Before You Record: Quick Checklist
- Record a short test with the complete camera, light, dimmer, and recording setup.
- Note whether the issue is pulsing, color change, or bands, and whether it appears in the saved file.
- Keep frame rate fixed while testing shutter settings; change one variable at a time.
- If needed, compare light settings or another suitable light without altering electrical equipment.
- Review the clip before the full take, and check model-specific controls in the camera and light documentation.
- If the footage cannot be reproduced, preserve the original before trying post-production correction.