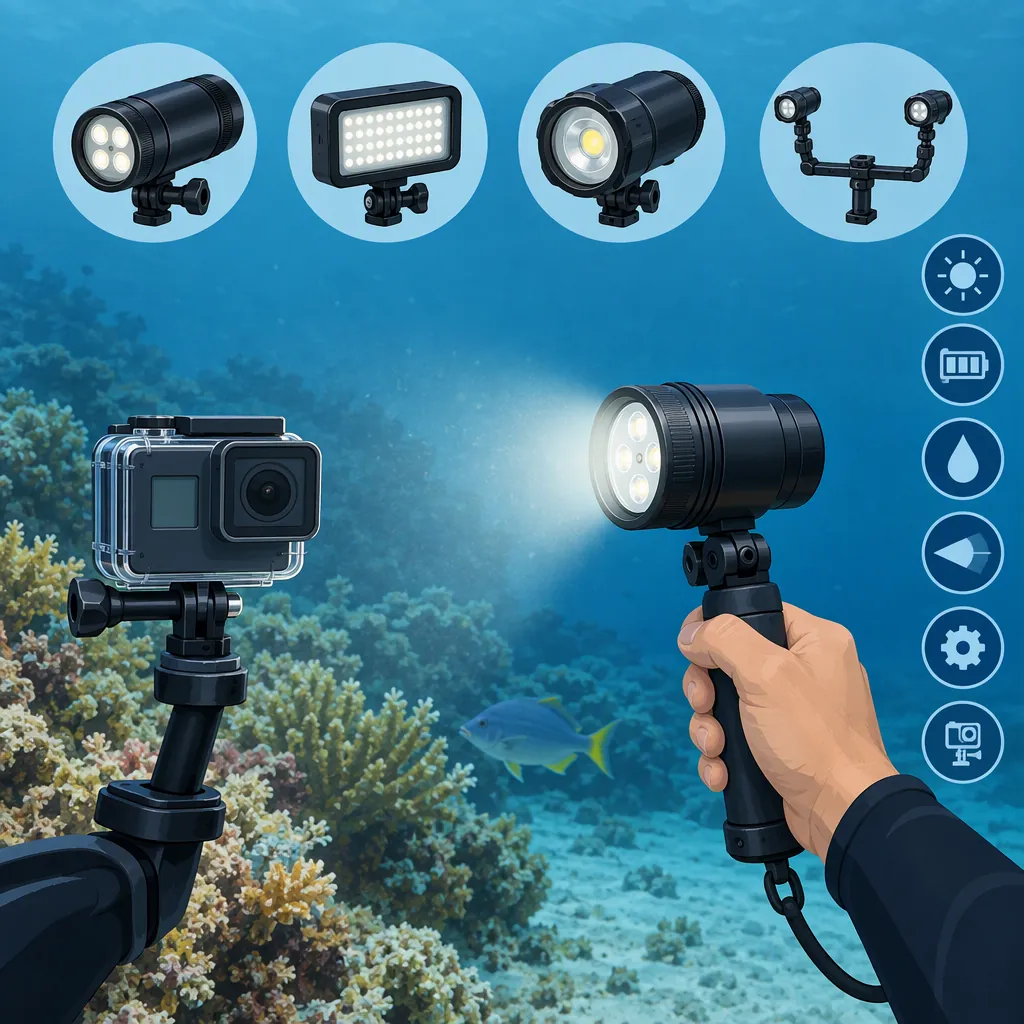
How to Choose the Best Underwater Video Light for GoPro
Choose an underwater video light that meets your GoPro rig’s depth, mounting, and lighting-time requirements. Then compare coverage and handling for your intended camera mode, subjects, and working distance. The strongest choice is the complete configuration that meets those needs—not necessarily the light with the largest advertised brightness number.
This guide provides a selection method, not a product ranking. The Backscatter GoPro equipment page lists lighting, housings, handles and trays, and mounts, but does not supply the light specifications or comparative tests needed to establish a best model. Its category listings are not proof of a particular light’s performance or compatibility. [c1]
Define Your Filming Requirements
Before comparing lights, record your exact GoPro model, housing, camera mode, and field of view. Add these requirements:
- Subjects and working distance: Close details, people, wider scenes, or a mix. Specify where you expect the subject to appear in the frame.
- Planned maximum depth: Check this against the documented operating limits of the light, housing, and other relevant components.
- Lighting time between charges: Estimate how long the light must operate at a usable setting, not only how long the camera will record.
- Mounting hardware: List your tray, handles, arms, adapters, and connection types.
- Handling and travel limits: Set practical limits for complete-rig size, weight, and charging arrangements.
- Total budget: Include required mounting parts, charging equipment, and other necessary accessories.
Separate hard requirements from preferences. A documented depth limit is a pass-or-fail condition for your planned use; a smaller rig may be a preference unless you have a firm size limit.
Next, choose your main comparison priority:
| Main filming goal | Prioritize | Define an acceptable result |
|---|---|---|
| Close-detail footage | Subject appearance at your intended distance and output setting | The important detail is visible without unacceptable bright areas or shadows. |
| People or moving subjects | Coverage where the subject may move within the frame | The result works beyond a carefully centered, stationary subject. |
| Wider scenes | Footage with comparable framing and subject distances | The parts of the scene you intend to light look acceptable. |
| Longer filming sessions | Runtime at a visually usable setting | That setting meets your required lighting time. |
| A compact setup | Complete-rig handling and charging arrangements | You can carry, operate, and recharge the configuration as planned. |
If you film several kinds of subjects, rank them. This makes compromises explicit instead of expecting one configuration to excel at every task.
Compare the Complete Configuration
Use the same questions for every candidate. Record missing or ambiguous information as unverified.
| Criterion | What to verify | Decision use |
|---|---|---|
| Coverage | Stated beam coverage and representative underwater footage | Compare with your intended GoPro field of view, subject position, and working distance. |
| Output control | Available continuous-light settings | Identify the setting you would actually use. |
| Runtime | Runtime at that setting and stated test conditions | Check against your required lighting time; keep differences in test conditions explicit. |
| Depth limit | Documented operating limit | Exclude configurations that cannot accommodate your planned use. Check the camera housing separately. |
| Mounting | Connections from housing and tray through arms or adapters to the light | Confirm the complete arrangement, including required parts and clearance. |
| Controls | Access with the rig assembled and intended gloves | Check whether controls are reachable without interference. |
| Charging and maintenance | Charger, cable, battery procedures, inspection, seal care, and storage instructions | Confirm that you can follow the documented procedures during your trip or filming schedule. |
| Travel and cost | Complete setup size, weight, battery information, and accessory costs | Compare assembled configurations, not light-only figures. |
Match Coverage to Your GoPro Mode
When reviewing sample footage, look for the camera mode, field of view, working distance, light setting, and placement. If these details are absent, treat the clip as illustrative rather than a verified match for your setup.
Inspect both the center and the parts of the frame where your subject needs to appear. An attractive close-subject clip does not establish that a light will meet your goals for a wider scene.
If a candidate becomes acceptable only after narrowing the GoPro framing, record that trade-off. It is not an equivalent solution if the narrower composition no longer serves your filming goal.
Resolve the Output–Runtime Trade-Off
Use advertised brightness to begin a comparison, not to decide it. First identify a setting that gives an acceptable visual result; then evaluate its documented runtime.
The difficult case is a candidate whose preferred setting falls short of your required lighting time. A lower setting is an alternative only after its footage has also been evaluated. Do not assume that sufficient runtime at one setting establishes suitability at another.
This guide does not establish a universal lumen threshold. The supplied reference contains neither the specifications nor the comparative evidence needed to support one. [c1]
Use Underwater Footage to Diagnose the Next Check
Footage review is most useful when each observation leads to a specific question. The table below is an evaluation aid, not an explanation of underwater light propagation or a diagnosis of a defective light.
| Observation | Next check | Implication for selection |
|---|---|---|
| The center looks acceptable, but required frame edges do not | Compare stated beam coverage, intended field of view, and light placement. Repeat with comparable framing and distance. | Keep the candidate only if the resulting coverage meets your composition needs. |
| Close details look acceptable, but the intended subject distance does not | Confirm working distance and output setting in both the sample and your planned setup. | Do not use close-detail footage as evidence for a different distance. |
| Visible particles interfere with the subject | Compare light positions and shooting conditions while keeping other variables as consistent as practical. | Evaluate the complete arrangement; one particle-heavy clip alone does not establish poor light performance. |
| Bright areas obscure important subject detail | Compare available output settings and placement while recording the camera settings. | Check whether an available configuration preserves the detail you need. |
| Shadows hide important features | Compare placement and, if practical, one-light and two-light arrangements. | Judge the result alongside the extra hardware, cost, and handling involved. |
| Subject color does not meet your intended result | Record camera settings, light setting, working distance, and conditions before comparing clips. | Avoid attributing the result to the light alone when other variables differ or are unknown. |
| A configuration works only with awkward positioning or inaccessible controls | Check mounting clearance and handling separately from footage quality. | A visually acceptable arrangement may still fail your operating requirements. |
These observations should narrow what you need to verify. They do not, by themselves, prove a light’s overall quality, reliability, or suitability for every underwater scene.
Narrow the Shortlist
1. Apply Hard Requirements
Check depth, mounting, usable runtime, and any firm handling or travel limits. Also confirm that you can follow the required charging and maintenance procedures.
Use three statuses:
- Meets requirements: The necessary information supports the planned use.
- Needs verification: A required detail is missing, ambiguous, or not yet checked.
- Does not meet requirements: A confirmed condition falls short.
Do not treat missing evidence as a pass.
2. Rank Qualified Configurations by Your Priorities
Among configurations that meet the hard requirements, compare your main filming priority first. Use secondary priorities—such as handling, runtime beyond the minimum, or total cost—to resolve close choices.
Compare one-light and two-light options as separate complete configurations. Adding a light is not automatically a better result for your needs.
3. Record the Reason and the Compromise
Write a short decision statement:
I prefer this configuration because it meets ______ and provides the strongest relevant evidence for ______. The compromise is ______. I still need to verify ______.
Hypothetical Two-Candidate Example
All values and candidate details below are invented to illustrate the process. They are not product specifications or test results.
Suppose a filmmaker needs:
- A configuration suitable for a planned maximum depth of 20 meters.
- Compatibility with an existing GoPro housing and tray.
- 45 minutes of lighting between charges.
- Acceptable coverage for people in the chosen GoPro mode.
- A compact rig as a secondary preference.
| Evidence in this hypothetical case | Configuration A | Configuration B |
|---|---|---|
| Depth and mounting | Confirmed to meet the stated requirements | Confirmed to meet the stated requirements |
| Footage at the intended setting | Meets the filmmaker’s defined coverage needs | Also meets those coverage needs |
| Runtime at that setting | 50 minutes under the stated conditions | 30 minutes under the stated conditions |
| Alternative setting | Not needed to meet the time requirement | A lower setting lists 60 minutes, but its footage has not been evaluated |
| Handling | Acceptable, though less compact | More compact |
Initial decision: A qualifies. B needs verification because its evaluated setting misses the time requirement, while the longer-running setting has not been shown to meet the visual requirement. Compactness does not override that gap.
After checking B’s lower setting:
- If it fails the defined coverage requirement, B does not qualify for this plan.
- If it meets the visual requirement and its runtime documentation is applicable, both configurations qualify. The filmmaker can then use compactness as the tie-breaker.
The lesson is to evaluate a usable setting and its runtime together. Neither a longer runtime at an unchecked setting nor a preferred physical size resolves a hard requirement.
Check the Assembled Rig
If equipment access and a suitable controlled setting are available, evaluate the assembled setup within all documented operating limits. This does not replace required maintenance, training, or diving safety procedures.
For a useful comparison:
- Keep the camera mode, subject, working distance, and conditions as consistent as practical.
- Record the light setting and placement for each clip.
- Review the center, required frame edges, subject detail, color, shadows, and visible particles.
- Use the observation table to identify what to check next.
- Assess attachment security, housing clearance, control access, and handling separately.
Record the limits of the check. A short footage or handling evaluation does not establish long-term reliability.
Selection Worksheet
Complete the requirements once, then duplicate the candidate record for each configuration.
Your requirements
- GoPro model, housing, camera mode, and field of view: ______
- Main subjects and working distance: ______
- Planned maximum depth: ______
- Required lighting time between charges: ______
- Existing mounting hardware: ______
- Firm size, weight, travel, and budget limits: ______
- Comparison priorities, in order: ______
- Definition of acceptable footage: ______
Candidate configuration
- Light and required mounting parts: ______
- Specification document and date: ______
- Depth and connection verification: ______
- Coverage evidence and relevance to your setup: ______
- Intended output setting, runtime, and stated conditions: ______
- Charging and maintenance requirements: ______
- Complete cost, size, and weight: ______
- Footage and handling observations: ______
- Missing information and next check: ______
- Status: meets requirements / needs verification / does not meet requirements
- Selection reason and compromise: ______
FAQ
Which Underwater Video Light Is Best for a GoPro?
Choose the configuration that meets your hard requirements and best serves your main filming goal. No specific model is established as a winner by the supplied Backscatter page; it lists GoPro lighting and accessory categories rather than comparative light tests. [c1]
How Many Lumens Should I Look For?
There is no supported universal lumen target in the supplied evidence. Compare the result at your intended framing and working distance, then check runtime at the setting that produces that result. [c1]
Should I Use One Underwater Video Light or Two?
Compare both assembled arrangements. Look at coverage and shadows as well as control access, handling, and total cost. Choose according to the result you need, not the number of lights.
How Do I Check Compatibility with My GoPro?
Verify the entire connection chain: housing, tray or handle, arm or adapter, and light mount. Check connection details and clearance in the relevant documentation. A GoPro category listing alone does not verify a particular light-and-rig combination. [c1]
Does Particle-Heavy Footage Mean the Light Is Unsuitable?
Not by itself. Compare placement and shooting conditions, recording what changes between clips. Use the result to evaluate the configuration for your filming needs rather than attributing the whole image to the light.
What If Two Configurations Both Meet My Requirements?
Use your ranked preferences to break the tie. Relevant footage for your main subject may come first, followed by handling, extra runtime, or complete cost. If the deciding evidence is missing, identify the next check instead of declaring a winner.