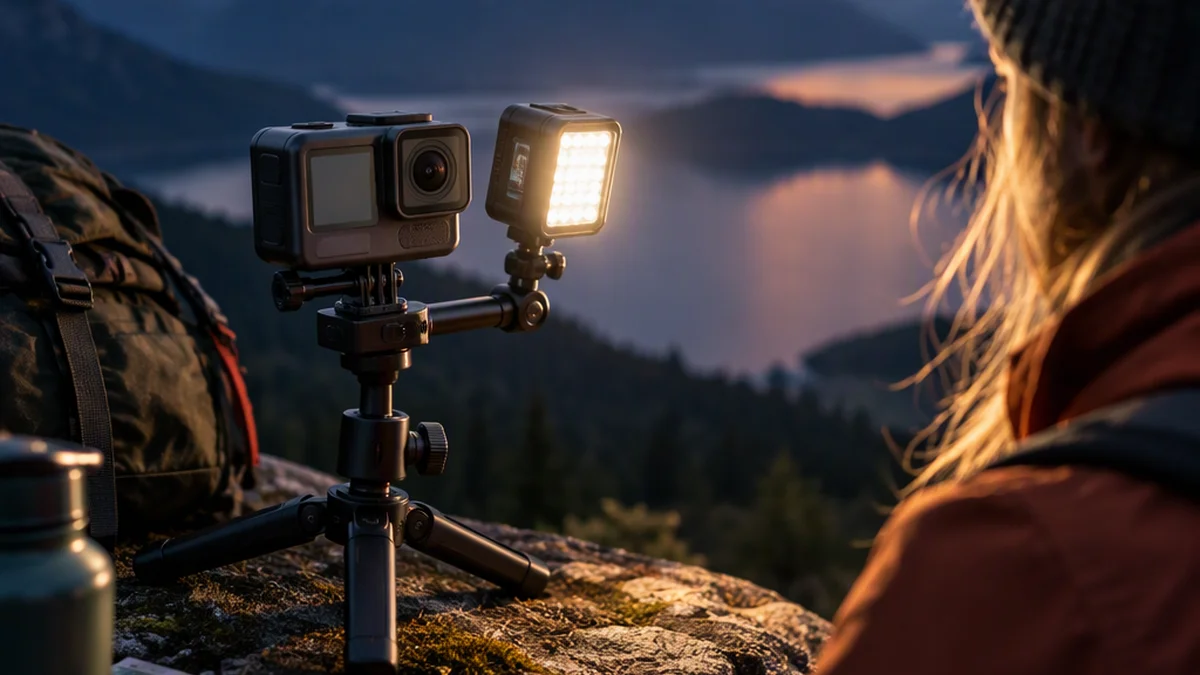
GoPro with a Light: How to Choose the Right Setup
GoPro Lit Hero is a documented option if you want a GoPro with a built-in LED light. Engadget describes it as an entry-level action camera designed to illuminate nearby subjects, such as a creator’s face in dim conditions. [1] If you already own a GoPro, adding a separate light is another route—but camera-mounted lighting requires compatible hardware.
Choose a built-in light for fewer parts and quick, close-range filming. Choose an external light when you need control over its position, angle, or distance from the subject. Neither approach guarantees useful illumination for a distant trail or a large room.
Built-In Light Vs. External Light
Built-In Light: GoPro Lit Hero
Engadget reported in September 2025 that GoPro’s Lit Hero includes a built-in LED light, 4K video at up to 60 frames per second, 4:3 capture, and waterproofing to 16 feet, or 5 meters. These specifications apply to Lit Hero—not to every GoPro. [1]
An integrated light keeps the kit compact and eliminates the need for a separate lamp mount. Its main limitation is placement: the light moves with the camera, so you cannot independently position it to one side of the subject.
External Light: Camera-Mounted or Separately Supported
An external light can be attached to a compatible camera rig or placed on its own support. These are different setups:
- Camera-mounted lighting moves with the camera and keeps the equipment together.
- Separately supported lighting lets you position the light independently, which is useful for stationary demonstrations and close-up work.
For a camera-mounted setup, verify the full connection path:
Exact GoPro model → compatible cage, bracket, or adapter → light mount → light
Not every arrangement needs all these parts. The documentation should identify the required hardware and confirm that it leaves the lens, microphones, controls, doors, and battery access unobstructed. A mount that physically fits does not, by itself, establish safe load capacity or suitability for wet use.
A third-party light can offer a different beam pattern, mounting format, or set of controls. Evaluate the light and its support together rather than assuming that a “GoPro-compatible” description confirms the complete setup.
Quick Comparison
| Decision point | Built-in light: Lit Hero | External light |
|---|---|---|
| Installation | LED is integrated; no separate lamp mount is needed. [1] | Requires compatible mounting hardware or a separate support. |
| Light placement | Fixed relative to the camera | Can be positioned independently when the support allows it. |
| Brightness, beam, and controls | Not established in sufficient detail by the cited report. | Product-specific; check brightness adjustment, beam spread, and diffusion options. |
| Power and runtime | Check runtime for the intended recording mode with the light on. | May use its own battery or draw power from the camera. |
| Water use | Engadget reports a 5-meter camera depth rating. [1] | Check the camera, light, housing, and relevant connectors together. |
| Main reason to choose it | Fewer parts and faster setup | More control over lighting position |
What the sources establish: Engadget documents Lit Hero’s built-in light and the camera specifications above. GoPro’s official site lists a Lighting accessory category and creator bundles that include lighting. [2] However, these sources do not establish a complete external-light configuration or provide enough detail to compare light output, beam coverage, controls, or runtime with the light on. No specific external kit or measured lighting range is recommended here.
Choose by Filming Situation
Walk-And-Talk Vlogging or Travel
A built-in light is convenient when the camera stays close to your face in dim surroundings. It can help illuminate the foreground, but it will not necessarily light the background.
Start with the camera near eye level. If brightness adjustment is available, use only as much light as needed to avoid overexposing your face. Keep some distance from walls that might show distracting shadows.
Example decision: For a short evening walk-and-talk, Lit Hero is an option when minimal setup matters more than independent light placement. Before buying, check its available light controls and runtime for your intended recording mode; do not assume broad scene illumination.
Tabletop Demonstrations and Close-Up Detail
A separate light is often more useful for showing tools, food, crafts, or repairs because you can change the lighting without changing the camera angle.
Try positioning it slightly above and to one side of the subject. This can reveal texture and shape more clearly than illumination from directly beside the lens.
Example setup concept—not a verified product kit: Keep the GoPro on one support and place an independently powered light on another. This avoids a camera-to-light mounting connection, but the light must still have a documented, compatible support.
Action Sports
Prioritize secure mounting, low weight, and clearance from safety equipment. A light mounted high above the camera can alter the rig’s balance or catch on equipment.
Test the complete arrangement before using it on a helmet, bike, vehicle, or body mount. A brighter lamp is not a better choice if its mounting is unstable or it interferes with movement.
For filming a distant trail, do not assume a compact camera light will provide enough reach. Its usefulness depends on output, beam pattern, camera settings, and surrounding light.
Underwater Filming
Match the intended depth and conditions to the ratings of the camera, light, housing, connectors, and any mounting components that affect seals or access doors. A waterproof camera does not make an attached light waterproof.
Lit Hero’s reported 5-meter rating is model-specific; it does not establish a depth rating for another camera or accessory. [1]
Buying Checklist
Use these checks to compare complete setups rather than product names alone.
- Subject distance: Are you lighting a nearby face, a small object, or a wider scene? A small lamp may help close up without providing meaningful distant illumination.
- Placement: Is camera-facing light enough, or do you need to move the light independently?
- Recording modes: Check resolution, frame rate, aspect ratios, stabilization, and exposure controls for the exact camera. If you need both vertical and horizontal edits, consider whether the capture format leaves enough cropping room.
- Mounting: Identify every required part, its load limits, and clearance around the camera. For a separately supported light, check the light-to-support connection instead.
- Power and runtime: An integrated light or camera-powered accessory adds to the camera battery’s load. An independently powered light has a separate battery to charge and manage. Look for runtime information tied to the recording mode and test conditions you plan to use.
- Light controls: Count only documented features. Brightness adjustment, diffusion, beam control, and independent on/off operation can help adapt the light to different shots.
- Environment and handling: Check water ratings, temperature limits, and care instructions. Assess the weight and balance of the assembled rig, not just the camera.
Set up and Test Before Filming
- Clean the lens and light window to reduce glare from dust or fingerprints.
- Secure the camera and light using their documented mounting methods.
- Aim the light at the subject. With a separate light, try a slightly raised or off-axis position.
- Record short clips with the light on and off under otherwise similar conditions.
- Review highlights, shadows, reflections, motion blur, and any hardware visible in the frame. Use the intended viewing size, not only the camera screen.
- Adjust one variable at a time: brightness, angle, distance, or supported diffusion.
- Check storage and all batteries before the shoot.
For a useful comparison, note the subject distance, ambient lighting, recording mode, and exposure settings. Repeat the test if those conditions will change substantially during filming.
After wet use, follow the manufacturer’s drying and care instructions before opening ports or charging.
Common Lighting Problems
My Face Is Bright, but the Background Is Dark
A nearby lamp lights your face much more strongly than distant surroundings. The camera’s exposure may then favor the bright foreground.
Try reducing brightness if possible, moving to a location with more ambient light, or changing your position. Increasing lamp brightness is unlikely to solve an unlit distant background.
Reflective Objects Show Glare
Try changing the light’s angle or moving the subject before increasing brightness. For close-up work, independent light placement can help keep reflections away from the camera.
The Light Is on, but the Footage Still Looks Poor
A light cannot fully compensate for excessive subject distance, rapid movement, or changing exposure. Review a test clip to determine whether the problem is insufficient illumination, motion blur, glare, or subject placement.
FAQ
Will a GoPro Light Work in Complete Darkness?
It can illuminate nearby subjects, but useful distance depends on the lamp’s output and beam pattern, camera settings, and surroundings. Do not assume a small light will evenly illuminate a room, trail, or distant subject.
Do All GoPro Cameras Have a Built-In Light?
No. Lit Hero is the built-in-light model documented by the source used here. Check the specifications of the exact camera rather than treating a built-in LED as a standard GoPro feature. [1]
Do I Need to Replace My GoPro to Add Lighting?
Not necessarily. An external light may work with your existing camera through suitable mounting hardware, or you can use it on a separate support. A separately supported light does not need to attach to the GoPro, though it is less convenient for moving shots.
Bottom Line
Choose Lit Hero’s built-in-light approach for a compact, quick setup aimed at nearby subjects. Choose an external light when independent placement matters, especially for stationary demonstrations and close-up detail. Base the purchase on documented compatibility and power requirements, then use a test clip to check whether the light improves the shot you actually need.