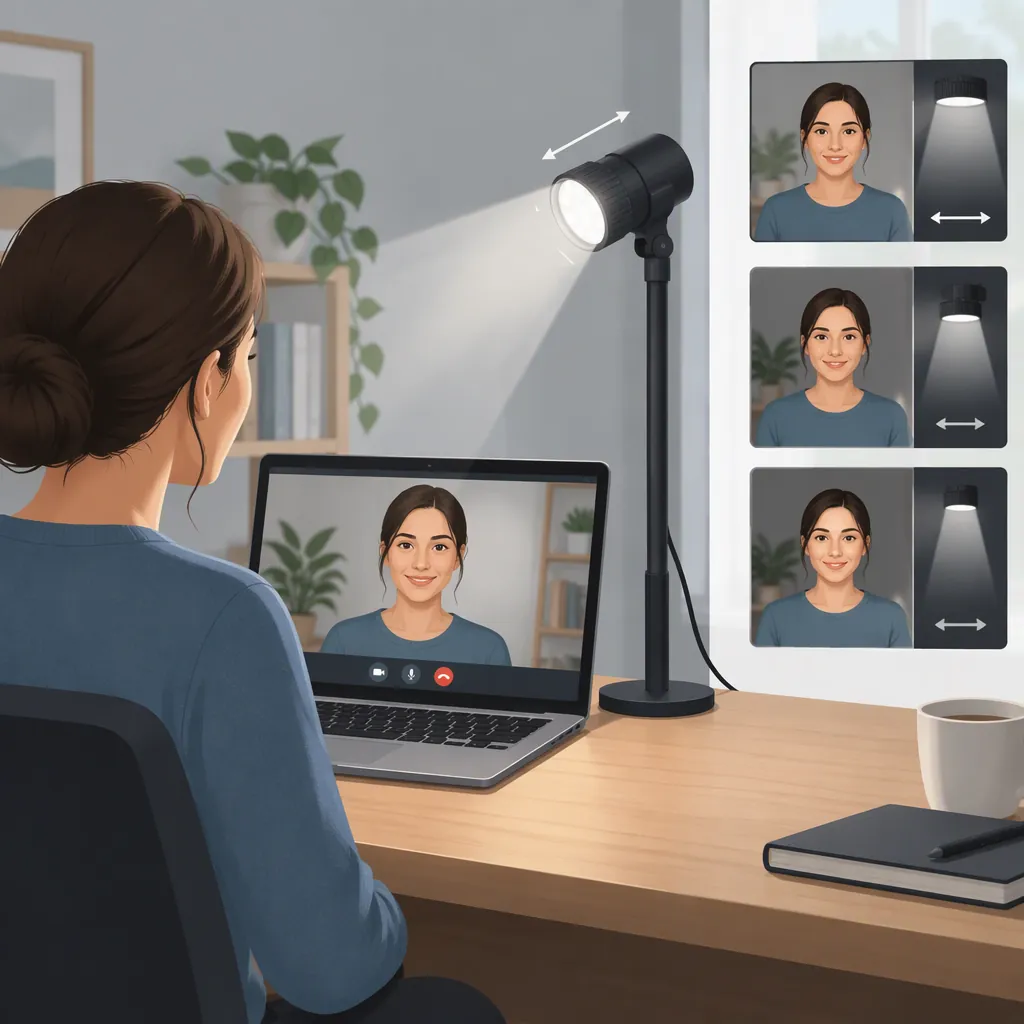
How to Choose an Led Light for Zoom Video Calls
Choose an LED Zoom light by checking mounting, power, brightness adjustment, and positioning before purchase, then verifying the webcam image once you can test it. Product specifications can help establish whether a light fits your workspace; they cannot guarantee how your face will look in Zoom.
Before adding equipment, try your existing room lighting and, if useful, a bright screen. The Whitescreen.dev guide describes screen-based illumination but notes that monitor light is less powerful than dedicated studio lighting. [source_1]
Start with Your Room and Webcam
Open your Zoom camera preview where you normally take calls. Identify the problem you want to solve:
- A face that looks too dark or washed out.
- Noticeably uneven facial lighting.
- A background much brighter than your face.
- Reflections that obscure your eyes in glasses.
- Discomfort when looking toward the camera.
The cited guide recommends front-facing screen illumination, gradual brightness adjustment, and minimizing strong backlight behind you. Use those as starting points, then judge the result in your own preview. [source_1]
If your existing setup already gives acceptable facial visibility and comfort, additional lighting may not be necessary.
Compare Screen Lighting with a Separate Led Light
Screen lighting uses a bright display for illumination. The Whitescreen.dev guide describes a fullscreen lighting tool and suggests increasing display brightness gradually. It also notes that a large room behind you may remain dim. [source_1]
A separate LED light lets you evaluate positions independently of your display. Its usefulness depends on whether it fits your workspace and produces an acceptable camera result—not whether it is a ring light, panel, or another shape.
| Option | What to evaluate | Main decision |
|---|---|---|
| Existing room lighting | Facial visibility, background balance, and comfort | Does the current setup already meet your needs? |
| Screen lighting | Illumination with gradual brightness changes | Can you get an acceptable image while still using the display for the meeting and notes? |
| Separate LED light | Workspace compatibility, adjustable controls, and webcam appearance | Does it fit your setup and resolve the problem you identified? |
Evidence scope: The cited guide covers screen lighting, not comparative testing of dedicated LED fixtures. It does not establish a best LED model, a ring-light-versus-panel winner, or a universal LED brightness or color-temperature setting. The selection and troubleshooting steps below are practical checks, not verified product-performance claims. [source_1]
Screen Candidates Before Purchase
Use the available specifications, dimensions, and mounting information to build a shortlist. If an essential detail is missing, treat compatibility as unresolved rather than assuming it will work.
| Check | What to look for before purchase | What remains to be tested |
|---|---|---|
| Mounting and dimensions | Mount type, any stated clamp opening or support requirements, and space occupied by the light and base | Whether it stays in a usable position without obstructing your workspace |
| Power | Required power source and connection; whether a necessary adapter is included | Whether your intended arrangement is practical during calls |
| Brightness adjustment | Whether brightness is adjustable and how the controls work | Whether the available settings suit your face and camera |
| Position and angle | Whether the support and light head allow the placement and aiming you need | Which position gives acceptable illumination and comfort |
| Color controls | Whether color adjustment is available, if you want that option | Whether a setting looks acceptable alongside your room lighting |
Set aside candidates that cannot fit, mount, or receive power in your intended setup. Among those that remain, prioritize usable controls and positioning over shape alone.
A stated adjustment range or feature confirms an available control—not that it will eliminate reflections, color casts, or visible bands in your Zoom image.
Verify the Light with Your Webcam
Once a light is available to test, check it in your usual seat with your usual camera. Keep the meeting screen and work area arranged as they would be during a call.
Check Facial Visibility and Comfort
Try the available brightness settings gradually. Look for a setting that makes your face visible without washing out facial detail or making it uncomfortable to look toward the camera.
Check whether you can maintain your normal posture and reach the controls without disrupting the setup.
Test Position and Angle
For uneven lighting or glasses reflections, use a specific, repeatable trial:
- Keep the camera and your seat fixed.
- Move the light slightly to one side of the lens and inspect the preview.
- If the result is still distracting, try placing it slightly above lens level.
- Adjust the light’s angle in small steps, checking both reflections and facial shadows after each change.
These are trial positions, not a universally correct arrangement. A move that reduces glasses reflections may introduce uneven lighting, so assess both before keeping it.
Inspect Color and Visible Bands
If the light offers color controls, compare settings while leaving the room lighting unchanged. Choose an appearance that looks acceptable in the camera preview rather than assuming a particular color-temperature number is required.
Look for visible bands or distracting image changes at the brightness settings you intend to use. If they appear, try another available setting and check again. Persistent distractions are a reason to reconsider that candidate for your setup; specifications alone do not override the observed result.
Run a Controlled Lighting Comparison
Use this sequence to compare arrangements without confusing the effects of several changes:
- Fix your seat, camera position, and room lighting.
- Check the preview without added lighting.
- Test screen lighting, increasing brightness gradually.
- Test a separate LED light if available.
- Change only one variable at a time: brightness, position, angle, or color setting.
- Compare facial visibility, shadows, reflections, background balance, and comfort.
- Record the position and settings of the arrangement you prefer.
Choose among setups that pass the compatibility and image checks. Favor an arrangement you can use comfortably and repeat reliably, rather than one that looks acceptable only in an impractical position.
Troubleshoot the Problem You Can See
Use the preview symptom to choose your next trial instead of changing every setting at once.
| Preview problem | First adjustment to try | What to check afterward |
|---|---|---|
| Face looks washed out | Lower the added light’s brightness | Whether facial detail remains visible |
| Face looks too dark | Increase front-light brightness gradually | Whether visibility improves without excessive brightness |
| One side of the face looks darker | Try a more front-facing position | Whether lighting becomes more even |
| Background is much brighter than your face | Reduce strong backlight where practical | Whether the background is less distracting |
| Glasses reflections obscure your eyes | Try the side-or-above-lens sequence described earlier | Whether your eyes are visible without creating distracting shadows |
| Face has an unwanted color cast | Adjust the light’s color control, if available | Whether the appearance is acceptable with unchanged room lighting |
| Visible bands appear | Try another available brightness setting | Whether the bands persist |
| Looking toward the camera is uncomfortable | Lower brightness or change position | Whether normal call posture is comfortable |
Gradual brightness adjustment, front-facing screen placement, and reducing strong backlight are supported by the screen-lighting guide. The other adjustments are trials to evaluate in your own setup, not guaranteed fixes. [source_1]
For screen lighting, the guide also warns that extended maximum display brightness may increase device heat. That warning applies to the display, not to a separate LED fixture. [source_1]
FAQ
Do I Need an Led Light for Zoom Calls?
Not necessarily. Check your existing webcam image first. Screen lighting is another option to test, although the cited guide notes that monitor light is less powerful than dedicated studio lighting. Keep the arrangement that provides acceptable visibility and comfort for your calls. [source_1]
Is a Ring Light Better than an Led Panel?
There is no supported winner in the available reference. Shortlist either shape by mounting, power, brightness controls, and usable positions, then compare the actual webcam result. [source_1]
What Color Temperature Should I Use for Zoom?
There is no universal dedicated-LED setting established by the cited guide. If your light has color controls, compare settings in your usual room while keeping other lighting unchanged. Judge the appearance in Zoom rather than choosing by a number alone. [source_1]
Can I Use My Screen Instead of a Separate Light?
You can test it. The guide recommends placing the screen in front of you and increasing brightness gradually. Check both facial illumination and whether the display remains usable for your meeting; monitor light may not adequately illuminate a large background. [source_1]
What Should I Adjust Before Replacing a Light?
Start with the visible problem: lower brightness for a washed-out face, test position and angle for shadows or reflections, and reduce strong backlight where practical. Change one variable at a time. The cited guide supports gradual brightness adjustment and front-facing screen placement; your preview determines whether an adjustment helps your setup. [source_1]