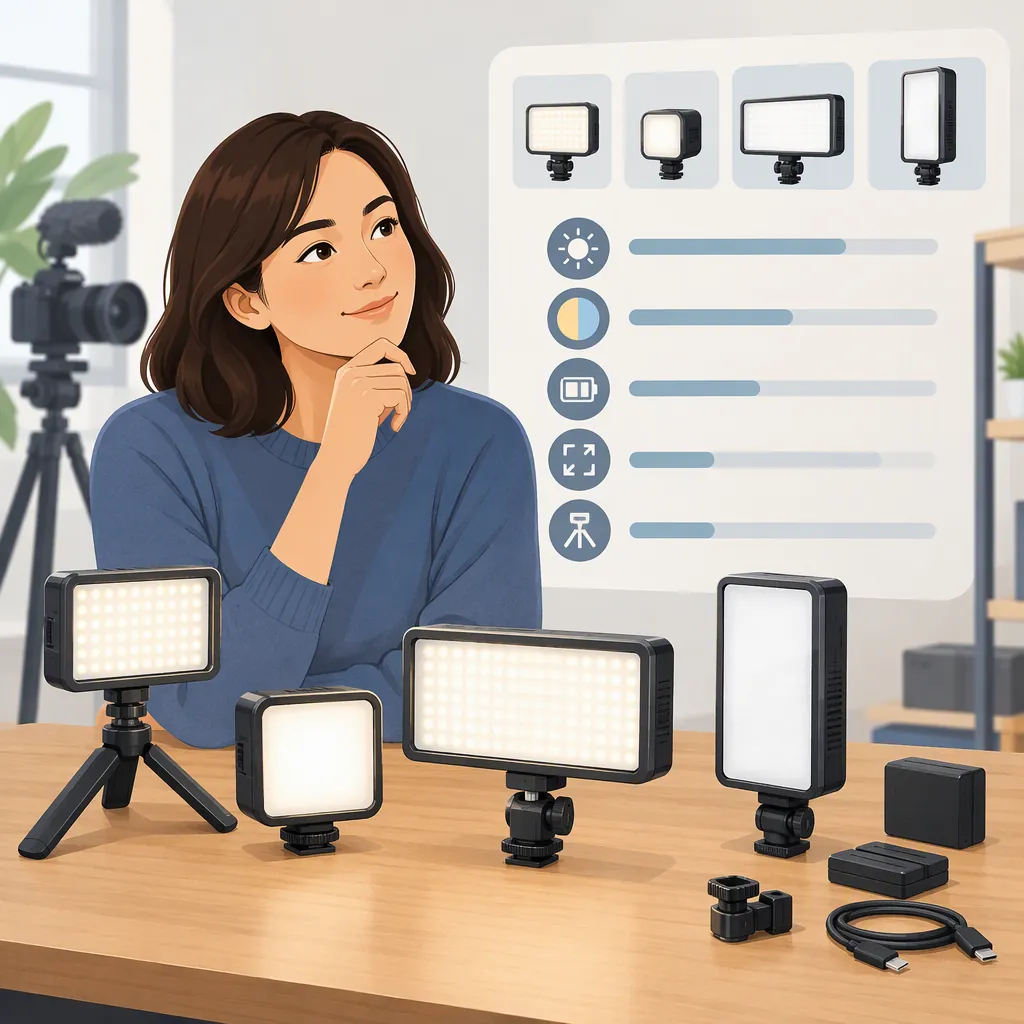
How to Choose a Ulanzi Led Video Light for Filming
Choose a Ulanzi LED video light by defining its job first: lighting a face, filling a shadow, or adding background color. Then check mounting, power, and results at your actual filming distance. The provided evidence covers only a retailer listing for the VL49 RGB, so it does not support a brand-wide comparison or a verified performance recommendation. [ref_1]
Understand the Available Evidence
The supplied source is konovaphoto’s listing for the Ulanzi VL49 RGB Mini LED Video Light. It describes RGB and CCT modes, USB-C charging, cold shoes, and magnetic attachment. Treat these as retailer-listed features, not independently tested findings. [ref_1]
The listing also contains an internal inconsistency: its descriptive text gives a color-temperature range of 2,500–9,000K, while its specifications give 2,700–9,999K. That makes the exact range unresolved within this source. Verify the specifications for the exact model and version before using them as a selection criterion. [ref_1]
This article does not rank Ulanzi models, verify output or color accuracy, or establish compatibility with a particular camera rig. No comparative tests or additional model references were provided.
Define the Light’s Role Before Comparing Features
Start with a shot requirement rather than a feature count. Use the following questions as planning prompts, not as claims about what a particular light can deliver:
- Face lighting: Does the candidate produce the exposure and shadow pattern you want at the intended position?
- Shadow fill: Can you adjust it to lift a shadow without changing the look of the whole scene?
- Background color: Do you need selectable colors, or would white-light adjustment be sufficient?
- Close-up filming: Can you position it without unwanted reflections or the fixture entering the frame?
The VL49 RGB listing describes both RGB and CCT modes, making the distinction between colored light and adjustable white light relevant when reviewing that model. The presence of either mode does not establish whether its output suits your scene. [ref_1]
Write down the subject, framing, filming distance, and intended light position. Keep those conditions consistent when evaluating candidates.
Lighting Requirement Worksheet
Complete before reviewing a candidate:
- Subject and framing:
- Intended role: face light / shadow fill / background color / other
- Planned light-to-subject distance:
- Planned mounting position:
- White light or colored light required:
- Existing room lighting:
- Required uninterrupted recording time:
- Conditions that would rule out the candidate:
Check Mounting and Power Separately
Do not treat an attachment option as proof that a light will fit your setup. The listing describes three cold shoes and magnetic attachment, but it does not establish suitability for your specific mounting surface, rig, or accessory combination. [ref_1]
Before filming, check the proposed attachment, cable clearance, balance, and whether the light can remain outside the frame. Avoid relying on an unverified magnetic hold above people or fragile equipment.
For power planning, distinguish charging from operation while connected. The retailer’s FAQ says the VL49 RGB can be used while plugged into a power source. Its battery descriptions also make runtime dependent on settings; these statements are not a measured endurance result for your intended setup. [ref_1]
If continuous operation matters, verify the required power source and cable, then test the intended brightness and mode for the duration you need. Do not plan a recording session around the listing’s maximum runtime alone.
Use a Repeatable On-Camera Check
The available reference is a product listing rather than a controlled camera test. Use a short, repeatable evaluation to separate listed features from suitability for your footage. [ref_1]
- Set up the intended subject, background, and room lighting.
- Record your camera settings, including exposure and white balance, and keep them fixed for the comparison.
- Record a baseline clip without the candidate light.
- Place the light at the planned distance and angle, then record another clip.
- Review exposure, shadows, reflections, skin or object color, and any visible banding or flicker.
- Repeat with the required color mode and power arrangement.
- Record what changed and whether the result meets your original requirement.
A successful check applies only to the conditions you tested. It does not prove equivalent results at other distances, camera settings, or recording durations.
Camera Test Record
Candidate model and version:
Camera and lens:
Frame rate and shutter setting:
Exposure and white balance:
Room lighting:
Light position and subject distance:
Light mode and brightness setting:
Battery or external power arrangement:
Baseline clip filename:
Light-on clip filename:
Observed exposure, shadows, reflections, color, or banding:
Test duration:
Decision: suitable for this setup / needs adjustment / unsuitable / unresolved
FAQ
Can the VL49 RGB Serve as My Main Filming Light?
The provided listing does not establish that it will meet your main-light needs. Its FAQ advises considering additional lighting for longer-range photos, but that is not a controlled filming test. Evaluate the light at your intended subject distance and camera settings before assigning it that role. [ref_1]
Can the VL49 RGB Operate While Plugged In?
The retailer’s FAQ says it can be used while connected to a power source. The supplied evidence does not establish a suitable power arrangement for every setup, so verify the requirements and test your intended cable, source, mode, and recording duration. [ref_1]
Which Listed Color-Temperature Range Should I Use?
Treat the exact range as unresolved. The listing’s descriptive text states 2,500–9,000K, while its specifications state 2,700–9,999K. Confirm the exact model’s documentation rather than choosing one of these conflicting values. [ref_1]