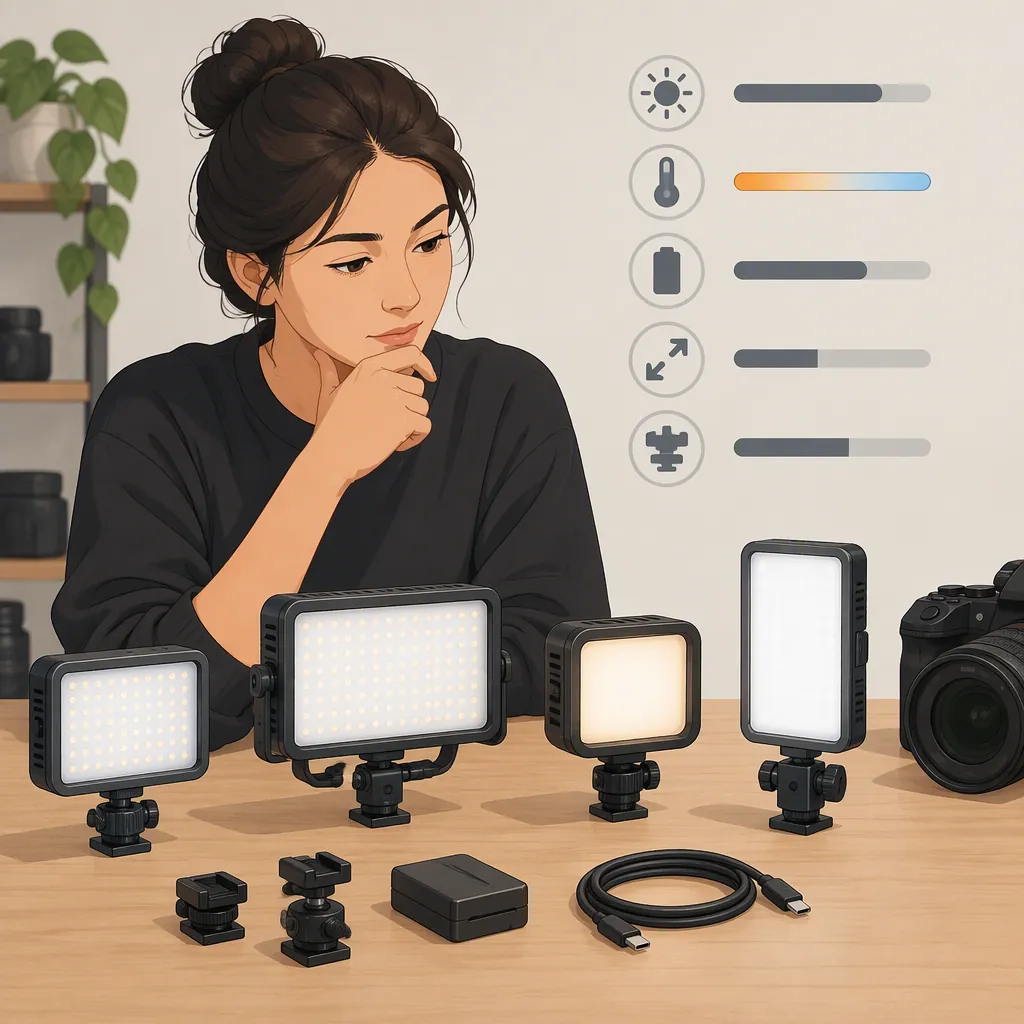
How to Choose a Smallrig Led Video Light for Filming
Choose a SmallRig LED video light by defining its role in your shot, separating must-have requirements from preferences, and checking the exact model’s documentation. Resolve mounting, power, recording sound, and required light placement before comparing convenience features. Then evaluate the complete setup against a target picture and your required uninterrupted take length.
Evidence boundary: The SmallRigReseller lighting category page identifies equipment categories, while SmallRig’s manufacturer-authored beginner guide discusses lighting variables. Neither provides an independent model comparison or establishes a universal best light. This guide uses those sources for context—not to verify model performance, runtime, or accessory compatibility. [src_1] [src_2]
Define the Shot Before Comparing Lights
Start with the scene rather than a model name. Decide whether the light will illuminate a face, a tabletop subject, a background, or a small detail. Specify the framing, available placement space, expected subject movement, and whether you need to record dialogue.
SmallRig’s beginner guide discusses intensity, direction, color temperature, and shadows as lighting variables. Use these to describe the picture you need without adopting the guide’s promotional conclusions. [src_2]
Turn that description into observable requirements:
- Interview: Define the intended face exposure and shadow appearance, then include the actual microphone position in your test.
- Tabletop filming: Identify details that must remain visible and reflections that would make the shot unusable.
- Mobile filming: Set limits for the complete mounted arrangement, carried equipment, and setup time.
- Long continuous recording: Specify how long the light must operate without an interruption at the settings needed for the shot.
Filming Requirements Worksheet
Complete this before comparing models. Define your pass criteria in advance rather than deciding after seeing a candidate’s result.
| Requirement | Your Planned Conditions or Pass Criterion |
|---|---|
| Subject, framing, and light’s role | ______ |
| Available light-to-subject distance and placement space | ______ |
| Ambient light conditions | ______ |
| Camera exposure, white balance, frame rates, and shutter settings | ______ |
| Target picture | Required subject exposure, detail, shadows, and reflections: ______ |
| Recording artifacts | For example, no visible flicker or banding in the required recording modes: ______ |
| Dialogue recording | Microphone position and unacceptable equipment sound: ______ |
| Mounting and support | Required arrangement and clearance: ______ |
| Uninterrupted take length | ______ |
| Setup time and carried-kit limits | ______ |
| Total kit budget | Include support, modifiers, power, cables, and adapters: ______ |
Label each requirement must-have or preference. A must-have determines whether a candidate remains eligible; a preference helps compare candidates that already qualify.
Build a Shortlist by Resolving Constraints First
The SmallRigReseller lighting listing separates LED Light, COB Light, Softbox, Light Stand, and Light Accessories. These labels can help organize a search, but they do not verify suitability or compatibility for a particular setup. [src_1]
Use your filming task to decide what to check first:
| If Your Shoot Requires… | Resolve This First | Shortlist Decision |
|---|---|---|
| Recorded dialogue | Equipment sound at the intended light settings and microphone position | Exclude a setup if its sound fails your dialogue criterion; leave untested sound behavior unresolved. |
| Frequent movement between locations | Complete support, mounting, power, packed equipment, and setup steps | Exclude arrangements that cannot meet your handling or setup limits. |
| Long uninterrupted takes | Accepted power sources and operation for the required duration at the needed settings | Exclude a setup that cannot complete the take without interruption. |
| Camera- or phone-mounted lighting | Exact attachment, clearance, and handling of the assembled rig | Exclude arrangements that obstruct required controls or cannot be supported according to their instructions. |
| A particular modifier | Documented compatibility with the exact light and any adapter | Keep an unverified pairing out of the confirmed shortlist. |
| A fixed placement distance or limited space | Whether the complete setup can produce your target picture from that position | Exclude a candidate if it cannot meet the picture requirement within those constraints. |
These are suggested screening rules, not findings about any SmallRig model.
Separate Gates from Tradeoffs
Apply must-have gates before comparing preferences. For example, if dialogue sound and uninterrupted operation are mandatory, a faster setup does not compensate for failing either requirement.
Among candidates that pass the gates, compare preferences such as fewer setup steps, smaller packed dimensions, easier control access, or additional color controls. Do not count a feature as an advantage unless it serves the planned shot.
Record the exact model, edition, kit contents, and regional version. A shared brand name or category label is not confirmation that two items work together.
Check the Exact Model’s Documentation
For each candidate, gather model-specific documentation and record the conditions attached to any specification. Mark missing information as unknown.
- Output: Look for measurements with stated distance, light settings, and modifier. Do not treat measurements taken under different conditions as directly equivalent.
- Color controls: Verify the available white-light adjustments. If the scene requires colored light, confirm the relevant controls rather than assuming they are included.
- Power: Confirm accepted power sources, required cables or adapters, and documented operating conditions.
- Runtime: Record the brightness setting, power source, and other stated conditions alongside any runtime figure.
- Mounting and modifiers: Confirm exact interfaces, supported combinations, and any required adapter.
- Sound and recording behavior: Seek relevant documentation, then test equipment sound and visible flicker in the intended recording setup.
- Included equipment: Separate items supplied with the exact kit from items required separately.
A documentation gap is not proof that a candidate will fail, but it is not a confirmed pass either. Keep unresolved must-haves visible until documentation or a suitable test resolves them.
Candidate Comparison Record
Create one record per candidate:
| Field | Notes |
|---|---|
| Exact model, edition, and regional version | ______ |
| Intended role | ______ |
| Output measurement and stated conditions | ______ |
| Documented color controls | ______ |
| Power source and required accessories | ______ |
| Runtime figure and stated conditions | ______ |
| Mount and modifier compatibility evidence | ______ |
| Included and separately required equipment | ______ |
| Complete kit cost, carried equipment, and setup steps | ______ |
| Unknown must-have requirements | ______ |
| Test conditions and results | ______ |
| Decision | Not tested / Unresolved / Meets must-haves / Does not meet must-haves |
Test the Complete Filming Setup
The following is a suggested evaluation procedure, not a report of firsthand testing. Assemble and operate each light, support, power source, and modifier according to their instructions.
Choose the Purpose of the Comparison
Two tests answer different questions. Keep their results separate.
1. Compare under recorded common conditions
Use the same subject, framing, placement distances, ambient conditions, camera exposure, and white balance. Choose a common color-temperature setting where available, and state how brightness will be set for every candidate. Record modifiers and any unavoidable differences.
This test describes results under those conditions. The same displayed brightness percentage should not be treated as proof of equivalent light output, and different modifiers or unavailable shared settings should remain explicit limitations.
2. Determine whether each setup can achieve the target picture
Keep the planned camera settings and scene constraints fixed. Adjust each candidate’s brightness, color controls, and permitted placement or compatible modifier to reach the worksheet’s target picture. Record every adjustment.
This test asks whether the complete setup meets your filming needs—not which light produces the most output under a single setting. If a candidate requires an accessory, placement, or power arrangement outside your limits, it has not passed for that task.
Run and Record the Test
- Document the arrangement. Record the light, support, power source, modifier, distances, ambient light, camera settings, and light settings.
- Check the target picture. Record the subject, background, and reflective surfaces. Compare exposure, visible detail, shadows, color appearance, and reflections with your prewritten criteria.
- Check each required recording mode. Record at every frame rate and shutter setting needed for the project. Inspect playback for visible flicker or banding.
- Check dialogue sound. Use the intended microphone position and recording settings. Record a quiet passage and assess whether equipment sound exceeds your stated acceptance limit.
- Check continuous operation. Run the setup for at least the uninterrupted take length specified in the worksheet, using the settings and power source needed for the target picture. Note interruptions or changes that prevent the shot from meeting its criteria.
- Check practical operation. Complete the planned setup and movement steps. Note control access, cable routing, handling, and whether setup time stays within your limit.
- Assign a result to each must-have. Mark it pass, fail, or unresolved, with the supporting observation.
Select from candidates that meet all must-haves, then use preferences to make the remaining tradeoffs. If conditions change materially—such as distance, modifier, power source, or recording mode—do not assume the previous result still applies.
FAQ
Which Smallrig Led Video Light Is Best for Beginners?
There is no universal best model established by the references used here. Start with one defined filming task and choose among candidates that meet its picture, mounting, power, and recording requirements. SmallRig’s beginner guide provides introductory lighting discussion, not an independent model comparison. [src_2]
Does a Smallrig Softbox Fit Every Smallrig Light?
Do not assume universal compatibility. The SmallRigReseller listing includes lights, softboxes, and accessories, but category membership does not verify a particular pairing. Confirm the exact light, modifier, and any adapter in model-specific documentation. [src_1]
How Should I Evaluate Battery Runtime for Filming?
Record any documented runtime alongside its brightness setting, power source, and operating conditions. Then test the complete setup at the settings needed for your target picture for at least your required uninterrupted take length. This guide does not verify a runtime figure for any SmallRig model.
Should I Compare Lights at the Same Brightness Percentage?
You can use that as a stated test condition, but do not interpret matching displayed percentages as equivalent output. For a practical selection, also test whether each candidate can reach your target picture within the same scene constraints, recording its settings and accessories.
What Should I Do If a Candidate Cannot Be Tested?
Use model-specific documentation to resolve what you can and mark the remaining requirements as unresolved. An untested candidate is not automatically unsuitable, but it should not be described as confirmed to meet a must-have that has neither documentation nor a relevant test result.