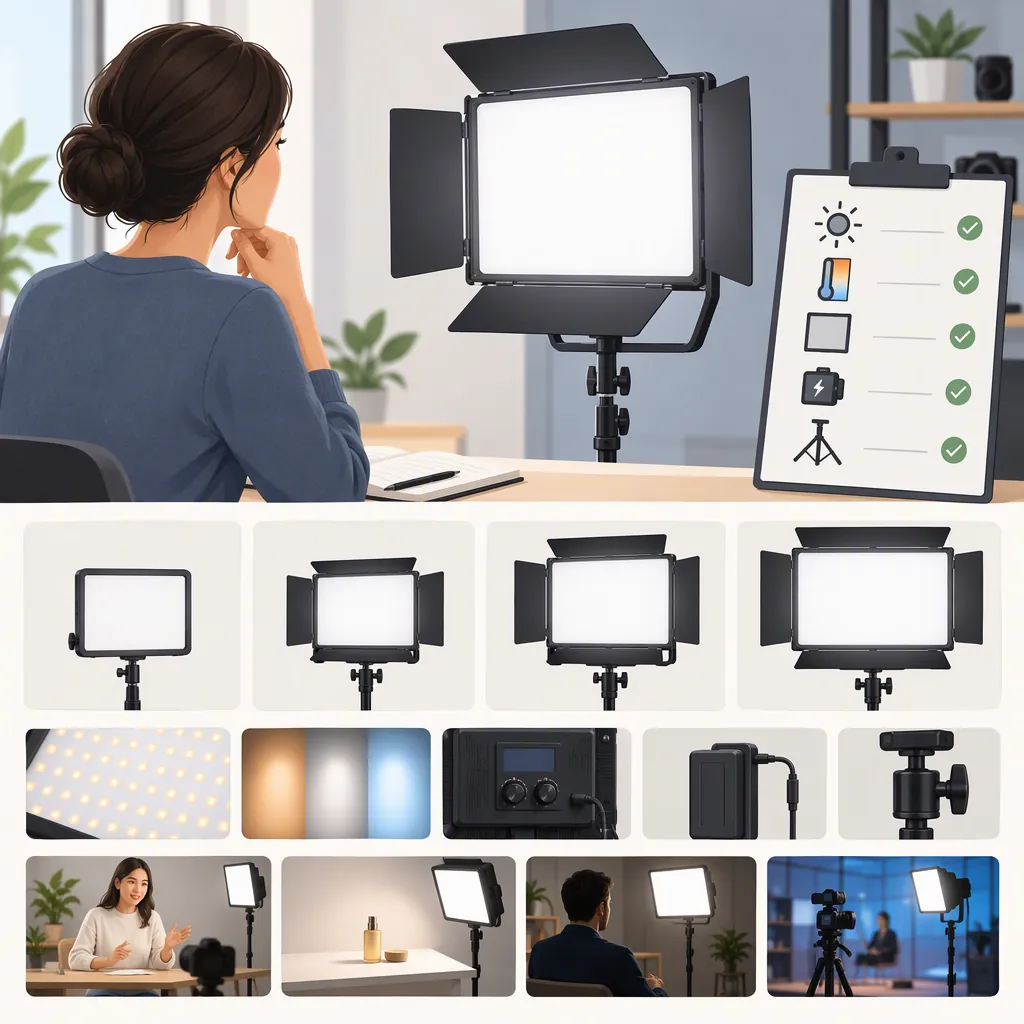
How to Choose a Raleno Led Video Soft Light Panel for Filming
To choose a RALENO LED video soft light panel, first identify the exact model and check its mounting, power, and documented controls against your filming needs. Use documentation to build a shortlist, then—if you can access a unit—test its exposure, shadows, color appearance, and operation with your camera. A shortlist based on specifications is not the same as a verified fit for your setup.
Evidence boundary: The Amazon Live page titled “Watch RALENO LED Video Soft Light Panel Review Demo on Amazon Live” identifies a review demo. However, the captured page text available for this guide consists primarily of site navigation, not a review transcript or specification sheet. It does not verify model-specific brightness, color accuracy, runtime, dimensions, or accessories. This limitation concerns the captured text, not a conclusion about what the video itself contains. [ref_1]
The guidance below offers general selection principles and a testing method; it does not establish the capabilities of any RALENO model.
Define Your Filming Requirements First
Start with the shot rather than the product description. Record:
- Subject and framing: A seated presenter, a tabletop object, or another planned subject.
- Lighting role: Main light, supplementary light, or background light.
- Environment: Existing daylight or room lighting, available space, and reflective surfaces.
- Camera settings: Intended frame rate, shutter setting, aperture, ISO, and white balance.
- Session length: The uninterrupted recording time you need.
- Installation constraints: Available mounting position, compatible support, and access to power.
Turn these into practical acceptance criteria. For a presenter, you might require a face exposure that preserves the detail you need without changing your chosen camera settings. You might also require that shadows do not obscure the eyes and that reflections do not cover them in glasses. For a tabletop shot, your priority might be readable surface detail without distracting glare.
These are examples of criteria to define—not claims that a particular panel meets them.
Screen the Exact Model Before You Have a Sample
Record the model identifier from model-specific documentation. Do not transfer specifications from another RALENO panel simply because its name or appearance is similar.
Without a sample, you can still check whether a candidate has a documented installation and power arrangement that fits your shoot. Separate included items from optional accessories, and mark missing information as unverified.
Understand What Each Specification Helps You Decide
| Information to check | Why it matters for filming | How to assess it |
|---|---|---|
| Dimensions, weight, and mounting details | The panel and its support must fit the available space and planned position. | Check the documented mount interface, adjustment options, weight, and support compatibility. Do not assume a stand or adapter is included. |
| Light-output measurements | Output information can help assess whether a candidate deserves further evaluation at your working distance. | Compare measurements only when distance, settings, measurement position, and diffusion conditions are comparable. |
| Brightness controls | You may need to adjust the light without changing your chosen camera exposure. | Verify the documented control range; confirm useful adjustment in a camera test rather than assuming every setting will suit your shot. |
| Color-temperature controls | The intended appearance depends partly on how the panel is used alongside daylight or room lighting. | Check the documented range against your planned environment. A matching color-temperature number alone does not establish identical color rendering. |
| Illuminating area and diffusion arrangement | The light’s apparent size and position influence shadow appearance. | Consider the light-emitting area relative to the subject and its distance, then verify the result at your planned framing. |
| Power options and runtime information | The power arrangement needs to cover the session without an unplanned interruption. | Verify compatible power sources and any stated runtime conditions, including brightness settings. Do not assume compatibility or runtime. |
| Included accessories | A panel alone may not constitute a complete usable setup. | List included items separately from the mounting and power accessories your setup requires. |
A larger apparent light source generally produces softer shadow transitions than a smaller one under otherwise comparable conditions. Moving a light closer can increase its apparent size, but also changes illumination and coverage. Treat placement as something to evaluate, not as a guarantee attached to the phrase “soft light.”
Build a Documentation-Based Shortlist
For each candidate, record:
Exact model:
Documentation source and date:
Required mounting arrangement:
Documented compatible power arrangement:
Output measurements and their test conditions:
Documented brightness and color controls:
Included items:
Missing information:
Shortlist decision: Candidate / Does not meet documented requirement / Unresolved
A candidate can remain on the shortlist even when its camera performance is untested. However, an unresolved essential requirement—such as how to mount or power it—should remain visible rather than becoming an assumed match.
Validate the Panel with Your Camera When a Unit Is Available
Use the intended filming setup, not just a convenient demonstration position. A repeatable test helps separate changes caused by the panel from changes caused by the camera or room.
- Arrange the actual shot. Use the planned subject, framing, panel position, and existing lighting.
- Fix exposure and white balance. Keep them unchanged within each comparison so automatic adjustments do not obscure differences.
- Record a baseline. Capture a clip with the panel off, then another with it on.
- Log the conditions. Record panel distance, angle, controls, power source, and camera settings.
- Change one variable at a time. Test a different position or brightness setting separately.
- Review the footage. Check subject exposure, shadow transitions, reflections, and color appearance against your acceptance criteria.
- Check intended recording settings. Look for visible brightness fluctuations or banding at every frame-rate and shutter-setting combination you plan to use.
- Evaluate session duration. Use a documented, compatible power arrangement for the planned recording length. Record interruptions or changes rather than assigning an assumed runtime.
For exposure, inspect both the important highlights and darker subject areas. For shadows, look at the areas that matter to the shot, such as eyes, facial contours, or product detail. For reflections, review the actual camera angle: a lighting position that looks acceptable from elsewhere may not work in the recorded image.
If color consistency matters, include the same neutral reference or relevant subject colors in each comparison. This is a practical appearance check, not a substitute for a calibrated color-accuracy measurement.
Camera Test Log
Clip identifier:
Camera exposure, white balance, frame rate, and shutter setting:
Panel position, distance, and angle:
Panel controls and power source:
Recording duration:
Subject exposure: Acceptable / Unacceptable / Unclear
Shadow appearance: Acceptable / Unacceptable / Unclear
Reflections: Acceptable / Unacceptable / Unclear
Color appearance: Acceptable / Unacceptable / Unclear
Brightness fluctuations or banding: Observed / Not observed in this test / Unclear
Interruptions or other changes:
Conditions needing a repeat test:
“Not observed in this test” is more precise than declaring a panel flicker-free. Likewise, successful operation for one session establishes an observation under those conditions, not a universal runtime.
Make a Selection Without Turning Unknowns into Claims
Keep three evidence categories separate:
- Documented: A feature stated in exact-model documentation.
- Observed: A result recorded in your own test under stated conditions.
- Unknown: A detail that remains undocumented or untested.
Use the same requirements when comparing candidates. Where possible, keep the subject, camera settings, light position, and environment consistent. If conditions differ, record the differences rather than presenting the results as directly equivalent.
| Requirement | Documented evidence | Observed result | Decision |
|---|---|---|---|
| Fits planned mounting position | Record or mark unknown | Record or mark untested | Meets / Does not meet / Unresolved |
| Has a compatible power arrangement | Record or mark unknown | Record session result if tested | Meets / Does not meet / Unresolved |
| Provides acceptable exposure and appearance | Record relevant specifications and conditions | Record camera result | Meets / Does not meet / Unresolved |
| Supports intended recording duration | Record stated conditions, if available | Record duration and interruptions | Meets / Does not meet / Unresolved |
Before access to a unit, the appropriate outcome may be a documented candidate for testing. After testing, it may be suitable for the tested setup, unsuitable for the tested setup, or insufficient evidence. None of these outcomes establishes a general ranking of RALENO panels.
FAQ
Are Any Raleno Panel Specifications Verified in This Guide?
No. The captured Amazon Live page text identifies a review-demo title but does not substantiate model-specific technical specifications or performance. Exact-model documentation is still needed. [ref_1]
How Should I Compare Brightness Figures Measured at Different Distances?
Do not treat them as directly equivalent. First look for measurements taken at the same distance and under comparable settings, diffusion, and measurement conditions. If those conditions are missing or different, mark the comparison as unresolved rather than choosing solely by the larger number.
Does “Soft Light” Guarantee the Shadow Appearance I Want?
No. Evaluate the apparent size and position of the light relative to your subject, then inspect the recorded shadows at your intended framing. The label alone does not establish the result in your setup.
What Can I Decide Without Having the Panel?
You can screen documented dimensions, mounting compatibility, power requirements, controls, and included accessories. You can also identify missing test conditions or unanswered questions. This can produce a shortlist, but it cannot verify the panel’s recorded appearance with your camera.
What Should I Test First?
Begin with the intended shot and fixed camera settings. Check exposure, shadows, reflections, and color appearance before testing alternative positions and the full session duration. Use only a documented, compatible mounting and power arrangement, and leave untested requirements unresolved.