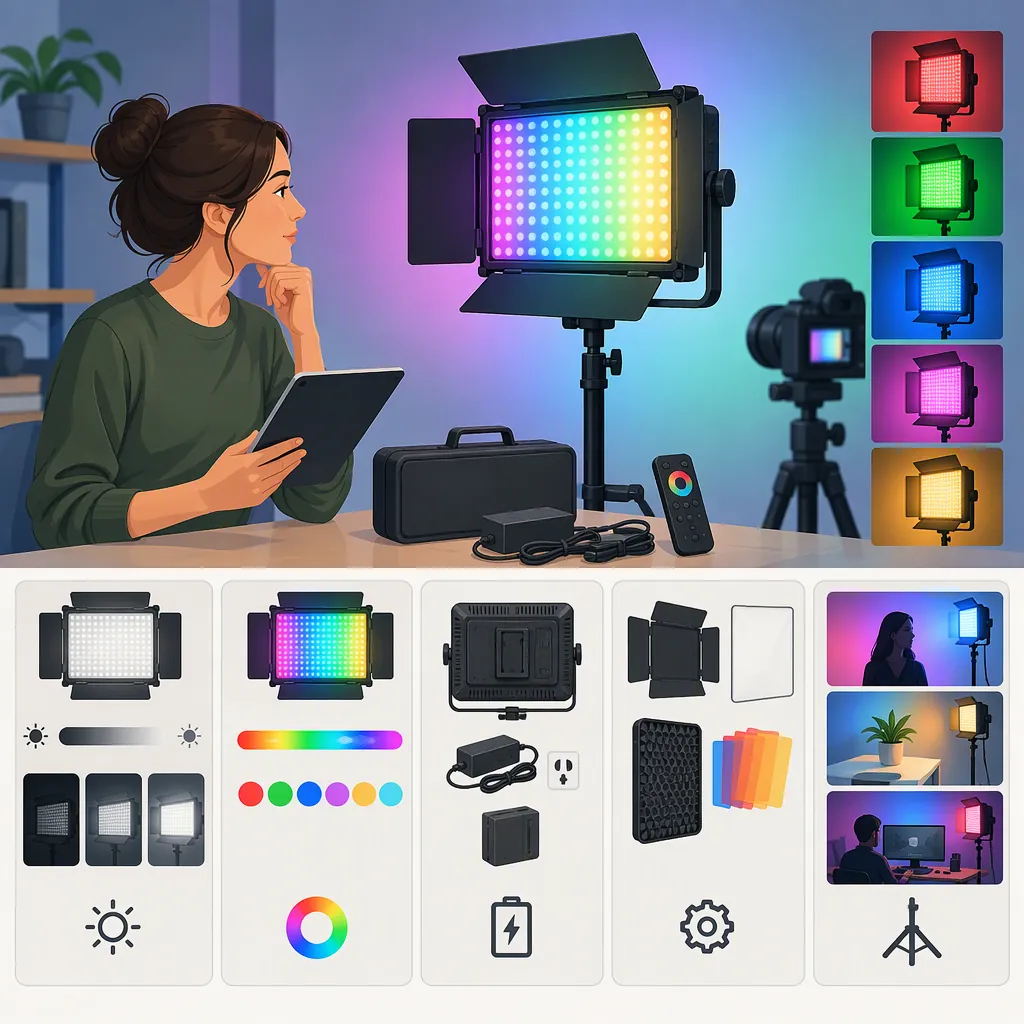
How to Evaluate a Neewer 660 RGB Led Light for Filming
Evaluate a Neewer 660 RGB LED light against your intended lighting role, not the model name alone. Confirm the exact version, then test exposure, shadows, color, controls, and power in your planned setup. The provided sources describe an RGB660 and an RGB660 Pro; they are not a controlled comparison or proof that both versions perform identically. [c1] [c2]
Identify the Exact Model and Evidence
The supplied evidence consists of Dan Mears’s RGB660 review and a Woodland Hills Camera listing for the RGB660 Pro. The review describes the author’s own use, while the retailer page lists features for a Pro model. Keep those sources separate rather than combining their details into a single specification sheet. [c1] [c2]
Neither source establishes how every unit sold under a similar name will behave. This guide therefore uses their descriptions to identify questions worth checking, not to certify performance, current app compatibility, or package contents.
Before comparing options, record the full model name and the contents of the particular package. Treat stands, batteries, adapters, and modifiers as separate checklist items unless their inclusion is explicitly confirmed.
Model Verification Worksheet
Complete for each candidate:
- Exact model name and identifier:
- Source describing that exact version:
- Panel quantity:
- Included adapter and power cable:
- Included stands and modifiers:
- Batteries included or separate:
- App and device compatibility confirmed on:
- Unresolved differences between the listing and documentation:
Choose the Lighting Role First
Start with the job the light must do: illuminate a face, fill shadows, separate a subject from the background, or add background color. Make each role a separate test rather than assuming one successful setup proves suitability for all of them.
Mears reports using the RGB660 for green-screen lighting and a colored background wash. These are examples from one reviewer’s setup, not guarantees of coverage or exposure in another room. [c1]
For a face-lighting test, use your intended camera settings, subject position, light distance, and modifier. Judge the recorded face and shadows. For background color, assess the visible background area and unwanted color on the subject. Avoid choosing from a bare-panel demonstration alone if your actual setup requires diffusion.
Lighting Role Test Card
1. Write the primary role: key, fill, separation, or background color.
2. Set the camera to the intended recording settings.
3. Place the subject and light at the intended working distance.
4. Add the modifier required for the shot.
5. Record a short sample at the preferred output setting.
6. Note whether exposure, shadows, background coverage, and spill meet the shot requirements.
7. Repeat for any secondary role rather than reusing the first result.
Check Diffusion, Tilt, and Spill
Pay attention to the complete assembly: panel, diffusion, barn doors, mounting bracket, and stand. In his RGB660 review, Mears reports multiple shadows at close range with the supplied diffusion and barn doors attached. He also reports that the barn doors interfered with downward tilt in his setup. These are reviewer observations, not confirmed behavior for every version. [c1]
Use those observations as inspection prompts. At the intended position, record a face or an object against a plain surface and inspect the shadows. Check whether the required tilt is possible without forcing components or improvising an unstable mounting arrangement.
If the light will sit beside or behind the subject, inspect the recording for lens flare and unwanted light on the background. Evaluate any proposed flag or modifier as part of the final setup, rather than as an assumed fix.
Physical Setup Checklist
- Required tilt achieved with the intended mounting arrangement: yes / no
- Stand and fixture secured according to their instructions: yes / no
- Shadow appearance acceptable in recorded footage: yes / no
- Diffusion tested at the final working distance: yes / no
- Lens flare checked from the final camera position: yes / no
- Spill on the subject and background acceptable: yes / no
- Any unresolved mounting or modifier issue:
Test Color, Controls, and Power
Both sources describe white-light and RGB operation, app control, and AC or NP-F battery power for the versions they cover. That overlap does not establish identical controls, battery requirements, or behavior across versions. [c1] [c2]
Test white-light and colored-light settings separately. For white light, record the subject with your intended white balance and surrounding lights. For RGB, check the actual color in the recording rather than relying only on the app’s color wheel.
Also test the control path you intend to use. If operation depends on a phone, confirm compatibility and connection on that device, then check whether essential adjustments remain accessible at the panel. The retailer’s app compatibility statements should be treated as listing information, not a current compatibility guarantee. [c2]
For power, verify the exact unit’s requirements using its documentation. The supplied sources do not establish battery runtime for your chosen battery and settings. Plan a duration test that matches the expected recording session.
Control and Power Test Log
Record the following:
- Exact light version:
- Phone, operating system, and app version:
- White-light setting tested:
- RGB setting tested:
- Settings accessible from the panel:
- Connection or reconnection issues:
- Power source and battery model, if applicable:
- Output setting and test duration:
- Interruptions or changes observed:
- Remaining checks before use:
Make a Setup-Based Decision
Use a simple decision rule: consider the light suitable only for the roles it passes in your own planned setup. A successful background-color test should not substitute for a face-lighting test, and a short mains-powered demonstration should not answer a battery-runtime question.
Keep unresolved requirements visible. The supplied evidence is a personal review and a retailer listing, not a controlled comparison of the RGB660 and RGB660 Pro. It does not establish a universal best choice. [c1] [c2]
Your final assessment should state the tested role, working distance, modifier, camera settings, and power source. That makes the conclusion specific enough to be useful without turning limited evidence into a broad product recommendation.
Final Assessment Template
Exact model:
Intended lighting role:
Tested camera settings:
Working distance and modifier:
Power source:
Requirements met:
Requirements not met:
Untested requirements:
Conclusion: suitable for the tested role / further testing needed / unsuitable for the tested role.
FAQ
Are the Rgb660 and Rgb660 Pro Interchangeable?
Do not assume so from these sources. One covers an RGB660 and the other an RGB660 Pro. Confirm the exact version’s documentation, controls, power requirements, and package contents before transferring specifications between them. [c1] [c2]
Can I Choose It as a Key Light from the Listing Alone?
A listing is not enough to establish suitability for your shot. Test the intended distance, diffusion, camera settings, and shadow appearance. Mears’s report of close-range multiple shadows is a useful inspection prompt, but it is not a universal finding for every version. [c1]
Do the Sources Establish Battery Runtime?
No runtime for your particular battery and output setting is established by the supplied material. Both sources describe NP-F battery operation, but that does not answer how long your setup will run. Verify the exact model’s requirements and perform a session-length test. [c1] [c2]