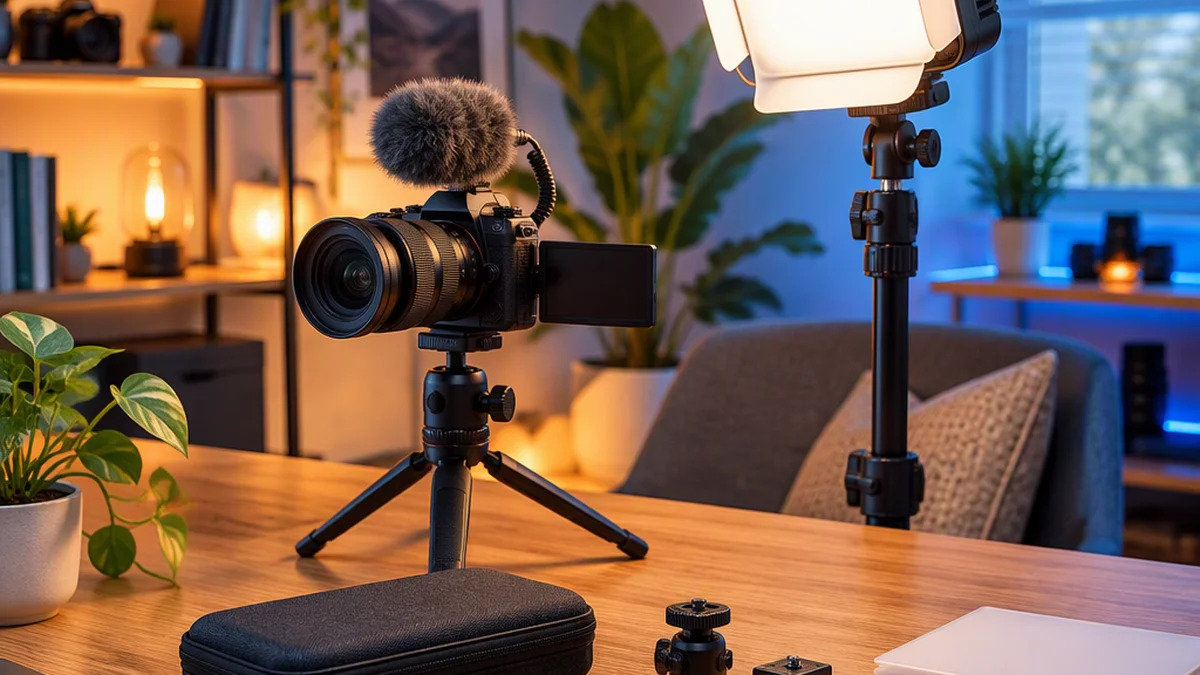
How to Choose a Neewer Led Light for Video, Photos, and Streaming
Choose a Neewer LED light by matching the exact model and kit to your shooting distance, desired light quality, available power, mounting space, and recording environment—not just its wattage or effects.
Start with the type of light your setup needs, then compare model-specific documentation. Check included accessories carefully: a fixture-only purchase and a complete kit can have very different total costs.
Start with Your Setup
Identify the most demanding job the light will realistically need to handle.
| Primary use | Prioritize | Main limitation to check |
|---|---|---|
| Desk streaming or webcam calls | Compact size, diffusion, simple controls, stable desk mounting, quiet operation | Whether the light and mount fit without obstructing your screen or camera |
| Talking-head video | Enough output through diffusion, repeatable settings, adjustable placement | Whether it can illuminate you at the planned distance without running at its limit |
| Interviews or two-person filming | Output, larger modifiers, secure stands, consistent settings | Whether the light covers both subjects and leaves room for safe positioning |
| Product photography | Even illumination, color consistency, control of reflections | Whether the source and modifier suit the product’s size and surface |
| Location filming | Battery support, manageable weight, secure mounting, fast setup | Total weight and cost with batteries, chargers, stands, and modifiers |
A light that works beside a webcam may not have enough output for a wider interview setup. Conversely, a large fixture can be inconvenient at a crowded desk even if it is brighter.
Choose the Light Type Before Comparing Features
Neewer lights can differ substantially in shape, mounting, power, and modifier compatibility. Use these categories to narrow your search, then verify the exact model.
- Panel: A starting point for compact face lighting or a setup where a relatively broad emitting surface is useful. Check diffusion, mounting flexibility, and output at your intended distance.
- Compact on-camera light: Consider when portability and camera-mounted use matter. Its small emitting surface may produce harder shadows unless you use an effective modifier.
- Tube: Consider for accent lighting, visible background elements, or narrow-space placement. Check mounting options and whether its output and coverage suit the intended role.
- COB-style fixture: Consider for a modifier-based setup using a softbox or other compatible accessory. Check the modifier mount, stand requirements, fan behavior, and space needed for the complete setup.
For a crowded desk, begin by comparing compact panels and their mounting options. For an interview, compare fixtures that support a suitably large modifier and can provide enough output through it. For mobile work, narrow the search to models with documented battery support before comparing carry weight and runtime.
Do not assume that a softbox, battery, bracket, or control accessory works with every Neewer light. Compatibility is model-specific.
Compare Useful Brightness—Not Just Wattage
Wattage describes electrical power consumption, not how much useful light reaches your subject. Output also depends on beam spread, distance, color setting, and modifiers.
When comparing published illuminance figures, usually expressed in lux, look for:
- Measurement distance: Figures measured at different distances are not directly comparable.
- Color temperature: Output may differ between settings on the same fixture.
- Modifier or reflector: A bare fixture, reflector, diffuser, and softbox can produce very different readings.
- Measurement position: A center-beam reading does not show how evenly the light covers a face or larger scene.
- Power mode: Check whether battery operation changes the available output.
Compare figures under matching conditions wherever possible. If those conditions are missing, treat the number as incomplete rather than as proof that one light is brighter.
The practical question is: Can this light provide the exposure you need at the intended distance, through the modifier you plan to use? Diffusion reduces output, so a bare-light specification alone may not answer that question.
How to Assess Output Before Buying
Check the exact model’s manual and specification sheet first. Then look for tests that identify the distance, color setting, modifier, and power source. Footage without those details may show a lighting style, but it does not establish whether the fixture will work in your setup.
If the available information does not cover your intended use, ask the seller for the missing measurement conditions. Mark unanswered questions as unverified, not as a pass.
For example, a talking-head test could use a light one metre from the subject, a compatible softbox, a 5600 K setting, and a camera recording at 25 fps, 1/50-second shutter, f/4, and ISO 400. Record the brightness setting needed for your intended exposure, check coverage across the face, and see whether enough adjustment remains for subject movement. These are illustrative test conditions, not a universal brightness requirement.
Separate Color Temperature from Color Quality
Color-temperature control helps match the light to the scene:
- Daylight-only can be straightforward when the room uses a consistent daylight balance.
- Bi-color offers flexibility between warmer and cooler settings.
- RGB adds creative color options for backgrounds and accents, but is not essential for ordinary face lighting.
Matching color temperature does not guarantee matching color appearance. Two sources can share a stated color temperature and still render skin, fabrics, or products differently.
If listed, CRI and TLCI provide information about color rendering. They are different measures and should not be treated as interchangeable or as substitutes for testing the light with your camera and subject. For color-sensitive work, inspect skin tones or representative product colors at the settings you expect to use.
Mixed lighting can also remain uneven after adjusting the LED. If a warm lamp lights one side of a face and daylight lights the other, turning off or blocking a source may help more than changing the LED’s setting.
Check that brightness and color settings are easy to read and repeat. Confirm whether remote or app control is supported and whether any required controller is included.
Understand Softness, Distance, and Diffusion
Shadow softness depends largely on the light source’s apparent size relative to the subject.
Moving the same emitting surface closer usually makes it appear larger and produces softer shadows. A small bare light can still look harsh at close range, while a larger illuminated diffuser can provide softer light.
Diffusion is most useful when it creates a larger, evenly illuminated emitting surface. A small diffusion cover does not necessarily produce the same effect as a large softbox. It also reduces the light reaching the subject.
Check:
- The size of the illuminated surface, not just the accessory’s outer dimensions.
- Whether the modifier fits the exact fixture.
- How much operating space the modifier requires.
- Whether the remaining output is sufficient.
- How far the subject can move before brightness or coverage becomes uneven.
As a starting point, place the key light slightly to one side of the camera and above eye level. Adjust angle, distance, and diffusion before adding another fixture. For reflective products, judge the shape and position of the reflection as well as the exposure.
Check Flicker and Fan Noise for Video
Brightness and color specifications do not tell you everything about recording performance. For streaming, interviews, and other sound-sensitive recording, flicker and fan behavior can determine whether a light is usable.
Verify What You Can Before Purchase
Look for model-specific test information that states the frame rate, shutter speed, brightness level, and color mode. A general “flicker-free” claim without test conditions does not establish performance at every setting.
Ask the seller or manufacturer whether the exact model has been tested at your planned frame rate and shutter speed, including the dimming range you expect to use. For fan-equipped fixtures, confirm available fan modes and whether quieter operation limits output.
If flicker or noise remains unverified, check whether the return policy allows you to test the light in your actual setup. If either issue would make the fixture unusable and you cannot test or return it, favor a candidate with better-documented performance.
Test for Flicker at Your Planned Settings
When you have access to the light:
- Set the planned frame rate and shutter speed.
- Test several brightness levels, including low dimming settings.
- Test the color settings or modes you expect to use.
- Review the footage for bands, pulsing, or changes in brightness.
A light that looks steady to the eye may still show artifacts on camera. A clean result at one frame rate, shutter speed, or brightness level does not establish performance at every setting.
Check Noise Where the Microphone Will Be
Let the fixture run at the intended output, place the microphone at its actual working distance, and record a quiet passage using your normal recording settings. Listen for fan noise and any changes as the light warms up.
Noise judged beside the fixture may not reflect what the microphone captures. Test the fan mode you intend to use, along with any resulting output restriction.
Match Power and Mounting to the Location
For a fixed desk or studio, wall power can simplify long sessions. For location work, battery operation can reduce reliance on outlets, but it adds cost, weight, and charging requirements.
Verify:
- The required power input and whether the adapter is included.
- Exact battery compatibility, if supported.
- Runtime information and its stated output conditions.
- Whether battery use limits brightness.
- Whether batteries and chargers are included.
- Cable length and connector placement.
- Total weight with the chosen power source.
Do not infer battery support from a product photograph or another Neewer model.
For mounting, confirm the thread or attachment system, bracket, tilt range, and stand requirements. Include the weight of modifiers and batteries when checking support capacity.
Measure the full operating footprint: fixture, diffuser, stand or clamp, cables, and power supply. For on-camera use, check that the light does not obstruct the viewfinder, microphone, or other accessories.
Build a Short Model Comparison
Once you have narrowed the light type, compare a few exact Neewer models and kit versions using current documentation. Mark missing information as unknown rather than assuming it matches another model.
| Comparison field | What to record |
|---|---|
| Exact model and kit | Model identifier and included accessories |
| Type and dimensions | Fixture size plus modifier and mount footprint |
| Output | Lux, distance, color setting, modifier, and power conditions |
| Color controls | Fixed color, bi-color range, or RGB capability |
| Color rendering | CRI/TLCI figures, if stated, and available test conditions |
| Dimming and controls | Adjustment range, repeatability, onboard and remote options |
| Diffusion | Included modifier and verified compatibility |
| Power | Adapter, battery type, runtime conditions, and output limits |
| Mounting | Attachment, bracket, tilt range, and total supported load |
| Video suitability | Flicker test conditions, fan modes, and noise information |
| Total cost | Fixture, stand, modifier, batteries, charger, and required hardware |
| Seller terms | Current availability, return policy, and warranty terms |
Eliminate candidates with confirmed incompatibilities first. Then separate must-have requirements from optional features: reliable mounting and adequate output matter more than effects you will rarely use.
A cheaper fixture may become the more expensive setup once required accessories are included. Compare complete usable kits, not just fixture prices.
Example Trade-Offs
These are illustrative choices, not recommendations for specific models.
- Fixed desk setup: With an outlet nearby and little room for equipment, stable wall power and a suitable desk mount may matter more than battery capability. Check that diffusion and positioning work within the available space.
- Interview setup: A larger modifier may improve shadow softness, but it requires space, a secure stand, and enough output to compensate for diffusion.
- Mobile setup: A battery-capable fixture may be convenient, but compare the complete carry weight and cost—including batteries and chargers—with your expected shooting time.
Before the First Shoot
Mount the light securely, route cables away from walkways, and leave ventilation clear. Check exposure, white balance, glare, and shadows with the actual subject in place. For video, include a short flicker and audio test.
Recheck the mount after tilting the fixture or adding an accessory, and follow the model’s operating instructions.
Bottom Line
Shortlist a Neewer LED light by its fit for your scene, then compare output under matching conditions, color controls, diffusion, power, mounting, and video behavior. Resolve critical unknowns before buying—or make sure you can test and return the light.
Buy the complete setup you need, not a headline wattage or a feature you will rarely use.