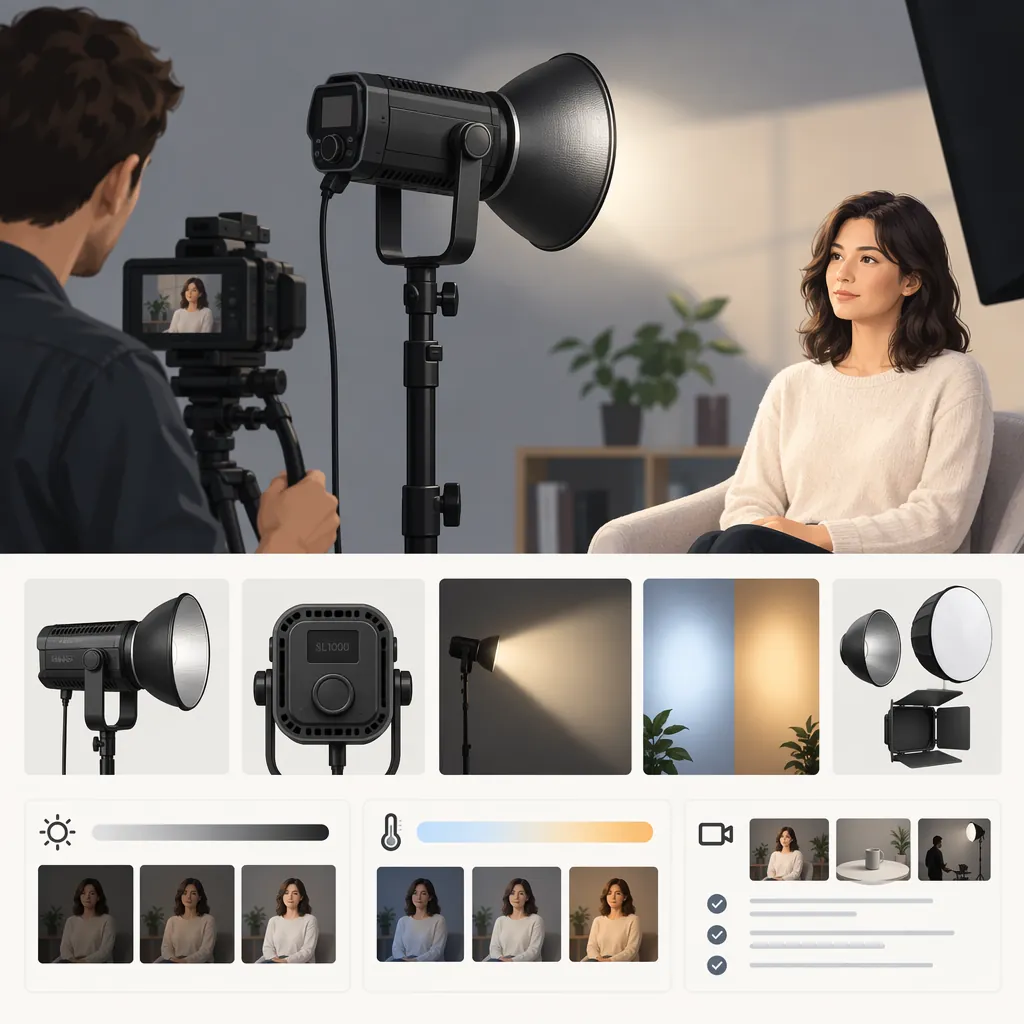
Choosing the Godox SL100D Daylight Led Video Light for Filming
Evaluate the Godox SL100D daylight LED video light against your intended shot—not a listing alone. Confirm the exact model, define repeatable acceptance criteria, review setup requirements, and test exposure, color, recorded noise, and recording-mode behavior. A suitability conclusion should cover only the configuration and conditions supported by your evaluation.
CineD identifies the SL100D as the daylight version and the SL100Bi as the bi-color version. Their specifications and listing descriptions should remain separate. [cined-2021]
Confirm the Model and the Evidence Boundary
CineD’s June 28, 2021 article is a launch announcement distinguishing the SL100D daylight model from the SL100Bi bi-color model. It provides identification context, not a hands-on laboratory evaluation or a current availability check. [cined-2021]
The referenced Amazon page is headed SL100Bi and shows SL100Bi as its selected set name, although SL100D appears among the options. The presence of that option does not make the selected variant’s description evidence for SL100D features. [amazon-sl100bi]
Before using any documentation:
- Confirm that it explicitly covers SL100D, including any model or version distinctions.
- Match the documentation to the fixture being evaluated.
- Separate fixture specifications from bundle contents and accessory requirements.
- Record the document title and any date or version shown.
- Leave missing or mismatched information unverified.
The references discussed here do not establish SL100D performance in your room or with your camera. This guide makes no independent claims about its brightness, color accuracy, fan noise, wireless reliability, or included accessories. The following procedures are general evaluation suggestions, not reported product test results.
Build One Evaluation Record
Start with a brief describing the subject, framing, camera and lens, recording mode, available space, existing light sources, and whether dialogue will be recorded.
Separate necessary requirements from optional conveniences. A convenient control feature, for example, should not offset a failed exposure or audio requirement.
Use one record throughout the process rather than maintaining separate specification, test, and decision checklists.
Record header
- Exact model and documentation: __________
- Scene, framing, and expected environmental conditions: __________
- Camera, lens, recording mode, aperture, ISO, and shutter setting: __________
- Planned light position, subject distance, and modifier: __________
- Microphone and recording chain: __________
- Expected session duration: __________
- Permitted adjustments and nonnegotiable constraints: __________
| Area | Filming Requirement and Acceptance Standard | Documentation Evidence or Gap | Test Conditions to Record | Result and Next Step |
|---|---|---|---|---|
| Exposure | Define subject targets and which important highlights must retain detail | Record any output information and its stated measurement conditions | Camera settings, exposure tool, monitoring transform, distance, modifier, and light setting | Pass / fail / unresolved; identify adjustment or missing test |
| Color | Choose a reference appearance for the subject, neutral reference, and background | Record relevant information and its limitations | Manual white balance, other light sources, reference frame, display, and viewing conditions | Pass / fail / unresolved; note unacceptable differences |
| Audio | Define acceptable dialogue and room-tone playback | Record any relevant documentation; do not assume it represents your recording | Microphone position, gain, processing, operating duration, test length, and playback level | Pass / fail / unresolved; identify noise or missing evidence |
| Dimming and motion | List every required brightness level and recording mode | Record explicitly documented conditions or restrictions | Brightness, frame rate, shutter setting, and clip length | Pass / fail / unresolved; note unwanted changes or banding |
| Practical fit | Require compliant mounting, power, ventilation, cable routing, and usable access | Check exact-model and accessory instructions | Complete layout, stand, modifier, cables, and location constraints | Pass / fail / unresolved; resolve conflicts before operation |
Add separate rows when a requirement must pass under more than one condition, such as different window-light situations or recording modes.
Make Acceptance Criteria Repeatable
Define what counts as a pass before evaluating the light. The aim is not to impose a universal performance threshold, but to make your own production requirements clear enough to repeat.
Exposure
Choose the monitoring tool you will use, such as a waveform, false color, or zebras, and record its configuration. Also record any monitoring transform or LUT.
Identify the subject area you will judge and the important highlights that must retain detail. Write down your targets or permitted range for that camera workflow. If using a reference frame instead of numerical targets, save it and specify the comparison method.
Keep the intended aperture, ISO, and shutter setting fixed unless the brief explicitly permits changes. Otherwise, a camera-setting change can conceal a failure to meet the original requirement.
Color
Select or create a reference frame representing the intended appearance. Include a neutral reference alongside the actual subject and relevant background colors in the evaluation frame.
Record manual white balance and keep the viewing display, display settings, image-processing settings, and room viewing conditions consistent during comparison. Specify which differences would require correction or make the setup unacceptable. “Looks intentional” is useful only when the intended appearance has been defined.
Audio
Fix the microphone position, recording gain, processing settings, and playback volume before comparing recordings. If automatic gain or processing is part of the intended workflow, record that choice rather than allowing it to change unnoticed.
Predefine:
- How long the fixture will operate before each recording.
- The duration of dialogue and room-tone samples.
- The spoken passage and approximate delivery level.
- Whether acceptance requires clean raw audio or permits specified processing.
Listen for whether equipment noise distracts from dialogue or exceeds the room-tone standard you selected. Avoid turning up one comparison clip more than another without noting the change.
Dimming, Motion, and Practical Fit
List the brightness levels, frame rates, and shutter settings the production actually requires. Specify clip length and review conditions, then inspect for unwanted brightness changes or visible banding.
For practical fit, require the complete setup to follow the relevant fixture and accessory instructions. Include space for the modifier, stand, cables, ventilation, and people moving around the set—not just the light head.
These are general testing methods. They do not establish SL100D-specific thresholds or performance.
Review Documentation Before Testing
If no unit is available, fill in the evidence column of the evaluation record first.
Check exact-model documentation for power requirements, dimensions and weight, modifier attachment, mounting instructions, ventilation requirements, and operating restrictions. Review stand and modifier documentation as well.
Where performance information is reported, record its conditions: distance, reflector or modifier, control setting, measurement method, and any stated operating conditions. Note missing details and differences from your brief.
This review can reveal a documented conflict with a nonnegotiable constraint. It does not automatically establish acceptable images or audio in your setup. Identify which remaining questions need relevant evidence or a camera-and-audio test.
Test the Complete Filming Setup
If a unit is available, use the planned camera, modifier, microphone, and placement. Follow the applicable mounting and electrical instructions; do not improvise around an unresolved power or mounting requirement.
Work through the same evaluation record:
- Exposure: Record the intended scene at the planned camera settings. Inspect the defined subject and highlight areas with your chosen monitoring tool.
- Color: Record the subject, neutral reference, and background at the documented manual white balance. Compare with the reference under consistent viewing conditions.
- Audio: After the predefined operating interval, record the dialogue passage and room tone using the fixed recording chain. Review at the chosen playback level.
- Dimming and motion: Record each required combination of brightness, frame rate, and shutter setting. Inspect the clips using the same review procedure.
- Practical fit and repeatability: Check the complete layout, keep cables out of walking routes, and save a setup photo with control settings and placement notes.
If you adjust the light position, modifier, camera settings, or microphone placement, record the change and retest affected requirements. When comparing another fixture, use the same brief and procedure.
Example: An Unresolved Window-Side Interview
The following is a hypothetical planning record, not an account of SL100D performance. Its settings and durations illustrate how to document a test; they are not recommended product limits.
Brief: A seated, medium-close interview beside a window, recorded at 24 fps, a 1/48-second shutter setting, f/4, and ISO 800. Dialogue is essential. The microphone remains 30 cm from the speaker. The light and modifier must stay within a marked floor area without blocking the exit.
Permitted adjustments: Reposition the fixture within the marked area, adjust brightness, or change to another documented-compatible modifier.
Not permitted: Change camera exposure settings, move the microphone, or block the exit.
| Area | Necessary Requirement | Evidence and Planned Test | Current Result |
|---|---|---|---|
| Model and setup | Confirm SL100D identity and compliance of fixture, stand, modifier, and power arrangement | Obtain exact-model and accessory documentation; check the complete layout before operation | Unresolved |
| Exposure: bright window | Meet predefined subject targets and preserve designated highlights | Record time, weather, curtain position, window contribution, and other room lights; test using the saved waveform configuration | Unresolved |
| Exposure: reduced window light | Meet the same exposure criteria when the window contribution is lower | Repeat with the planned lower-window-light condition; record what changed | Unresolved |
| Color | Keep subject and background appearance within the approved reference | Compare both window conditions at the recorded manual white balance on the same display | Unresolved |
| Audio | Dialogue remains clear and room tone meets the agreed playback standard | Record 60 seconds of dialogue and 30 seconds of room tone after 20 minutes of operation, with fixed gain, processing, and playback level | Unresolved |
| Recording behavior | No unwanted brightness changes or visible banding in required settings | Record clips at every brightness level needed for the two window conditions | Unresolved |
Next step: Resolve documentation and layout questions, then complete the two-condition camera-and-audio test.
Testing only the bright-window condition would leave the reduced-window-light requirement unanswered. Record the actual conditions rather than relying on labels such as “daylight” or “cloudy.” If the shoot encounters conditions outside those tested, reassess the affected requirements.
Turn the Record into a Selection Decision
Use the evidence and results—not optional features—to reach a conclusion:
- Suitable for the tested brief: Every necessary requirement passes. State the configuration and environmental conditions covered.
- Adjust and retest: A failed requirement may be addressed through a permitted change. Keep the original failure recorded and retest affected requirements.
- Unsuitable for the brief: A necessary requirement still fails after permitted adjustments, or a verified setup requirement conflicts with a nonnegotiable constraint.
- Insufficient evidence: A necessary item remains unverified or untested. Name the missing evidence or test.
A pass for one desk setup, window condition, distance, or recording mode is not a general verdict on the Godox SL100D.
FAQ
Are the Godox SL100D and Sl100bi the Same Model?
No. CineD’s announcement identifies the SL100D as the daylight version and the SL100Bi as the bi-color version. Keep model-specific evidence separate. [cined-2021]
Will the SL100D Provide Enough Light for My Filming Setup?
The references discussed here do not establish that for your scene. Check exposure at your intended camera settings, distance, modifier, and environmental conditions against predefined subject and highlight targets.
Can the Referenced Amazon Listing Verify SL100D Features?
Not by itself. The referenced page is headed SL100Bi and shows that variant selected; an SL100D option does not validate the selected description for SL100D. [amazon-sl100bi]
How Should I Judge Noise for Dialogue Recording?
Use the intended microphone position, gain, processing, and operating duration. Record dialogue and room tone, then listen at a fixed playback level against a standard chosen before testing.
Can I Decide Without Hands-On Testing?
Documentation may confirm stated setup requirements or reveal a disqualifying constraint. If a necessary performance question remains unanswered, retain insufficient evidence and specify the next test needed.