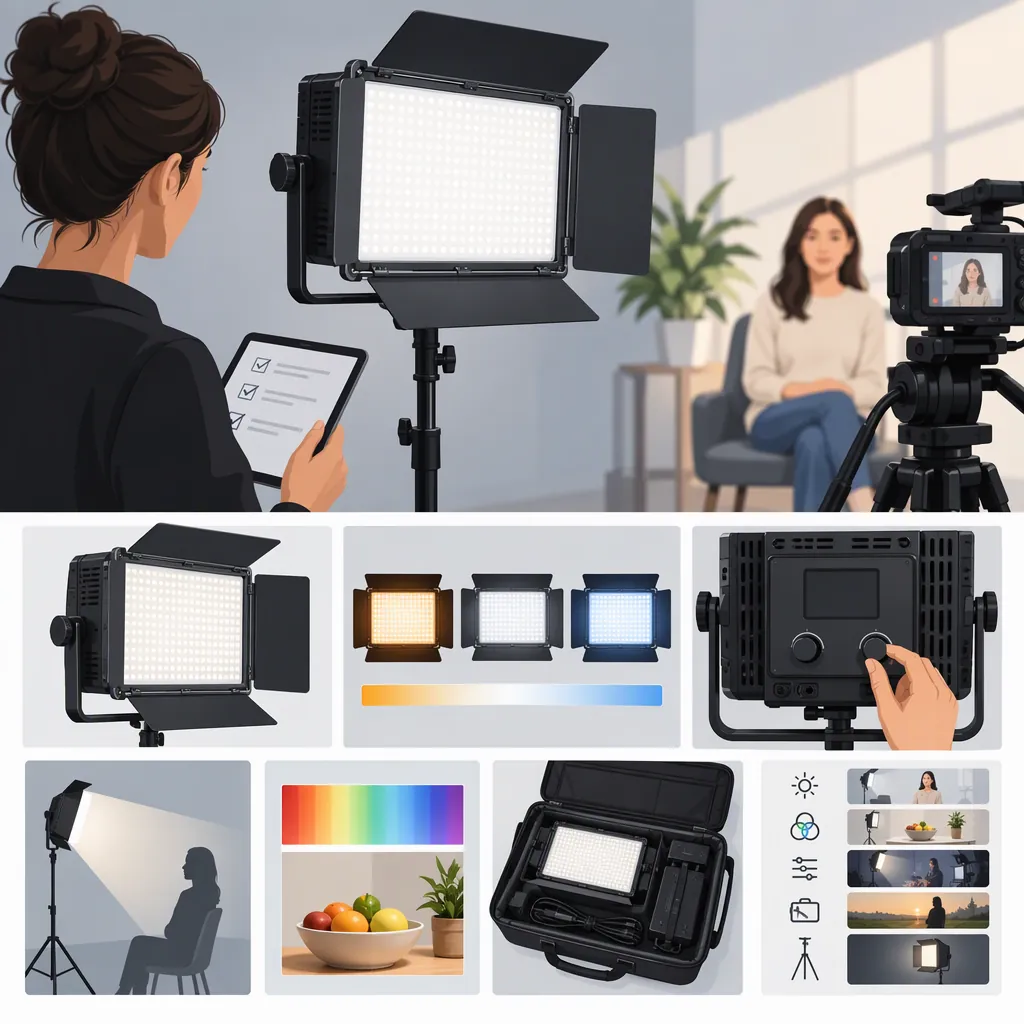
Choosing a Godox P260c Led Light for Filming
For a search such as “led godox p260c,” first confirm the exact model, then evaluate the light at your intended filming distance, camera settings, and mounting position. The supplied review covers the Godox LEDP260C; the other source is a P260C stand-base listing, not a lighting performance test. These references alone do not establish suitability for your shoot. [review] [base]
Confirm the Model Before Comparing Equipment
Do not treat a shortened search term as a complete equipment specification. The review names the Godox LEDP260C, while Fotoconic names its accessory Godox P260C Light Stand Base and separately lists LEDP260C and P260C PRO products. Those names are a reason to verify the label, not evidence that every version shares accessories or performance. [review] [base]
Before evaluating a setup, record the exact model name from the unit or its documentation. Check the power supply, mounting interface, and included components against documentation for that model. Keep accessory compatibility as an open question until it is confirmed.
The supplied material contains a personal review and a retailer listing. It does not include a manufacturer manual or a controlled comparison of the models.
Model Verification Record
Exact model on unit:
Documentation checked:
Power supply identification:
Mounting interface:
Included components:
Accessory compatibility confirmed by:
Unresolved questions:
Evaluate the Image at Your Filming Distance
Use an actual scene test rather than a headline brightness figure as your selection method. The review supplies an output figure and color-related specifications, but those reported values are not a guarantee of exposure or appearance in your room. [review]
For a proposed test, place the subject and camera where they will be during filming. Set the intended frame rate, shutter setting, aperture, ISO, and white balance; keep them fixed during comparisons. Position the light where the set allows it, rather than moving it unusually close just to obtain a brighter image.
Review the recording for acceptable exposure, facial shadows, reflections in glasses, background balance, and visible banding or flicker. Repeat at the brightness and color settings you expect to use. Treat this as a check of that particular setup, not proof of performance at every recording mode.
If you plan to add diffusion or another modifier, repeat the test with it in place. Judge the final configuration rather than the bare light alone.
Camera Test Log
Scene and subject:
Light-to-subject distance:
Camera and recording mode:
Shutter / aperture / ISO:
White balance:
Light settings:
Modifier configuration:
Exposure acceptable: Yes / No
Shadows and reflections acceptable: Yes / No
Visible banding or flicker:
Changes needed:
Check Power, Mounting, and Recorded Sound
The review discusses adapter and battery operation, mounting concerns, and sounds during warm-up. Its battery-runtime discussion is explicitly based on calculations rather than measured runtime tests. Treat these details as questions to investigate, not promised operating results. [review]
For power planning, verify the requirements in the exact model's documentation. If battery operation is intended, conduct a timed rehearsal at your planned settings and include a reserve in the schedule. Do not base a continuous recording plan solely on the review's estimates.
For mounting, inspect the actual stand, attachment, locks, and cable routing before recording. The accessory listing describes a stand base with a handheld function and tilt adjustment, but its description does not independently establish compatibility or stability for your complete rig. [base]
For audio, record a quiet passage with the microphone in its working position during warm-up and normal operation. Listen to the recording rather than relying only on how the room sounds to you.
Pre-Recording Check
- Confirm model-specific power requirements.
- Rehearse the planned recording duration.
- Inspect the stand, attachment, and locks.
- Route cables away from walkways.
- Check the intended tilt with the full setup installed.
- Record and review a quiet audio sample.
- Note unresolved issues before filming.
Make a Shoot-Specific Selection
Define your acceptance criteria before comparing lighting options: usable exposure at the required distance, acceptable shadows and reflections, sufficient recording duration, a secure mounting arrangement, and acceptable recorded sound.
Use the same scene and camera settings for each candidate. Mark each criterion as passed, failed, or not verified. A missing test result should remain unknown rather than being filled in from a product name, an accessory description, or someone else's experience.
The supplied review can identify areas to examine, and the accessory listing can help identify a mounting question. Neither replaces model-specific documentation or a rehearsal of your own scene. [review] [base]
FAQ
Does “P260c” Always Mean the Ledp260c Reviewed Here?
Do not assume that it does. The review uses LEDP260C, while the retailer page uses P260C for a base and also names a P260C PRO product. Confirm the full model label and documentation before applying specifications or choosing accessories. [review] [base]
Can I Rely on the Review's Battery-Runtime Estimates?
Use them only as planning context. The reviewer says the runtime figures were calculated, not tested. Verify the documented battery requirements and rehearse the intended recording duration with the actual batteries and light settings. [review]
Do These Sources Prove the Light Is Suitable for My Filming Setup?
No. A personal review and an accessory listing do not establish results for your camera, room, subject distance, or recording duration. Use them to prepare questions, then evaluate the exact unit in a representative scene. [review] [base]