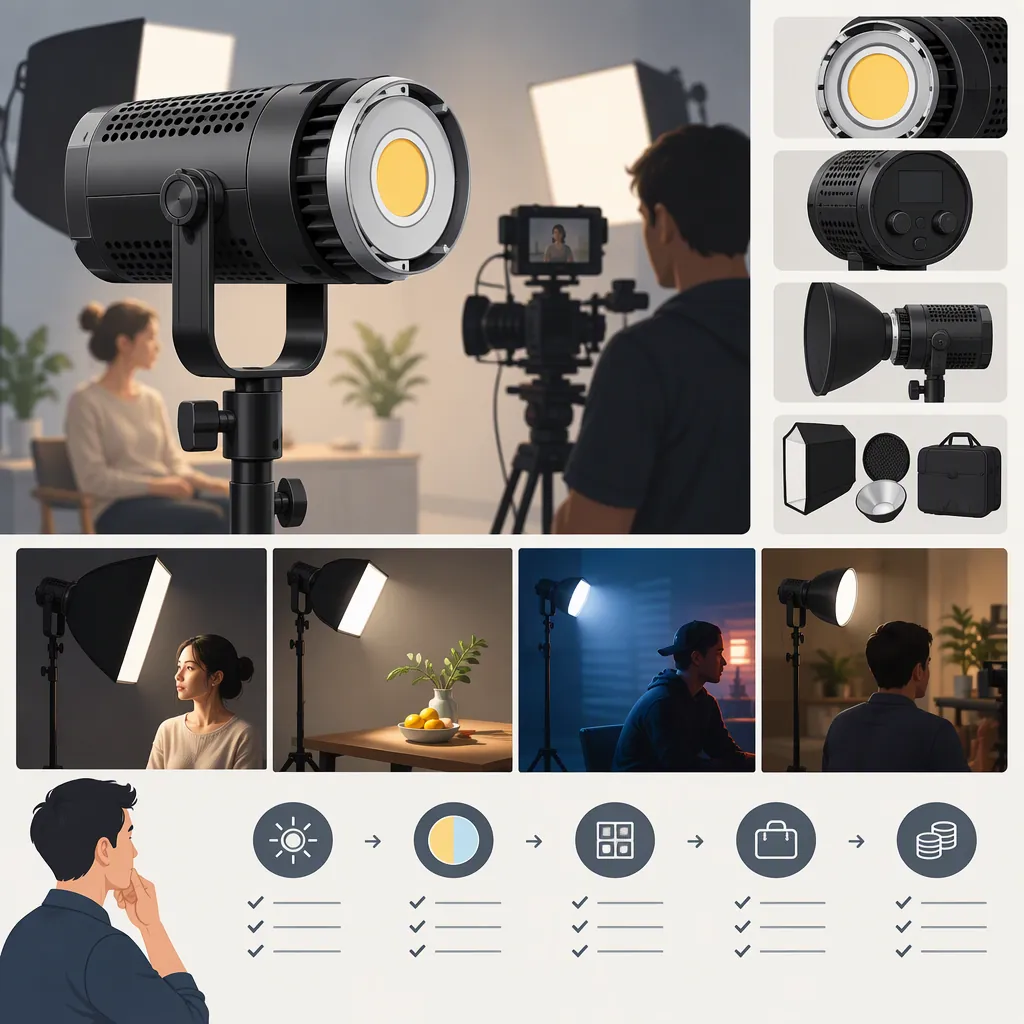
How to Evaluate the Godox Ml60bi Led Light for Filming
Evaluate the Godox ML60Bi LED light using the conditions of your planned shoot: camera settings, subject distance, modifier, ambient light, microphone placement, power needs, and accessory compatibility. A useful selection decision explains both whether the setup works and what compromises it requires.
Evidence boundary: PROCAM’s listing covers the ML60, while SLR Lounge’s review covers the ML60II Bi and discusses the older ML60/Bi separately. Neither provides a dedicated, complete ML60Bi specification sheet or a test of your intended setup. Their specifications and performance conclusions should not be transferred to the ML60Bi. [c1] [c2]
This guide provides a verification and testing process, not a tested recommendation or an asserted specification set for the ML60Bi.
Verify the Exact Model and Package
Check the model name printed on the fixture against documentation for that exact version. Similar names are not enough: the ML60 listing and ML60II Bi review concern distinct products. [c1] [c2]
Keep three questions separate:
- What does the fixture support? Verify power options, controls, operating restrictions, and modifier mounting.
- What does the package include? Check the exact kit identifier and accessory list.
- What does your shoot require? Identify any additional hardware needed for the complete setup.
Record the documentation behind each verification. Leave a field marked unverified if the exact-model evidence is missing; do not fill it with a neighboring model’s specification.
Model Verification Worksheet
| Item | Record |
|---|---|
| Exact model printed on the fixture | ______ |
| Exact model shown in the documentation | ______ |
| Kit or package identifier | ______ |
| Document name and source or file identifier | ______ |
| Document version or date | ______ |
| Relevant pages or sections | ______ |
| Confirmed power options and restrictions | ______ |
| Confirmed modifier mount and required adapter | ______ |
| Included accessories | ______ |
| Specifications still unverified | ______ |
For each power or mounting entry, note which document section supports it. This makes “verified” a traceable result rather than an assumption.
Define the Shot Before Testing Output
Start with the image you need, not a brightness number. For an interview, define the subject position, framing, background, and intended light placement. For tabletop filming, define the working area, required detail, and acceptable reflections.
Write down the constraints you intend to preserve:
- Frame rate and shutter setting.
- Aperture and required depth of field.
- ISO and acceptable image noise.
- White balance and intended color appearance.
- Light-to-subject distance and available placement space.
- Modifier and desired shadow softness.
- Ambient light, other fixtures, and window-light control.
- Target exposure for the subject and the acceptable relationship to the background.
If you do not yet have a numerical exposure target, use an approved reference image or test frame as a visual target. Decide what detail must remain visible and which highlights must not clip before judging the candidate light.
SLR Lounge notes uncertainty about standardized lux information for the ML60II Bi and its brightness relative to its predecessor. Those observations support caution about that comparison, not a conclusion about ML60Bi output. [c2]
Repeatable Exposure and Video Test
- Set the intended frame rate, shutter setting, aperture, ISO, and white balance.
- Place the subject, camera, and light at their planned positions.
- Fit the intended modifier using verified compatible hardware.
- Record the light-to-subject distance, fixture settings, and modifier.
- Record the ambient-light conditions: other lights on or off, window coverings, and any changing daylight. Keep these conditions consistent when comparing candidates.
- Capture a short clip showing the subject, background, and a neutral reference.
- Review subject exposure, skin or product color, reflections, shadow appearance, and background balance.
- Replay the clip to check for visible flicker or bands at the planned frame rate, shutter setting, and dimming settings. This is a general video check, not a claim that the ML60Bi has or lacks such behavior.
- Repeat at each color-temperature and dimming setting required for the shoot, where supported by the exact unit.
- Record the result and any changes needed to achieve it.
Interpret the Result
Pass: The subject reaches the project’s target exposure and visual appearance with the planned camera settings, modifier, distance, and ambient conditions. The recorded clip also meets your requirements for color and visible flicker or banding.
Fail: The subject cannot reach the target within those constraints, or an unacceptable image issue remains at a required setting. For example, if output is insufficient with the intended softbox at the planned distance and maximum permitted fixture setting, record that setup as failing—not the light as universally unsuitable.
Conditionally suitable: The image works only after a change you could accept. Record the tradeoff explicitly: opening the aperture changes depth of field; raising ISO may exceed your preferred noise level; moving the fixture changes the planned placement; changing the modifier may alter shadow appearance. Retest the revised setup.
Unverified: A required condition was not tested, the ambient light changed enough to prevent comparison, or the hardware or setting could not be confirmed.
Check Audio in the Recording Setup
Do not use a quiet-fan description as a substitute for a recording test. PROCAM describes the ML60 fan as ultra-quiet, and SLR Lounge describes the ML60II Bi fan favorably; neither establishes the ML60Bi’s recorded noise in your room. [c1] [c2]
Record speech and room tone with the microphone in its intended position. Keep microphone placement and gain unchanged while comparing the light off and operating. Use a session representative of the planned recording length, following the exact unit’s operating instructions.
Listen under the monitoring conditions used to assess your production audio. Note whether operating the fixture introduces noise that conflicts with the project’s requirements.
- Pass: The recording meets your audio requirements with the light operating in its planned position.
- Fail: Unacceptable noise remains in a required operating setup.
- Conditionally suitable: A permitted change—such as repositioning the light or microphone—resolves the issue, and the revised image and audio both pass.
- Unverified: Only a brief or nonrepresentative recording was checked, or microphone settings changed between comparisons.
Audio Test Record
- Planned recording duration: ______
- Microphone position and gain: ______
- Fixture position and operating settings: ______
- Room-tone recording with light off: ______
- Room-tone recording with light operating: ______
- Speech recording assessment: ______
- Result and any required changes: ______
Verify Power for the Full Recording Session
List the required recording duration and available outlets before selecting a power configuration. Confirm the exact ML60Bi’s supported supply, battery hardware, and operating restrictions in its documentation.
The PROCAM listing and SLR Lounge review describe power arrangements for the ML60 and ML60II Bi respectively; they do not establish runtime for the original ML60Bi. [c1] [c2]
Use a documented or measured runtime for the exact fixture, batteries, and intended settings. Do not treat an untested battery arrangement as a reliable session plan.
- Pass: The verified configuration covers the planned recording duration and your chosen contingency, within documented operating restrictions.
- Fail: Available power cannot cover the required session, or the configuration conflicts with the exact unit’s instructions.
- Conditionally suitable: A verified alternative supply or a planned power change solves the limitation, and any recording interruption is acceptable.
- Unverified: Compatibility, runtime, or a relevant operating restriction remains unknown.
Power Check
- Planned recording duration: ______
- Available outlets or other verified supply: ______
- Exact batteries and power hardware, if applicable: ______
- Intended fixture settings: ______
- Documentation supporting compatibility: ______
- Documented or measured runtime and test conditions: ______
- Contingency for interruption: ______
- Result and limitations: ______
Evaluate the Complete Kit
Assess the assembled setup rather than the light head alone. Include the modifier, mounting hardware, stand, power supply, batteries, charger, cables, and transport case where applicable.
For the ML60II Bi, SLR Lounge describes optional battery grips, separately purchased batteries, and a separately purchased Bowens adapter. These details illustrate why kit contents and compatibility need separate checks; they do not verify the ML60Bi package or mount. [c2]
Check the complete setup against your available floor space, transport limits, setup time, cable routing, and access to controls. Verify mounting and load requirements in the relevant equipment documentation.
Compatibility passes when the required components are documented as compatible and can be assembled according to their instructions. A known mismatch fails; a missing adapter specification or unclear mounting requirement remains unverified. Do not treat a component’s apparent physical fit as sufficient verification.
Workflow fit passes when the assembled kit meets your stated space, transport, and setup constraints. If it works only with additional equipment or a changed layout, record those conditions rather than judging portability from the fixture alone.
Make a Conditional Selection Decision
Use the exact setup’s evidence to reach a conclusion. A pass in one area does not resolve a failure or uncertainty in another.
Final Selection Record
| Requirement | Evidence From the Exact Setup | Result |
|---|---|---|
| Target exposure with intended camera settings, distance, and modifier | Test clip, settings, and exposure assessment: ______ | Pass / Fail / Conditional / Unverified |
| Acceptable color, shadows, and reflections | Image assessment against project target: ______ | Pass / Fail / Conditional / Unverified |
| No unacceptable flicker or bands at required video settings | Recorded settings and playback assessment: ______ | Pass / Fail / Conditional / Unverified |
| Acceptable recorded audio | Matched light-off/light-on recordings: ______ | Pass / Fail / Conditional / Unverified |
| Power for the planned session and contingency | Exact configuration and runtime evidence: ______ | Pass / Fail / Conditional / Unverified |
| Verified mounting and accessory compatibility | Documentation and assembled-kit check: ______ | Pass / Fail / Conditional / Unverified |
| Acceptable setup and transport requirements | Complete-kit assessment: ______ | Pass / Fail / Conditional / Unverified |
Decision: ______
Required changes and their tradeoffs: ______
Unresolved limitations: ______
Consider the ML60Bi suitable for the tested shoot when all essential requirements pass. Use “conditionally suitable” when agreed changes have been tested and their tradeoffs are acceptable. If an essential requirement fails, the planned setup does not qualify. If it remains unverified, the selection decision is still unresolved.
FAQ
Can Ml60 or Ml60ii Bi Specifications Establish Ml60bi Suitability?
No. PROCAM’s listing covers the ML60, and SLR Lounge reviews the ML60II Bi while discussing the older ML60/Bi separately. Use exact-model documentation to verify specifications and your own recorded setup test to assess the shoot. [c1] [c2]
How Can I Tell Whether the Ml60bi Is Bright Enough for an Interview?
Test the exact unit at the planned subject distance, with the intended modifier, camera settings, and ambient light. It passes the exposure requirement if the subject reaches your project target without unacceptable changes. The cited ML60II Bi review acknowledges measurement and comparison limitations and does not provide that ML60Bi test. [c2]
What If the Exposure Works Only After Raising Iso or Moving the Light Closer?
Record the setup as conditionally suitable only if those changes are acceptable and the revised setup passes the remaining checks. State the cost of the change, such as a different noise level, depth of field, or light placement. Do not record an unconditional pass against the original requirements.
Are Batteries and Modifier Adapters Necessarily Included?
Do not assume so. SLR Lounge describes optional grip kits, separately purchased batteries, and a separate Bowens adapter for the ML60II Bi. Verify the exact ML60Bi package contents and compatibility independently. [c2]
Does a Quiet-Fan Description Eliminate the Need for an Audio Test?
No. The favorable fan descriptions in these sources apply to the ML60 and ML60II Bi, not a verified ML60Bi recording setup. Compare speech and room tone with the exact fixture off and operating, using the intended microphone position and gain. [c1] [c2]