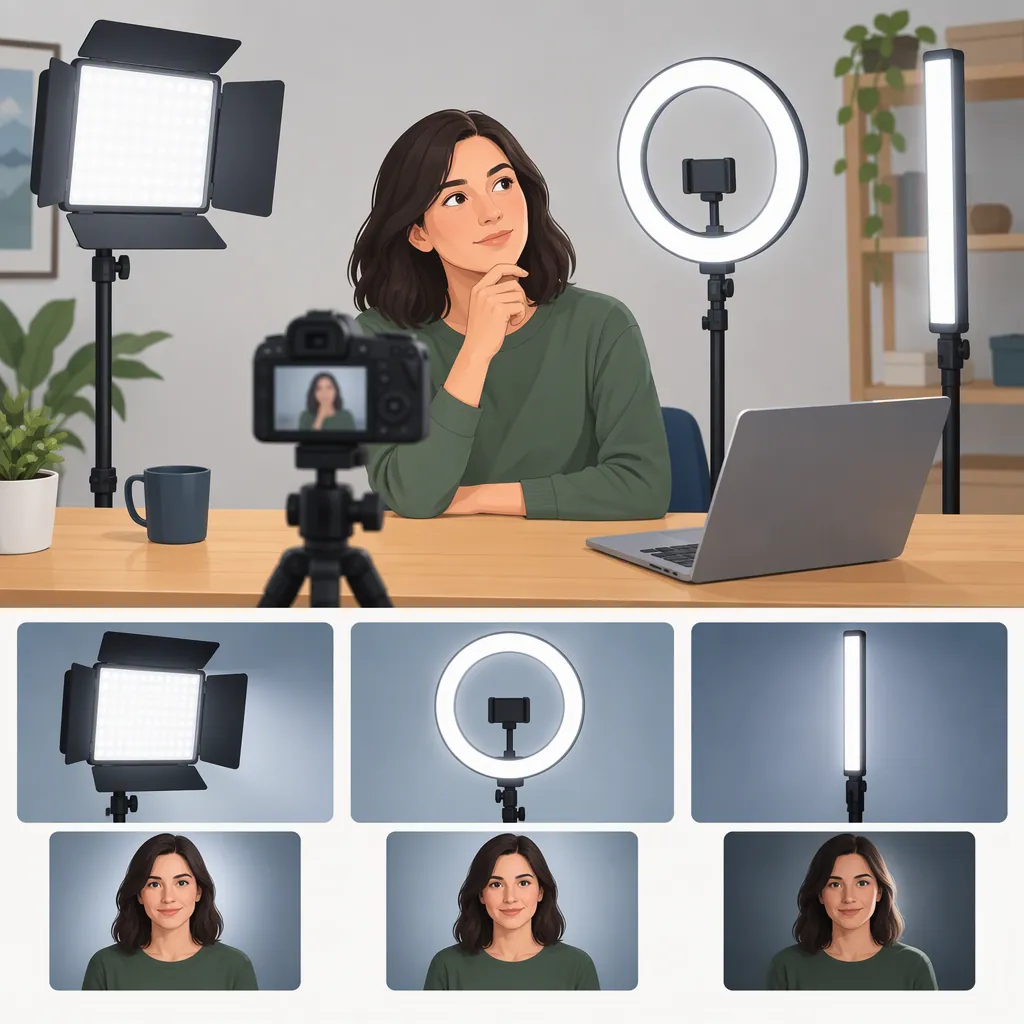
How to Choose an Led Light for YouTube Videos
Choose an LED light around your filming setup, not a universal “best” model. For a fixed talking-head setup, consider a stand-mounted light with diffusion; for mobile filming, prioritize a compact light with suitable battery power and mounting. Compare brightness under stated measurement conditions, color controls, modifier compatibility, and power options. The supplied manufacturer guides support these selection factors, but they do not establish an independently verified product ranking. [c1] [c2]
Match the Light to Your Video Format
Start with where you film, how much you move, and what needs to be illuminated. The COLBOR guide distinguishes studio lights, compact camera-mounted lights, and softbox setups rather than treating one format as suitable for every recording. [c1]
| Filming situation | Starting option to consider | Main question to resolve |
|---|---|---|
| Seated tutorials or interviews | A stand-mounted LED with a compatible softbox | Can the light and modifier fit outside the frame? |
| Desk-based live streams | A panel or another diffused LED setup | Can you keep the placement consistent between sessions? |
| Travel or handheld vlogs | A compact, battery-powered camera light | Is its output sufficient at your actual subject distance? |
| Product or food demonstrations | A light with controllable direction and diffusion | Does the placement reveal the details you want viewers to see? |
| Colored backgrounds | An RGB-capable accent light | Do you need colored light, or just adjustable white light? |
Treat these as starting configurations, not equipment requirements. Compact lights offer portability, but the COLBOR guide notes that some lack sufficient output to serve as a key light. Softboxes offer diffused illumination but need additional space. [c1]
Filming Setup Brief
Complete before comparing lights:
- Video format: ____
- Fixed position or moving camera: ____
- Subject area to illuminate: ____
- Available space for a stand and modifier: ____
- Expected light-to-subject distance: ____
- Available power source: ____
- Main lighting problem to solve: ____
Compare Specifications in Context
Avoid choosing solely by wattage or a headline brightness figure. The COLBOR specification tables list power separately from illumination and show brightness measured at particular distances, color temperatures, and reflector configurations. Compare readings only when those conditions are sufficiently similar. [c1]
Use the following questions to make a shortlist:
- Brightness: Is the measurement distance stated? Was a reflector or other modifier attached? Can you assess the intended setup with diffusion in place?
- Color temperature: Is the light fixed at one white-light setting or adjustable? Adjustable settings provide a way to match ambient lighting, as described in the COLBOR guide. [c1]
- Color rendering: Are CRI or TLCI specifications available? The GVM guide treats color rendering as an evaluation category; use these figures as screening information, not as a substitute for inspecting recorded footage. [c2]
- Modifier compatibility: Does the light accept the specific softbox or other accessory you intend to use? Verify the mount and any required adapter rather than assuming compatibility.
- Power and handling: Check the stated power sources, weight, dimensions, and battery-runtime conditions. The supplied guides include these as comparison factors. [c1] [c2]
For speech-heavy videos, add an audio check to your evaluation: record with the light operating at your intended brightness and your microphone in its normal position. Treat claims about quiet operation as something to verify in that setup, not a guarantee.
Light Comparison Worksheet
| Item | Candidate A | Candidate B |
| --- | --- | --- |
| Brightness and measurement distance | ____ | ____ |
| Reflector or modifier used for measurement | ____ | ____ |
| Fixed or adjustable color temperature | ____ | ____ |
| Reported CRI or TLCI | ____ | ____ |
| Modifier mount and required adapter | ____ | ____ |
| Supported power sources | ____ | ____ |
| Runtime and stated test conditions | ____ | ____ |
| Total setup dimensions and weight | ____ | ____ |
| Questions still requiring verification | ____ | ____ |
Start with a Simple Lighting Setup
For a first setup, try establishing one useful key-light position before adding other fixtures. COLBOR describes a key light positioned above eye level and discusses placing a softbox at roughly a 45-degree angle. Use that as an initial arrangement, then adjust while checking your camera image. [c1]
A practical sequence is:
- Frame the subject and note which existing lights or windows affect the image.
- Place the key light slightly above eye level and off to one side.
- Add compatible diffusion if softer illumination is the goal.
- Adjust placement and brightness while reviewing the face or object on camera.
- Record a short sample and inspect shadows, reflections, color, and audio.
- Add another light only if you can name the problem it needs to solve.
The supplied guides describe multi-light arrangements using a key light, fill light, and either a background light or backlight. A fill addresses shadows from the key; the third light addresses separation through background illumination or lighting behind the subject. These are useful roles, not a requirement to own three lights. [c1] [c2]
If you use window light, plan for variation. COLBOR identifies weather and time of day as limitations on maintaining consistent natural illumination. [c1]
Short Recording Test
Record a sample using the intended framing, camera settings, and microphone position.
- Is the subject clearly illuminated?
- Are the shadows appropriate for the video?
- Are important surface details visible?
- Are reflections distracting?
- Does the recorded color look suitable?
- Is equipment noise audible?
Change one setting or placement at a time, then repeat the sample.
Understand the Evidence Limits
Both supplied references are published on lighting manufacturers’ websites and include product recommendations. They are useful for identifying equipment categories and comparison questions, but they are not independent confirmation of which LED light is best. [c1] [c2]
The GVM article describes a testing process, but its text also contains inconsistent model names and specifications between entries and comparison tables. For that reason, this guide does not reproduce its rankings, model specifications, or performance conclusions as verified findings. [c2]
No universal wattage, brightness target, price, or battery runtime is recommended here. Resolve the choice through the space, subject distance, modifiers, power needs, and recording checks that apply to your own planned setup.
FAQ
Do I Need Three Led Lights for YouTube Videos?
Not necessarily. The references describe three-light arrangements, but that does not make three fixtures a starting requirement. Establish a useful key light first, then consider fill or separation lighting if the recorded image needs it. [c1] [c2]
Can a Pocket Led Light Be My Main Light?
It may work for a close subject, but do not assume it will illuminate a larger scene. COLBOR notes that some compact camera lights have limited output for key-light use. Evaluate the light at your intended distance and with any planned diffusion. [c1]
Is a Softbox an Alternative to an Led Light?
A softbox is a modifier used around a light source, not a competing light-source technology. The COLBOR guide describes a reflective interior and a front diffusion panel that reduce the harshness of the illumination. Check compatibility with the LED fixture and allow space for the modifier. [c1]
Do I Need RGB Lighting for a Talking-Head Video?
Make that decision based on whether colored illumination is part of the intended image. COLBOR discusses RGB lighting for background color and atmosphere. For subject lighting, prioritize the white-light controls and output your setup needs before adding creative color features. [c1]