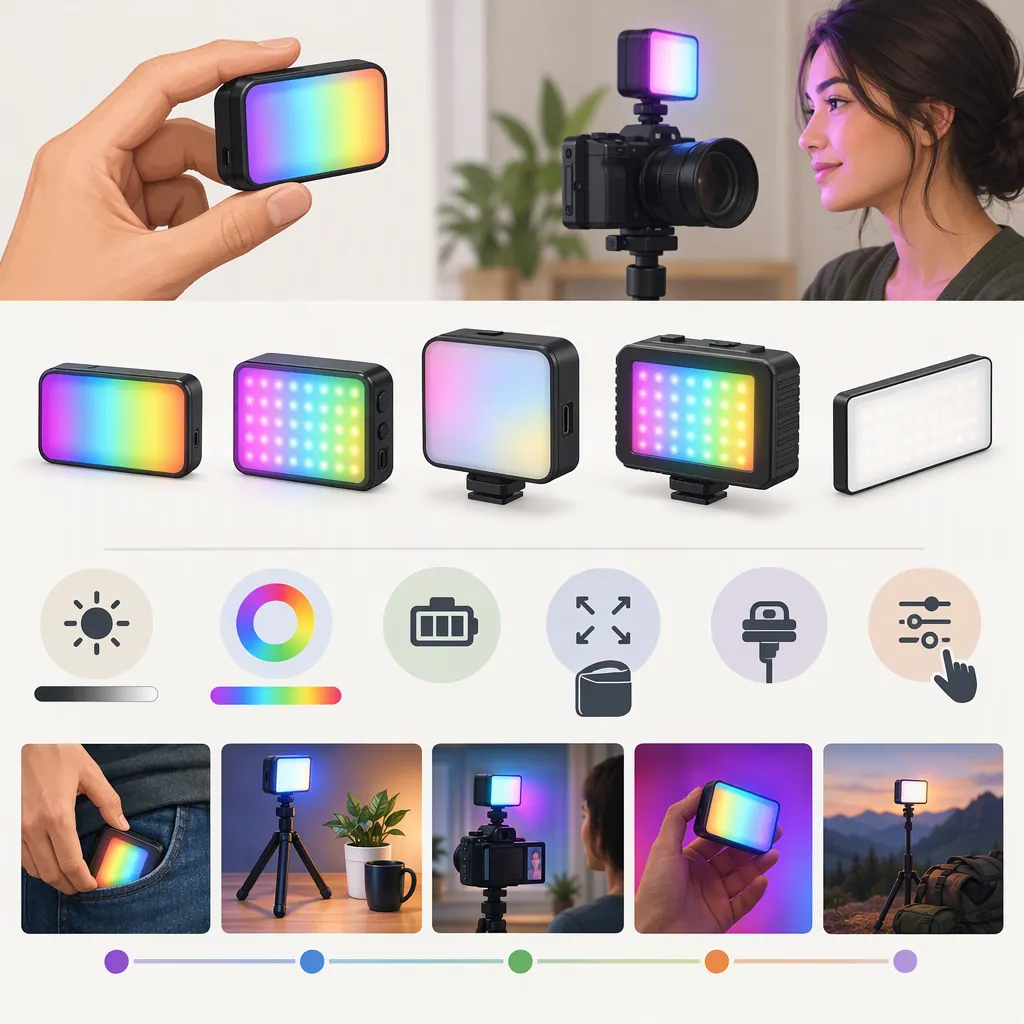
How to Evaluate a Boling Pocket Led RGB Video Light
Evaluate a Boling pocket LED RGB video light against a specific shot, not a feature count. Start with the intended lighting role, then check recorded color, usable brightness, mounting, and runtime. The provided source identifies the BL-P1 and describes its lighting modes, but it is a retailer listing—not an independent performance test. Treat its descriptions as items to verify rather than proof of suitability. [src-1]
Identify the Model and Evidence Limits
The supplied Amazon.co.uk page identifies the light as the Boling BL-P1. Its product description lists CCT, HSI, and scenario-simulation modes, along with a built-in battery and a cold-shoe accessory. These are retailer descriptions, not independently verified findings. [src-1]
Use this page to establish what needs checking for that model. Do not assume another Boling light, a different bundle, or a revised unit has identical specifications or accessories.
The evidence available here is limited to one retailer page. It does not establish comparative performance, long-term reliability, or suitability for your camera and scene.
Define the Lighting Job First
Before comparing specifications, write down the job the light must perform:
- Main subject light: Evaluate whether the face or object reaches your intended exposure at the planned distance.
- Fill light: Compare recordings with the light off and on. Decide whether the shadow change is useful without disrupting the intended look.
- Background color: Check the recorded color on the actual wall, fabric, or prop rather than judging only the light itself.
- Effect light: Decide whether a changing-light effect serves the scene and remains consistent enough for repeated takes.
These are evaluation scenarios, not confirmed BL-P1 capabilities. If white-light subject illumination is the only requirement, prioritize that test before spending time on RGB colors or effects.
Shot Requirement Worksheet
Lighting role: ____
Subject or surface: ____
Light-to-subject distance: ____
Camera position: ____
Required recording duration: ____
Ambient lighting: ____
Intended appearance: ____
Unacceptable result: ____
Test the Recorded Image
Use a repeatable camera test instead of treating the listing's color or output figures as a guaranteed result. The retailer page publishes color-rendering and illuminance figures, but the supplied material does not include an independent test report. [src-1]
- Place the subject and light at the intended shooting positions.
- Fix the camera's exposure and white balance so automatic changes do not obscure the comparison.
- Record the scene with the light off, then at several brightness settings.
- For white-light use, inspect skin, neutral objects, and relevant product colors.
- For RGB use, record the intended hue on the actual background or prop.
- Repeat at each frame rate and shutter setting you plan to use; inspect playback for visible banding or brightness variation.
- If diffusion or bounce is part of the setup, repeat the test with it in place.
Keep the original clips and settings. A successful test supports that particular setup; it does not prove performance under every shooting condition.
Verify Mounting and Power Requirements
Check the complete setup, including the mount, cable route, controls, and camera movement. Confirm that the light holds the intended angle and that adjustment remains accessible. A listed cold-shoe accessory does not establish compatibility with every rig. [src-1]
Treat battery information cautiously. The supplied page uses inconsistent labels: one field describes 50,000 hours as battery life, while the product description assigns that figure to LED lifespan and separately gives battery-duration information. Do not use the 50,000-hour field to plan recording time. [src-1]
For a usable unit, test runtime at the intended settings and allow a production margin. Separately verify charging requirements and whether operation while charging is supported; do not infer either from the connector alone.
Make the final decision against the shot worksheet: does the setup deliver the required image, remain securely positioned, and cover the required recording period?
Pre-Shoot Acceptance Checklist
- [ ] Exact model and included accessories confirmed.
- [ ] Mount holds the required angle during planned movement.
- [ ] Controls and cables remain accessible.
- [ ] Image accepted at the intended distance and camera settings.
- [ ] White-light or RGB result checked in recorded footage.
- [ ] Runtime tested for the planned session.
- [ ] Charging requirements checked against model documentation.
- [ ] Any unverified requirement recorded as unresolved.
FAQ
Which Boling Model Does This Guide Cover?
The supplied reference identifies the Boling BL-P1. The guide's testing workflow can inform other evaluations, but the listing's descriptions should not be transferred to other models without verification. [src-1]
Can It Serve as the Main Light for an Interview?
The supplied evidence does not establish that. Test the intended subject distance, framing, ambient conditions, and any diffusion with your camera. Accept it for that role only if the recording meets your exposure and appearance requirements.
Can I Plan a Shoot Around the Listed Battery Duration?
Use the retailer's duration information only as a preliminary reference, not a guaranteed recording window. The page contains inconsistent battery-life labeling. Verify model documentation and measure runtime at your intended settings before relying on it for a session. [src-1]