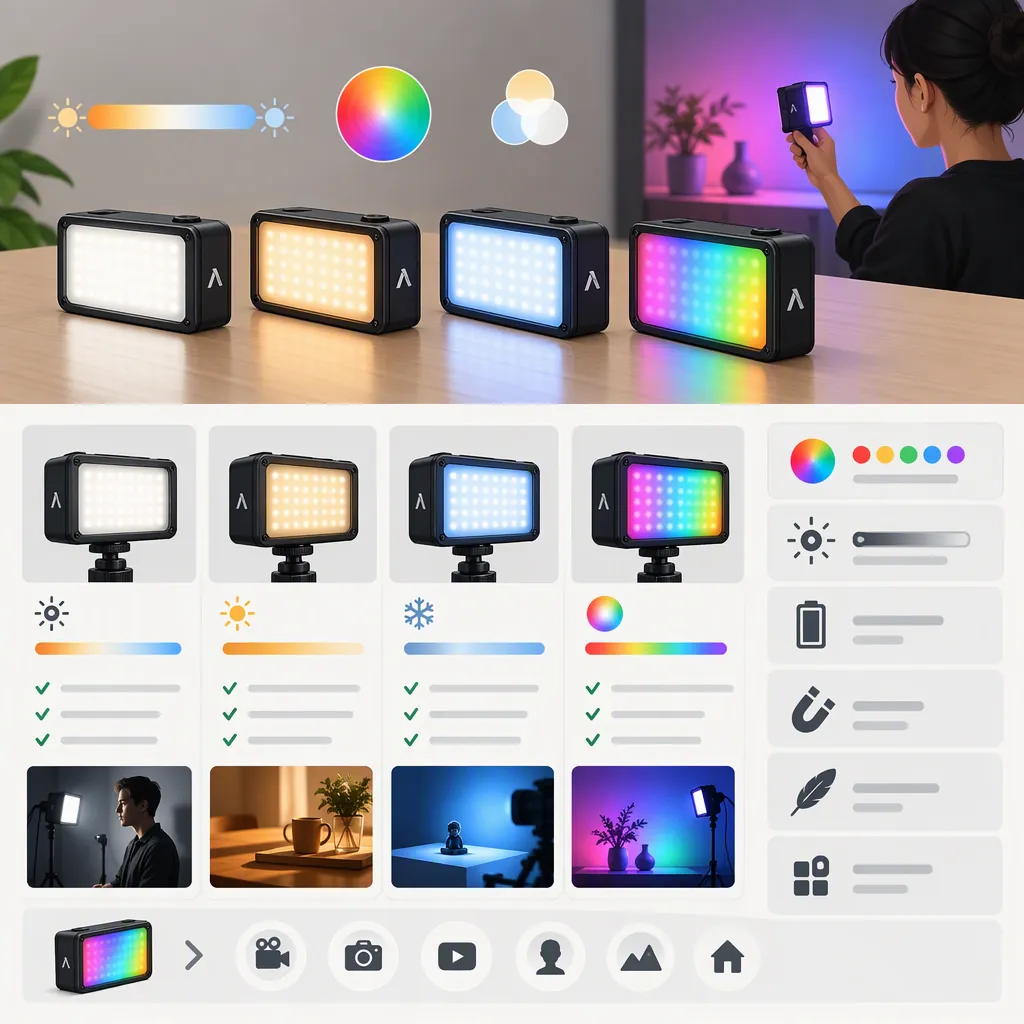
How to Evaluate the Aputure Mc Rgbww Led Video Light
Choose whether to use the Aputure MC RGBWW LED video light by testing it for a defined filming role: main subject light, fill, background accent, or effect. Keep it as a candidate when both the recorded image and the practical setup meet your requirements. Adjust and retest correctable problems; compare another setup when it still fails within your placement, power, or safe-mounting constraints.
Define the Lighting Job First
Start with the image you need to make, rather than assuming one fixture will suit every role.
- Main subject light: Check whether the intended placement produces the exposure and shadow pattern you want on the subject.
- Fill light: Compare the frame with the candidate light on and off. Identify which shadow details should become visible and which should remain dark.
- Background accent: Identify the surface or area that should be illuminated, along with areas that should remain unaffected.
- Effect light: Define the desired visual change and record it using the actual camera settings.
Before comparing lights, write down your framing, subject distance, available placement space, existing room light, and required recording time. These constraints become the basis for the selection decision.
Shot Requirement Worksheet
- Lighting role: ______
- Subject or surface to illuminate: ______
- Camera position and framing: ______
- Available light position and distance: ______
- Existing room light: ______
- Desired exposure and shadow appearance: ______
- Areas that should not receive added light: ______
- Required uninterrupted recording time: ______
- Acceptable mounting and power arrangements: ______
- Image pass conditions: ______
- Workflow pass conditions: ______
Make each pass condition something you can check in footage or during a rehearsal. “Looks good” is less useful than “the intended background area is visible, without an unwanted color change on the subject.”
Hypothetical Example: A Background Accent for an Interview
Suppose you want a colored accent on a background surface while keeping the interview subject’s appearance unchanged. You could use these acceptance criteria:
| Requirement | How to check it | Example pass condition |
|---|---|---|
| Visible background accent | Compare recordings with the light off and on | The intended area is visibly distinct and has the desired appearance |
| No unwanted subject spill | Compare the subject’s face and clothing in both recordings | No noticeable unwanted color change appears on the subject |
| Retained image detail | Review footage and, where available, the camera’s histogram, zebras, or waveform | Detail you intend to retain is not lost to clipping |
| Clean recording | Review footage at the planned frame rate and shutter setting | No unintended flicker or banding is visible |
| Uninterrupted operation | Rehearse the full planned recording interval | No interruption is needed to restore power, position, or settings |
| Secure placement | Check the actual support and attachment before recording | The setup remains secure without relying on an untested attachment |
This is an example of how to define a test, not a report that the Aputure MC has passed it. There is no single exposure-tool value that suits every scene; choose criteria appropriate to the intended image and the camera’s tools.
Read the Listings as Limited Evidence
The supplied Lensrentals and Unique Photo pages identify the Aputure MC RGBWW light and describe specifications, controls, power, and mounting. Both are commercial product listings, not independent performance tests. [c1] [c2]
Use them to identify what to verify. This guide does not independently verify their specifications, adopt their performance promises, or establish current availability. Keep the general model description, the contents and condition of a particular unit, and the results of your camera test separate.
Turn Listing Information into a Verification Plan
The information categories below appear in the supplied listings. The questions and tests are a practical way to check their relevance to your production. [c1] [c2]
| Page information category | What to verify | Corresponding test |
|---|---|---|
| Model and specifications | Is this the exact model you intend to evaluate, and which described features does the shot require? | Record the unit identity and required settings before testing |
| Mounting information | Does the actual unit work with your intended support or surface? | Check attachment security at the permitted filming position |
| Power and charging descriptions | What power arrangement is available for the particular unit? | Rehearse the planned recording interval in the intended operating mode |
| Control descriptions | Can you use the intended control method and recover your settings? | Set up the shot, interrupt operation, and check setting restoration |
| Accessories and package contents | What is actually included, and in what condition? | Inspect the unit and accessories before rehearsing with them |
Lensrentals explicitly states that its product images are stock photography and do not represent the contents of a purchase. Do not use pictured accessories as an inventory checklist. [c1]
Run a Repeatable Camera Test
Use the worksheet’s pass conditions before starting, so the decision does not depend only on an impression after the test.
- Fix the camera settings. Set the intended frame rate, shutter setting, exposure, and white balance. Keep them fixed for the initial comparison.
- Record a baseline. Film the scene without the candidate light, with other lighting unchanged.
- Use the intended placement. Position the light where it would actually sit during filming, including any planned modifier.
- Record the required lighting mode. Test a neutral-light setup and, if the shot requires it, a colored or effect setup.
- Review against the pass conditions. Check exposure, intended detail, skin appearance where relevant, shadow edges, reflections, spill, and unintended flicker or banding. Use available exposure tools alongside the recorded image.
- Change one variable at a time. Adjust position, brightness, or another relevant setting, then record again. Note what changed and whether the failed criterion improved.
- Rehearse the full workflow. Test the planned recording duration, power arrangement, mounting, and control recovery—not just a brief visual sample.
For an intentional effect, distinguish desired changes from unintended artifacts. A deliberately pulsing effect, for example, needs a different acceptance condition from a steady background accent.
Record each criterion as pass, fail, or not yet tested, with a short observation. A brief successful clip does not establish that the setup can run for the full planned take.
Test Record
| Criterion | Result | Observation or next adjustment |
|---|---|---|
| Intended exposure and retained detail | ______ | ______ |
| Desired subject and background appearance | ______ | ______ |
| Shadow pattern and reflections | ______ | ______ |
| Unwanted spill | ______ | ______ |
| Unintended flicker or banding | ______ | ______ |
| Full recording interval | ______ | ______ |
| Secure mounting | ______ | ______ |
| Control and setting recovery | ______ | ______ |
A result applies to the tested role, camera settings, placement, and scene. Repeat relevant checks when those conditions change.
Check Mounting, Power, and Control
Include the practical setup in your evaluation, even if the image meets your requirements.
- Mounting: Verify the intended attachment on the actual surface or support. Do not rely on an untested attachment above people or fragile equipment. Treat unresolved attachment safety as a reason not to use that setup.
- Power: Rehearse an interval matching the planned take. Record brightness, operating mode, starting power condition, and power arrangement so you can distinguish the tested result from a listing’s runtime description.
- Control: Test the method the production will use. Check that you can restore the intended settings after interruptions.
- Accessories: Confirm the particular unit’s contents and condition before planning around a diffuser, cable, charger, or support.
Turn Test Results into a Selection Decision
Separate correctable setup problems from failures that remain within your production’s constraints.
| Test result | Selection decision |
|---|---|
| Image and workflow requirements all pass | Keep the Aputure MC as a candidate for this tested role and setup |
| A problem appears correctable through an allowed position, brightness, or control adjustment | Make one adjustment, then repeat the affected tests and check for new problems |
| The image passes, but duration, control, or mounting remains untested | Leave the decision pending until those checks are complete |
| Requirements still fail at permitted positions or with available power and safe mounting | Compare another lighting setup against the same requirements |
| A change only works by violating framing, duration, or safety constraints | Treat that setup as failing rather than accepting the workaround |
For example, unwanted background-light spill may justify trying another permitted position. If every usable position still changes the subject’s appearance beyond your pass condition, compare another setup. Likewise, an image that looks right is not enough if the tested power arrangement cannot support the planned recording interval.
When comparing alternatives, keep the shot requirement, camera settings, subject, and placement constraints consistent. Document which setup meets the requirement rather than ranking lights by feature count alone. These decisions apply only to the conditions tested, not to the model’s performance in every production.
FAQ
Can the Aputure Mc Be My Main Video Light?
Test it at the intended subject distance with your camera settings and planned modifier. Keep it as a candidate for that role only if the recorded exposure, retained detail, and shadow appearance meet your requirements, and the mounting, power, and control checks also pass. The supplied commercial listings do not establish that result for your scene. [c1] [c2]
Do the Provided Specifications Prove How It Will Look on Camera?
No. The references provide commercial descriptions and specifications, not independent results for your camera and scene. Use them to identify features to verify, then judge recorded footage from the intended setup. [c1] [c2]
What Should Count as a Passing Camera Test?
Define observable conditions before testing. For a hypothetical background accent, those might include a visible target area, no unwanted color change on the subject, retained intended detail, no unintended banding, and uninterrupted operation for the full planned recording interval. Adjust the criteria to the shot rather than using a universal exposure number.
Can I Assume the Accessories in a Listing Photo Are Included?
No. Check the contents stated for the particular unit. Lensrentals specifically says its stock product images do not represent purchase contents, so the image alone is not sufficient evidence. [c1]
When Should I Adjust the Setup Rather than Compare Another Light?
Adjust and retest when the problem may be resolved through an allowed change in position, brightness, or control settings. Compare another setup when requirements still fail within your placement, power, and safe-mounting constraints. Do not accept a workaround that violates the shot requirement or leaves safety unresolved.
How Should I Compare It with Another Filming Light?
Use the same shot requirement, camera settings, subject, and intended placement constraints. Compare both the recorded image and the practical workflow, including mounting, recording duration, power, and control. Keep the decision specific to the tested lighting role and conditions.