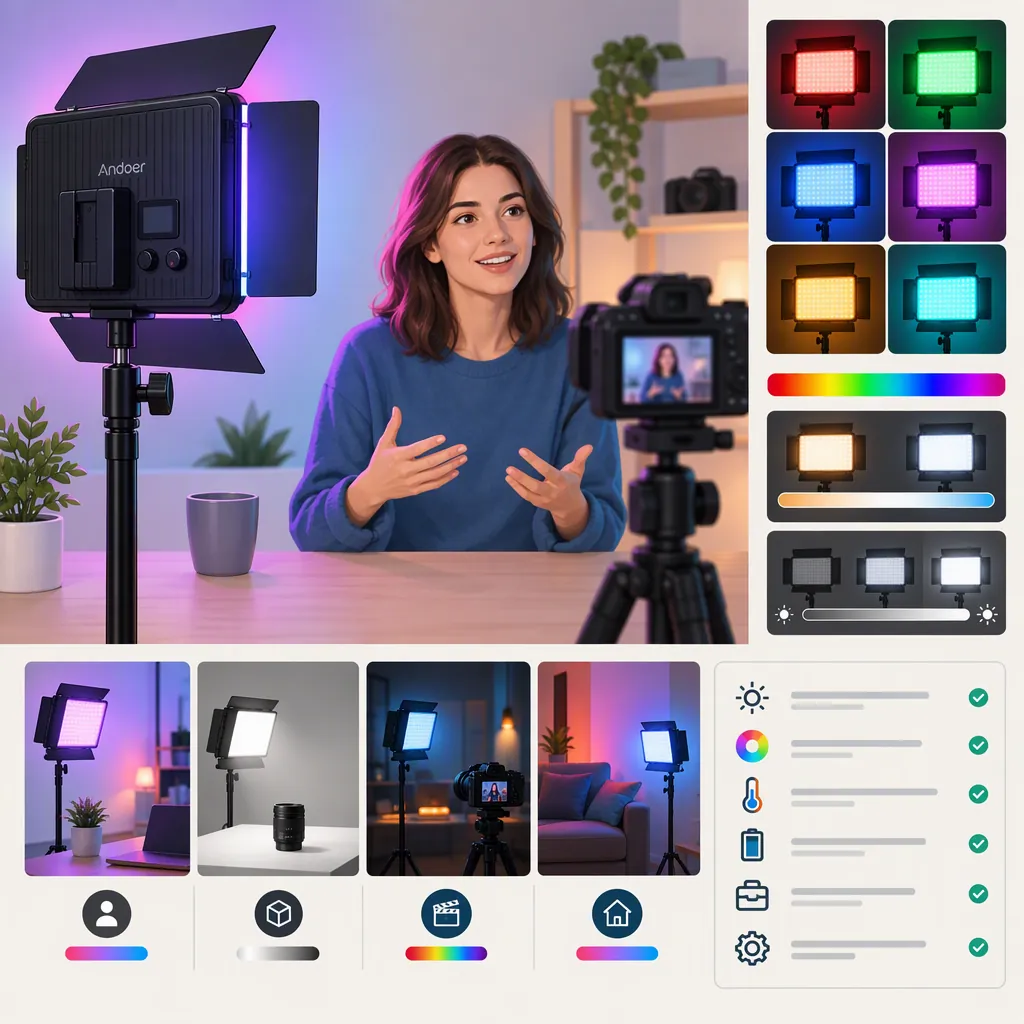
How to Evaluate an Andoer RGB Led Light for Filming
To select an Andoer RGB LED light for filming, identify the exact model, define its role in the shot, and check its documented controls, output, power, and mounting against your requirements. Exclude candidates that fail a must-have condition; leave candidates with important unanswered questions unverified until documentation or a camera test resolves them.
Identify the Exact Model
Use the model identifier—not just the search phrase “andoer rgb led light”—when comparing information. Record the model shown on the unit or its documentation, and keep specifications for different models separate.
Reference limits: The Amazon Live reference names the W140 RGB LED Video Light. The page content available for this guide confirms that name but does not verify measured output, color accuracy, flicker behavior, runtime, or operating instructions. [c1] The other reference describes a flexible double-arm bi-color light, including white-light color-temperature modes; its descriptions should not be treated as W140 specifications or evidence of W140 RGB controls. [c2]
For each candidate, distinguish between:
- Documented features: Controls, interfaces, and requirements described for the exact model.
- Listing claims: Descriptions that have not been independently verified.
- Setup-specific results: What a test demonstrates with a particular camera, placement, and power arrangement.
- Unverified information: Questions the available evidence does not answer.
A missing answer is not proof that a feature is absent. It is a reason to defer a decision when that feature is essential.
Define What the Light Must Do
Write a short lighting brief before comparing candidates. Specify the subject, the light’s role, available placement, required coverage, existing room lighting, and recording duration.
Treat subject illumination, background color, and accent lighting as separate requirements. Do not assume one fixture will satisfy all three.
| Intended role | What to check | Decision rule |
|---|---|---|
| Main light for an interview or talking-head shot | Subject coverage and acceptable exposure at the available distance; appearance of skin and neutral objects on camera | Retain only if the intended setup meets your required image quality. If it needs unsuitable camera settings or impractical placement, exclude it for this role. |
| Colored background light | Documented color controls, target color on the actual background, coverage, and spill onto the subject | Retain if it produces the intended background look without unacceptable spill. Leave the choice unverified if the required controls or result are unknown. |
| Accent or in-frame light | Placement, reflections, visible brightness, and control access | Retain if it fits the composition and can be adjusted as needed without disrupting the shot. |
| Portable filming light | Supported power supply, mounting compatibility, transport constraints, and planned session length | Exclude if the documented power or mounting requirements cannot be met. Defer if session-length performance is essential but unverified. |
These are selection rules, not claims about the capabilities of any Andoer model.
Separate Must-Haves from Preferences
A must-have determines whether the light can perform its assigned role. A preference helps choose between candidates that already meet the essentials.
For example, a documented compatible power supply may be mandatory, while a particular control layout may be optional. If a specific color is central to the scene, producing that color becomes a must-have rather than a convenience.
Use three outcomes:
- Exclude for this setup: A must-have is not met.
- Defer judgment: A must-have remains unverified.
- Retain for comparison: All must-haves are supported by documentation or an appropriate test; compare optional features afterward.
Build a Model Verification Worksheet
For each candidate, complete the following worksheet. Record your requirement before entering the candidate’s information so that a listing does not redefine what you need.
| Check | Your requirement | Exact-model evidence or test result | Priority | Status |
|---|---|---|---|---|
| Model identifier | Exact unit being evaluated | Record model and supporting document | Must-have | Unverified |
| Lighting role | Subject, background, or accent | Record intended placement and coverage | Must-have | Unverified |
| RGB controls | Required colors and adjustment options | Record documented controls and any test result | Must-have or optional | Unverified |
| White-light controls | Required appearance with the subject and room lighting | Record documented settings and camera result | Must-have or optional | Unverified |
| Output and coverage | Acceptable image at the planned distance | Record measurement conditions or setup-specific test | Must-have | Unverified |
| Power | Available supply and session duration | Record supported input and relevant limits | Must-have | Unverified |
| Mounting | Compatible support and usable placement | Record interface and applicable instructions | Must-have | Unverified |
| Size and accessories | Space constraints and required components | Record dimensions and what is included or separately needed | Must-have or optional | Unverified |
Use acceptable, unacceptable, or unverified in the status column. Include the supporting document or labeled test clip for every important entry.
When comparing reported output measurements, retain the distance, operating mode, and other stated conditions. A number without those conditions cannot answer whether the light will meet your particular setup.
Plan a Controlled Camera Test
If the exact unit is available for evaluation, follow its applicable operating and mounting instructions. Do not infer safe operating limits or mounting compatibility from a product name.
1. Establish the Baseline
Set up the intended subject, background, camera, support, and power arrangement. Record:
- Exact light model and operating mode.
- Light position, angle, and subject distance.
- Camera position, frame rate, shutter setting, exposure, and white balance.
- Existing room lighting.
- Any modifiers or accessories used.
During controlled comparisons, keep exposure, white balance, camera position, subject position, and ambient lighting fixed where possible. Avoid automatic exposure or white-balance adjustments during this stage so that camera changes do not obscure the lighting changes.
2. Change One Lighting Variable at a Time
Record a baseline clip, then adjust one variable—such as brightness, color setting, or placement. Label each clip with the change.
Repeat at the settings you intend to use, rather than testing only one mode or maximum brightness. If a comparison requires changing camera settings, record that change and treat it as a separate test rather than a direct lighting-only comparison.
3. Review Specific Problems
| Review area | What to observe | How to use the result |
|---|---|---|
| Exposure and coverage | Whether the required subject area is adequately lit; overly bright areas or unwanted dark areas | Judge against the composition and camera settings you plan to use. |
| Color | Unwanted shifts on the subject or neutral objects; whether the background reaches the intended color | Compare with fixed white balance, then decide whether the result suits the scene. |
| Spill and reflections | Unwanted color on the subject, distracting reflections, or bright spots | Try a documented, practical placement adjustment and retest. |
| Bands and brightness changes | Visible stripes, pulsing, or changes over time | Retest at the intended frame rate, shutter setting, dimming level, and mode; do not generalize a clean result to every setting. |
| Session performance | Whether the intended arrangement remains usable for the planned duration | Test within documented operating limits and record any interruptions or changes. |
4. Test the Actual Recording Workflow Separately
If your real workflow uses automatic exposure or white balance, run a separate test with those settings enabled. Keep its results distinct from the controlled comparison. Judge whether the complete camera-and-light setup produces acceptable recordings in that workflow.
Filming Evaluation Checklist
- Confirm the exact model and obtain applicable instructions.
- Mark each requirement as must-have or optional.
- Record the camera, light placement, ambient lighting, and power arrangement.
- Record a baseline with fixed comparison settings.
- Change one lighting variable at a time and label each clip.
- Review exposure, coverage, color, spill, reflections, bands, and brightness stability.
- Test the planned session length within documented operating limits.
- Test automatic camera settings separately if the recording workflow uses them.
- Mark every requirement acceptable, unacceptable, or unverified.
Make the Selection for the Setup—Not the Brand Name
Review must-haves first. A candidate that fails an essential requirement should be excluded for that setup, even if it has attractive optional controls. A candidate with an unresolved essential requirement should remain unverified, not be treated as a pass.
Among candidates that meet the essentials, compare practical trade-offs: usable placement, adjustment access, power arrangements, and the number of additional components required. Keep subject-lighting and background-lighting decisions separate if their requirements differ.
Treat a successful camera test as evidence for the tested arrangement only. Save the worksheet and labeled clips so the setup can be repeated or reevaluated when the camera settings, placement, or lighting environment changes.
FAQ
Do the References Verify the Andoer W140’s Performance?
No. The available Amazon Live page content identifies the W140 RGB LED Video Light but does not establish measured output, color accuracy, flicker behavior, or runtime. Those characteristics remain unverified in this guide. [c1]
Is the Double-Arm Bi-Color Listing the Same Light as the W140?
The references identify different products: one names the W140 RGB LED Video Light, while the other describes a flexible double-arm bi-color light. Keep their specifications separate. [c1] [c2]
Can an Andoer RGB Led Light Serve as the Main Filming Light?
That depends on the exact model and setup. The W140 reference does not establish suitability for that role. [c1] Define the required coverage, exposure, placement, and subject appearance, then evaluate the exact unit against those must-haves.
What Should I Do When an Important Specification Is Missing?
Mark it unverified. If it is a must-have, defer the selection until exact-model documentation or an appropriate test answers it. Do not substitute specifications from another Andoer light; the bi-color double-arm listing does not establish W140 capabilities. [c1] [c2]