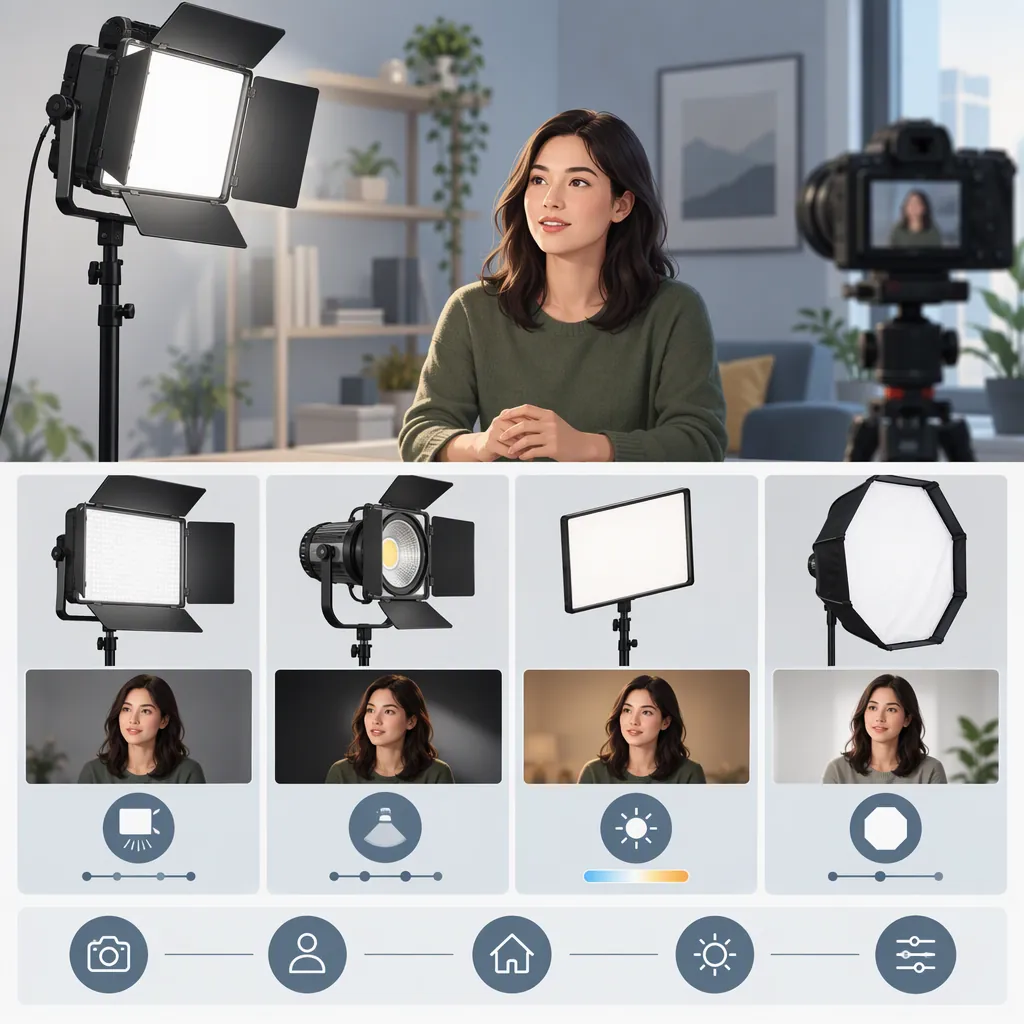
How to Choose a Neewer Key Light for Filming
Choose a NEEWER key light by narrowing the options to fixtures that fit your mounting space, power supply, color-control needs, and intended accessories. Then verify the exact model and package contents, and evaluate it with your camera where possible. “Key light” describes the main-light role in your setup; the name alone does not establish suitability.
NEEWER’s catalog includes continuous lights, bi-color panels, RGB panels, and ring lights, along with filters for power source and mount type. Use these categories to organize a shortlist, not as proof that every listed fixture meets the same requirements. [c1]
Identify the Exact Light Before Comparing
Record the full model name and package contents before comparing options. Keep a standalone fixture separate from a kit that includes mounting equipment. Do not assume similarly named models share power supplies, controls, or accessory compatibility.
For example, an Amazon Live page title identifies the NEEWER GL1 PRO 15.5" Key Light Streaming Light. The page’s available text confirms that name but does not provide a usable specification sheet or test results. It does not verify brightness, noise, flicker, color accuracy, or mounting suitability. [c2]
Evidence scope: This guide uses NEEWER’s catalog to identify categories and package distinctions, not to rank model performance. The catalog does not establish comparable measured output under a common filming setup. The selection and testing steps below are general procedures, not reports of hands-on experience with NEEWER equipment. [c1]
Model Identification Worksheet
- Exact model name: ____
- Package or kit name: ____
- Included mounting equipment: ____
- Included power supply: ____
- Documentation checked: ____
- Unresolved specifications: ____
Turn Filming Constraints into a Shortlist
NEEWER’s catalog lists light-type categories, RGB, bi-color and daylight color-mode filters, battery and corded power options, and several mount types. These filters describe catalog groupings; check the exact fixture’s documentation before treating any feature as confirmed. [c1]
The following decision table applies general selection principles to those groupings. It does not recommend or validate a particular NEEWER model.
| Your filming constraint | Start by checking | Set aside an option if… |
|---|---|---|
| Limited desk or mounting space | Fixture dimensions, support footprint, clamp requirements, and adjustment range | The complete setup cannot fit or place the light where needed |
| Filming away from an outlet | Battery-power or AC-and-battery listings, then exact battery compatibility | Suitable battery operation is undocumented or cannot cover the planned session |
| A fixed setup near an outlet | Corded or AC-and-battery listings, then supply requirements and cable routing | The required supply is unavailable or cables cannot be routed safely |
| Room lighting varies in color | Bi-color listings and the documented adjustment range | The range does not cover the settings needed for the planned setup |
| Colored lighting is part of the shot | RGB listings and documented controls | The required color controls are absent or unsuitable for the workflow |
| A softbox or other modifier is required | Exact mount type and documented modifier compatibility | Compatibility or the supported accessory load cannot be verified |
| A ring light is under consideration | Camera placement, fixture clearance, and a test of reflections and shadow shape | The intended arrangement or recorded appearance does not meet the shot’s needs |
For ordinary filming, start with continuous-light options rather than treating the catalog’s flash listings as interchangeable alternatives. Within continuous lighting, compare the actual panel, ring, or other fixture against your placement and accessory requirements. NEEWER’s catalog contains both continuous-light and flash categories. [c1]
Separate essentials from preferences. A fixture that cannot be powered or safely supported in your space is not a workable choice, regardless of optional controls. Once those essentials are satisfied, compare color adjustment, control access, and the recorded result.
Do not use wattage alone to predict exposure at the subject. Compare documented output only when the measurement conditions are sufficiently alike; otherwise, leave that comparison unresolved until a camera test is possible.
Plan Placement and Support Together
Sketch the camera position, subject position, available support locations, and power access. Treat the fixture, mount, cables, and any modifier as one setup.
For a desk clamp, verify the permitted surface thickness and installation requirements. For a floor stand, check the space required by its base. Verify the support’s rated load against the complete mounted assembly, including accessories, and follow the equipment’s installation instructions.
These are planning checks, not confirmation that any particular NEEWER model or kit meets your requirements.
Placement Checklist
- Mark the camera and subject positions.
- Measure the available mounting space.
- Record the intended light-to-subject distance.
- Check that the support allows the required height and angle.
- Verify support ratings against the complete mounted load.
- Plan cables away from walking routes.
- Check that controls remain accessible.
- Resolve missing installation documentation before mounting equipment.
Use a Repeatable Camera Test
If a fixture is available for evaluation, test it in the intended filming setup. Define what the shot needs first: usable subject exposure, acceptable shadows and reflections, no distracting visible flicker, and acceptable recorded audio.
For comparisons, keep conditions consistent wherever practical. Use manual exposure and fixed white balance when available; record any automatic settings you cannot disable. Keep framing, subject position, light-to-subject distance, and ambient light unchanged. Change one variable at a time and label each recording.
1. Compare Exposure and Light Appearance
Fix the camera’s recording mode, shutter setting, aperture, ISO, and white balance. Keep the subject, camera, light position, and room lighting consistent.
Record short clips at the brightness settings you expect to use. Review subject exposure, shadow shape, and reflections in glasses or other reflective surfaces. If you change the light angle or add a modifier, make that a separate comparison and record the change.
2. Check for Visible Flicker
Keep the recording mode, shutter setting, exposure, room lighting, and light position consistent while checking the brightness settings you plan to use. Look for banding or pulsing in the recorded footage.
Repeat this check separately for other frame rates or shutter settings required by the project. A result at one camera setting does not establish behavior at another.
3. Check Recorded Noise
Keep the microphone position, gain, recording settings, and room conditions consistent. Record quiet audio with the light off, then operating at the settings you plan to use. Listen for changes in unwanted equipment noise.
If the light position changes, note that change and repeat the check. Do not attribute a difference to the fixture when microphone placement or other room equipment also changed.
Camera Test Log
- Model and accessories: ____
- Camera, resolution, and frame rate: ____
- Exposure mode, shutter, aperture, and ISO: ____
- White balance: ____
- Framing and subject position: ____
- Light position and subject distance: ____
- Ambient light state: ____
- Brightness and color settings: ____
- Variable changed in this clip: ____
- Exposure, shadows, and reflections observed: ____
- Banding or pulsing observed: ____
- Microphone position and gain: ____
- Audio noise observed: ____
- Changes needed: ____
A satisfactory result applies to the tested combination of fixture, accessories, camera settings, placement, and room conditions—not every possible shooting setup.
Make the Final Selection
Choose from the options that pass your essential checks:
- Identity: The exact model and package contents are clear.
- Installation: Placement, support, and accessory compatibility are documented.
- Power: The required supply is available for the planned session.
- Control: The documented settings cover the intended workflow.
- Recorded result: Where evaluation is possible, the fixture meets the shot’s exposure, appearance, flicker, and audio requirements.
Keep unresolved points visible. If output or compatibility cannot be verified, do not convert that uncertainty into an assumed pass.
FAQ
Which Neewer Key Light Is Best for Filming?
There is no supported universal ranking here. NEEWER’s catalog identifies products and categories but does not provide a controlled comparison for your filming conditions. Start with mounting and power constraints, then compare exact documentation and recorded results where possible. [c1]
Should I Compare Panels, Ring Lights, or Other Continuous Lights?
Include any category that could fit your planned placement, power, and accessory requirements. NEEWER lists panels, ring lights, and continuous-light options, but those labels do not establish the best result for your shot. Narrow the list using documented dimensions and compatibility, then evaluate shadows and reflections with your camera. [c1]
Does Every Neewer Light Include a Stand?
Do not assume so. NEEWER’s catalog includes kit listings and a ring-light listing explicitly labeled “Without Stand.” Verify the contents of the exact package, including support and power accessories. [c1]
Does the Gl1 Pro Name Confirm Its Performance?
No. The Amazon Live page title identifies the GL1 PRO model; the available page text does not substantiate output, flicker behavior, noise, or color performance. Use exact model documentation and a controlled evaluation to resolve those questions. [c2]