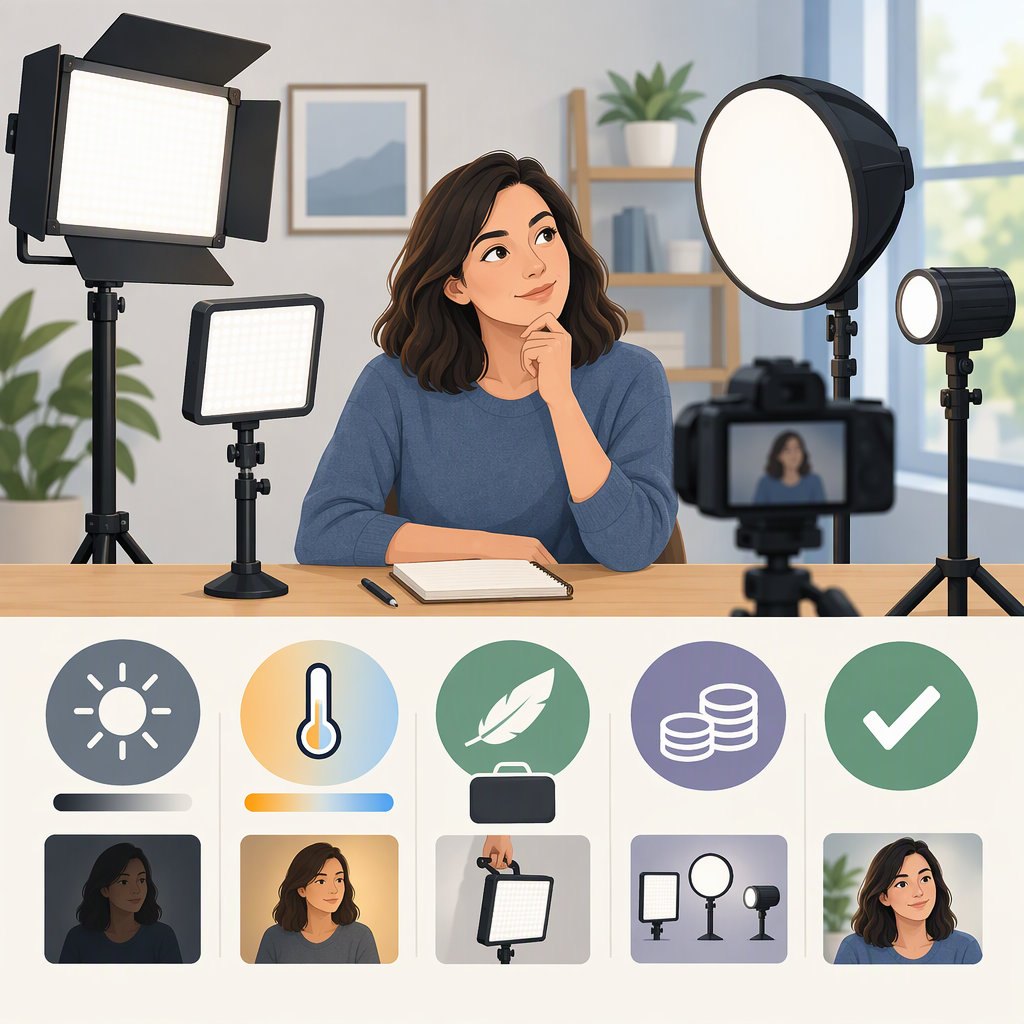
How to Choose the Best Budget Key Light for Video
The best budget key light is the least expensive complete setup that gives you enough usable light, the coverage and softness you want, and a clean image in your actual camera setup. Don’t choose by the fixture’s price—or wattage—alone. First note your subject’s distance from the light, how much of the scene you need to cover, where the light can go, and whether you need a modifier or battery power. Then compare candidates under those conditions.
There is no universal price point that makes a light “budget.” Set your own spending limit, and compare the cost of a usable setup, not just the light head.
Start with Your Filming Conditions
Write down these four details before shopping:
- Subject distance: How far will the light be from you or your subject? A light that seems bright nearby may not give the result you need from farther away. Look for output information measured at a stated distance and with a stated reflector or modifier, then confirm it with your camera if possible.
- Coverage: Are you lighting one seated person, a standing subject, or a wider area? Check the light from the position and framing you’ll actually use. A beam that is bright in the center may not cover the whole shot evenly.
- Desired shadows: Do you want crisp, defined shadows or softer transitions? The physical size of the source as seen from the subject affects softness: a larger or more diffused source generally produces softer-looking shadows. A modifier can change a small light’s apparent source size, but it may also reduce the light reaching the subject. (arri.com)
- Space and power: Check whether a stand, softbox, diffusion, grid, power supply, or battery is needed—and whether you have room to set them up safely. For a small room, the space a modifier occupies may matter as much as the light itself.
Panel or Light with a Separate Softbox?
Neither style is automatically better. The particular light’s size, output, modifier, mounting, and power options matter more than the category name.
| Setup | Could suit you if… | Check before choosing |
|---|---|---|
| LED panel | You want a broad source in a single fixture or have limited setup time. | Is its illuminated area large enough for the softness and coverage you want at your subject’s position? Can you control spill if it lights the background or nearby walls? Panels vary, and a panel may still need diffusion or another modifier. |
| Point-source light with a softbox | You want to shape the light with a modifier, or might use the fixture with different accessories. | Does the softbox fit your room and stand? What does it cost to add, how long does it take to assemble, and is the light still bright enough through the modifier at your working distance? |
A softbox can make a source larger and more diffused, which can soften shadows; diffusion and other accessories can also affect output and control. The result depends on the combined light and modifier, not just whether the fixture is called a panel or a point source. (arri.com)
Compare the Features That Affect Your Footage
Usable Output—Not Wattage Alone
Electrical power in watts is not the same as the amount of light reaching your subject. When a manufacturer provides photometric data, note the measurement distance and the configuration used—such as reflector, diffusion, or grid. Comparisons are more useful when those conditions are similar. If they aren’t, treat the figures as a starting point, not a direct ranking.
Dimming is useful when you need to adjust brightness without moving the fixture, but check whether it offers the controls you will actually use. Also make sure you can position the light at a comfortable distance while keeping it out of frame.
Color Control and Color Quality Are Different
Color temperature control lets you shift a light warmer or cooler to suit your intended look or other lights in the room. Color rendering describes how colors appear under the light. A high color-rendering score can be a useful specification, but it does not by itself guarantee how your camera will record color: ARRI notes that CRI and TM-30 color-fidelity scores are based on human perception and do not directly translate to camera color response. If skin tone or accurate product color matters, record a short clip with the light and judge it on your own camera and display. (arri.com)
Check Flicker in Your Recording Settings
Flickering light can create visible flicker, banding, or color changes in video. Whether it shows up can depend on the light and camera settings; a feature label alone is not a substitute for checking your footage. Sony describes flicker artifacts under LED and other artificial lighting and notes that camera remedies vary by scene and model. (sony.com)
Before relying on a light for a shoot, test it at the frame rate, shutter setting, and brightness you plan to use. Some lights can behave differently at particular dimming levels or high frame rates, so check the manufacturer’s documentation if you record slow motion or see artifacts.
Compare the Cost of a Usable Setup
Set your maximum spend, then add up what you need to make the light work for your shot:
- Light and included power supply
- Stand or other secure mounting
- Softbox, diffusion, or grid, if needed
- A battery and compatible power accessories, if you need to film away from an outlet
- Any adapter required to attach the modifier
For example, imagine a creator’s limit is $200. One fixture costs less than that but needs a separately purchased softbox and stand; another costs more as a fixture but includes a suitable modifier. The useful comparison is the total for each complete setup—not either fixture’s sticker price. These are illustrative scenarios, not current prices or product recommendations.
If you already own a compatible stand, modifier, or power source, include only what you still need. Conversely, don’t count an accessory as “optional” if your intended shot depends on it for the coverage, softness, or power you want.
Check a Candidate in Your Actual Setup
This is a practical suitability check, not a controlled product test:
- Put the camera where it will be for the real shot. Set your intended frame rate, shutter, framing, and exposure approach.
- Place the light where you expect to use it, with the modifier and power arrangement you plan to use. Put yourself or your subject in position.
- Record a short clip at the brightness and color setting you expect to use. Check that the face or subject is bright enough, the whole intended area is covered, and shadows look acceptable to you.
- Review the recorded clip—not only the live preview—for flicker, banding, or distracting color shifts. If you see an artifact, consult your camera and light documentation and retest with changes that preserve the look you need. Sony notes that flicker-reduction options depend on the camera and shooting conditions. (sony.com)
- Repeat at the farthest subject distance and widest framing you expect to use. A light that works for a close-up may not suit a wider shot.
Quick Selection Checklist
A budget key-light setup is a reasonable fit when:
- It gives you enough usable light at your real subject distance, with the modifier you intend to use.
- Its coverage and shadow quality suit your framing and the look you want.
- You can mount and power it safely in your available space.
- Its color controls and recorded color suit your content.
- Your test clip shows no distracting flicker or banding at your planned camera settings.
- The complete setup fits your spending limit.
If a candidate fails one of those checks, decide whether you can solve it by moving the light, changing the framing, using equipment you already own, or choosing a different setup. The cheapest fixture is not necessarily the lowest-cost solution if it still needs accessories—or cannot do the job your shot requires.