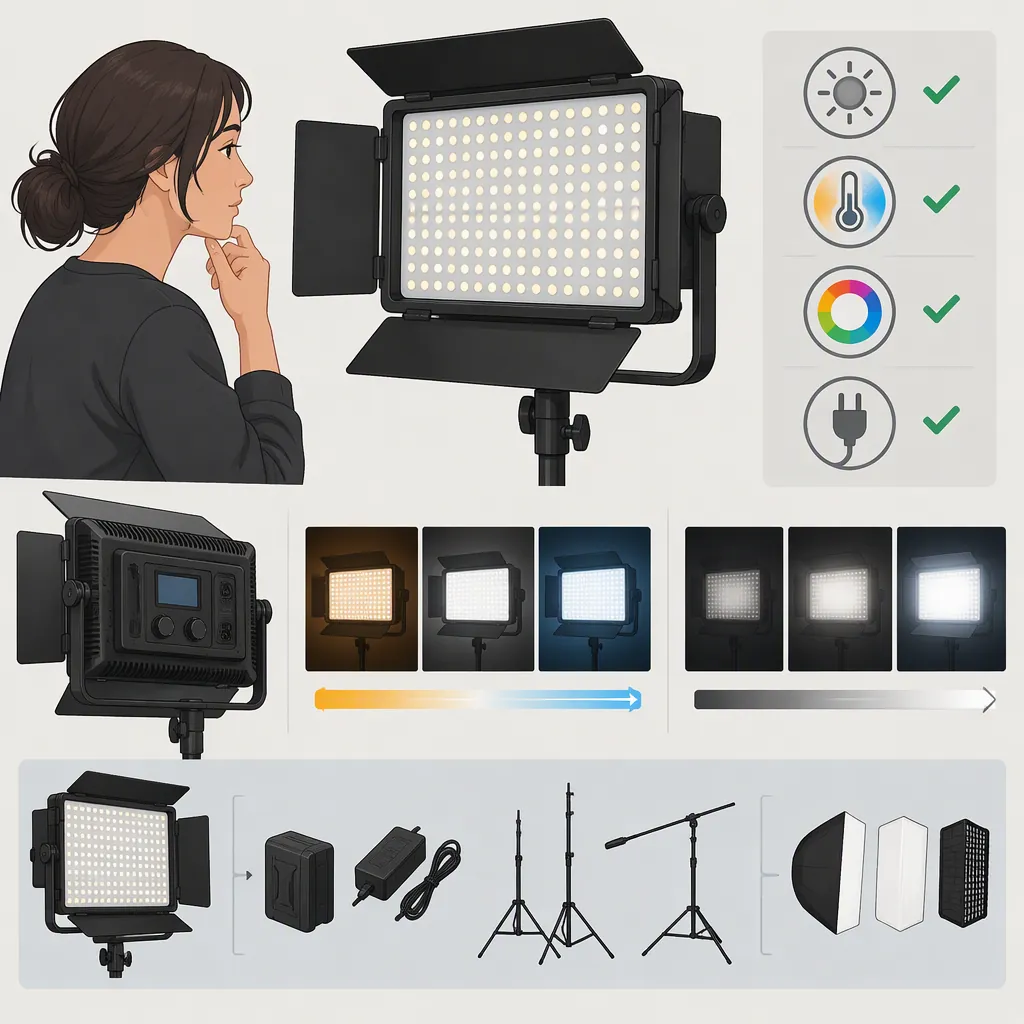
Godox Ledp120c: Filming Light Selection and Compatibility Checklist
Evaluate the Godox LEDP120C in three separate ways: confirm documented power and mounting compatibility, check the stability of the assembled setup, and test whether the recorded results meet your shot requirements. Broadway Camera’s “Godox LED Light 120C” retail page identifies the model as LEDP120C in its description, but it does not establish suitability for a particular camera or complete filming setup. [c1]
Confirm the Model and Evidence
The Broadway Camera page is titled “Godox LED Light 120C,” while its product description uses “LEDP120C.” Match the description against the label on the actual light and its accompanying documentation before applying specifications or accessory information. [c1]
This guide is a verification workflow, not a performance review. The evidence available here is one retailer listing—not a manufacturer manual or an independent test. It provides no camera-specific flicker tests or runtime measurements. Treat compatibility and performance questions that it does not resolve as unverified. [c1]
Model Verification Record
- Model printed on the light: ______
- Model printed in the manual: ______
- Model on the packaging: ______
- Differences from the retailer description: ______
- Documentation available for the exact unit: ______
- Unresolved questions before setup: ______
Check Power and Mounting Separately
The Broadway Camera listing names a 7.4 V Sony NP-F970 model lithium battery, marked as sold separately, and lists an L-type bracket among the box contents. These are starting points for verification, not proof that every similarly labeled battery or mounting accessory is compatible. [c1]
Power Checks
Use the exact unit’s documentation to confirm the approved battery, voltage, connection, and charging arrangements. Check battery and charger requirements separately; do not infer support for USB power, an external adapter, or another battery type from appearance alone.
If the proposed power combination is undocumented, leave it unresolved rather than testing an improvised connection. A successful recording test cannot establish electrical compatibility.
Mounting Checks
Identify the attachment interface on the light, bracket, and intended support. Check the support’s documented load rating and the stability of the complete assembly, including any adapters.
An included bracket does not by itself establish compatibility with a particular camera shoe, tripod, stand, or cage. Verify the connection before assessing whether the arrangement works for the shot.
Compatibility Checklist
- Record the approved power source from the exact unit’s documentation.
- Confirm battery and charger requirements separately.
- Identify both sides of every mounting connection.
- Check the support’s documented load rating.
- Check the assembled setup at the intended angle and position before use.
- Resolve stability concerns before placing the light above people or equipment.
- Mark undocumented power or mounting combinations as unverified.
Define What the Light Must Do
Before testing, describe the shot rather than relying on a general use label such as “interview” or “tabletop.” Record the subject area, available space, intended light position, camera movement, and required recording duration.
Use the following table to turn those requirements into a selection decision. These are test criteria, not claims about LEDP120C performance.
| Shooting requirement | What to verify | How to use the result |
|---|---|---|
| Fixed interview or close subject | At the planned distance and angle, does the light cover the required subject area and meet the chosen exposure target? | Adjust position, angle, or documented controls and retest. If the shot still fails its criteria within the available space, do not select that arrangement. |
| Tabletop or reflective subject | Are important details visible without unacceptable reflections or clipped highlights? | Try a different position or angle. Recheck the whole frame after each adjustment. |
| Background accent | Does the intended background area receive the desired light without unwanted spill onto the subject? | Adjust placement and retest. Judge it in the complete composition, not in isolation. |
| Moving camera or support | Are all connections documented, and does the assembly remain secure during the planned movement? | Resolve attachment and stability issues before recording a movement test. Physical fit alone is insufficient. |
| Restricted setup space | Can the required position be achieved without obstructing the shot or creating an unstable support arrangement? | Revise the layout. If no stable, compatible arrangement fits, treat the setup as unsuitable. |
| Long recording session | Does a documented compatible power source sustain the required operating period at the planned settings? | Run a duration test. If it falls short, reassess the power plan using only documented options. |
Placement and image-quality problems may be addressed through adjustments and retesting. Missing power or mounting documentation must be resolved separately; better-looking footage does not close those gaps.
Test the Intended Camera Setup
Physical attachment does not establish filming suitability. The Broadway Camera listing does not provide camera-specific flicker test results for the Godox LEDP120C. [c1]
Set Pass Criteria Before Recording
Write down what counts as acceptable for this shoot. For example:
- The subject meets a defined exposure target, using the camera’s exposure aids where available.
- Important highlights retain the detail required by the shot.
- Reflections do not obscure the subject or distract from the intended composition.
- No visible banding or brightness fluctuation appears in the tested clips.
- Color remains acceptable under the planned white balance.
- Coverage remains acceptable across the subject’s expected position or movement.
Choose criteria appropriate to the project; there is no universal exposure or reflection threshold for every camera and scene.
Record and Compare
- Set the intended recording mode, frame rate, shutter setting, exposure, and white balance. Keep exposure and white balance fixed during comparisons so automatic adjustments do not obscure differences.
- Position the light at the planned distance and angle.
- Record a static subject and a moving subject.
- Repeat at the brightness and color settings you expect to use, where available on the unit.
- Review each clip against the written criteria, comparing equivalent portions of the recordings.
- Record any failure, make one clearly documented adjustment, and repeat the test.
Check for visible banding, brightness changes, unwanted color shifts, reflections, and exposure problems. A satisfactory result supports only the tested camera mode, power source, settings, and arrangement—not every possible configuration.
Camera Test Log
For each test clip, record:
- Camera and recording mode: ______
- Frame rate and shutter setting: ______
- Exposure and white balance: ______
- Light brightness and color setting: ______
- Subject distance and light angle: ______
- Power source: ______
- Pass criteria: ______
- Observed issues: ______
- Result: pass / fail / unresolved
- Reason for failure or uncertainty: ______
- Adjustment made: ______
- Retest result and clip identifier: ______
Verify Sustained Power for the Planned Duration
A short camera test does not answer whether the setup can remain powered for the whole shoot. The Broadway Camera listing supplies no runtime measurements for the Godox LEDP120C. [c1]
After confirming power compatibility, perform a separate duration test:
- Define the required operating period, including any time the light must remain on between takes.
- Record the battery’s starting charge indication, where available, and identify the battery used.
- Use the planned brightness and color settings, subject to the unit’s documented operating limits.
- Run the light for the required period under supervision, following the documentation’s safety guidance. Do not continue through an abnormal condition.
- At planned intervals, record a short comparison clip using fixed camera exposure and white balance.
- Note visible brightness or color changes, interruptions, setting changes, and elapsed operating time.
- Record whether the test completed the required period. If it ended early, record the actual duration and reason.
Do not describe a completed test as maximum runtime unless operation was measured to a defined endpoint under appropriate conditions. Its result applies only to that battery’s starting state, condition, settings, and test environment.
Duration Test Log
- Required operating period: ______
- Confirmed compatible power source: ______
- Battery identification and starting charge indication: ______
- Brightness and color settings: ______
- Test start and end times: ______
- Observation intervals and comparison clips: ______
- Brightness changes, interruptions, or other issues: ______
- Actual elapsed operating time: ______
- Required period completed: yes / no / unresolved
- Limits of this result: ______
Make a Setup-Specific Decision
Keep the final decision in three parts:
| Decision area | Evidence needed | Status |
|---|---|---|
| Documented compatibility | Exact model identification and documentation supporting the proposed power and mounting connections | Confirmed / unresolved |
| Mechanical stability | Secure assembly at the intended position and during any planned movement | Acceptable / unacceptable / unresolved |
| Recorded suitability | Camera and duration tests that meet the written shot requirements | Acceptable / unacceptable / unresolved |
Select the tested arrangement only when all three areas are resolved satisfactorily for the planned shoot.
If compatibility remains undocumented, pause that configuration until the missing information is obtained. If stability is unacceptable, revise the support arrangement before further use. If footage or duration falls short, adjust the setup within documented limits and retest; if it still cannot meet the requirements, treat that arrangement as unsuitable.
Retain the test logs so that changes in camera mode, placement, power source, or recording duration can be identified and checked rather than assumed equivalent.
FAQ
Is the Godox Ledp120c Compatible with My Camera?
Broadway Camera’s Godox LEDP120C listing does not establish compatibility with a specific camera. Verify any intended physical attachment separately, then test recorded results at your planned camera settings. A mounting fit is not evidence of acceptable footage. [c1]
Does the Godox Ledp120c Listing Include a Battery?
No. Broadway Camera marks the named 7.4 V Sony NP-F970 model lithium battery as sold separately. Confirm the actual package contents and the exact unit’s power requirements before setup. [c1]
Does the Included Bracket Fit My Tripod, Stand, Camera Shoe, or Cage?
Broadway Camera lists an L-type bracket in the Godox LEDP120C box contents, but that does not establish compatibility with your particular support. Identify the interfaces on both sides of each connection and check the support’s documented load rating before assembly. [c1]
Can the Listing Confirm Runtime or Flicker-Free Recording?
No. Broadway Camera’s Godox LEDP120C page provides neither runtime measurements nor camera-specific flicker test results. Use a documented compatible power source for a duration test, and evaluate recordings at the camera settings intended for the shoot. Keep the conclusions limited to the tested conditions. [c1]
What Should I Do If the Footage Looks Acceptable but Power Compatibility Is Undocumented?
Leave power compatibility unresolved. The retailer’s Godox LEDP120C listing is not a substitute for documentation supporting the exact power arrangement. Acceptable footage does not verify an undocumented electrical connection. [c1]
Sources
- [c1] Godox LED Light 120C