How to Make a YouTube Setup for Vlogs
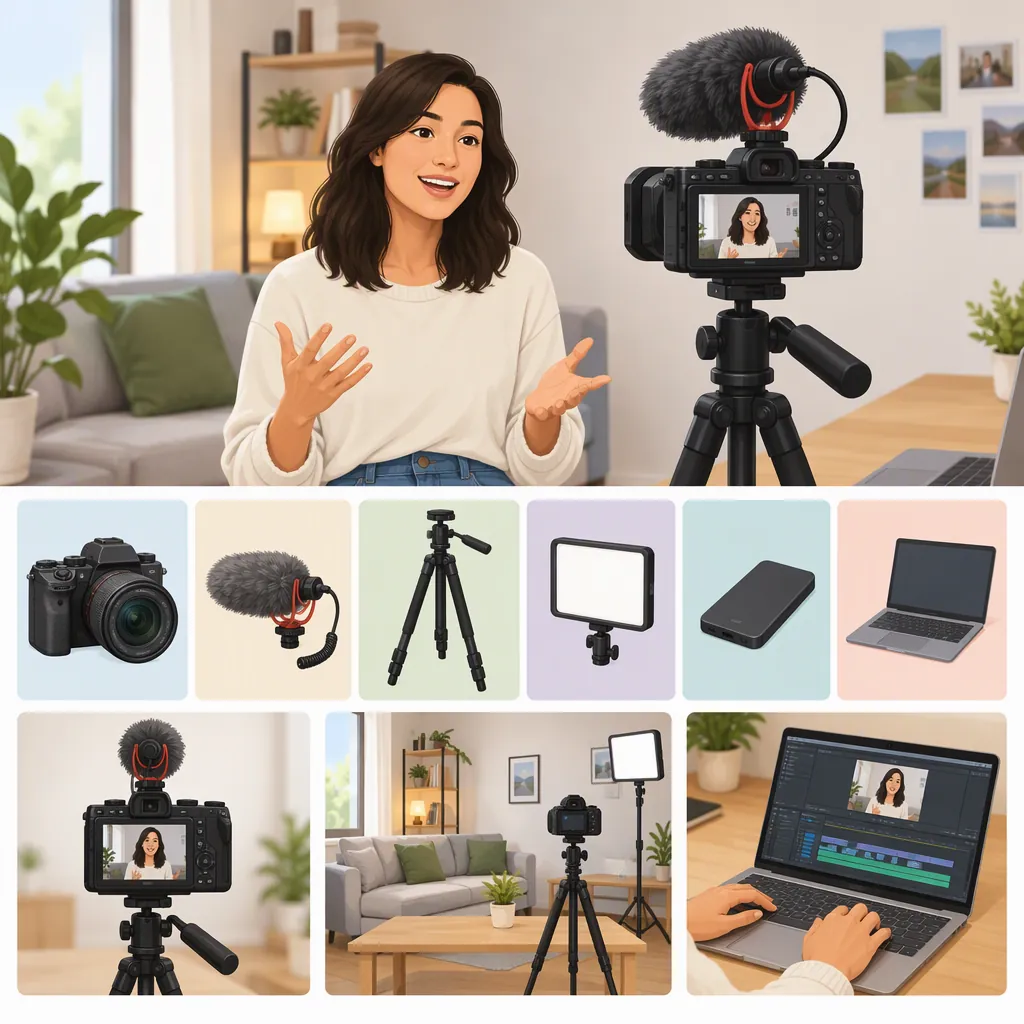
To make a YouTube setup for vlogs, choose your filming format first, then arrange a camera, stable support, a microphone, lighting, and a suitable background. For home recordings, prioritize a repeatable camera position and controlled sound and light. Record and review a short test before adding equipment. The supplied guides describe home setups, not a universally required kit or a tested mobile-vlogging package. [c1] [c2]
Start with the Vlogs You Want to Film
Write down what your camera needs to capture before deciding what belongs in your kit. Dan Sanchez’s studio guide starts with content planning, including camera angles, recording times, participants, and space requirements. [c2]
Use these questions to define your setup:
- Will you mostly sit and talk, demonstrate something, or move between locations?
- Does the frame need to show your face, your hands, or a larger workspace?
- Will you record alone or with another person?
- Can equipment stay in place, or must everything be packed away?
- Will you record at roughly the same time of day?
For a seated vlog, plan one repeatable recording position. For demonstrations, plan the working area and camera angle together. For a portable kit, use the same equipment categories below, but check how each item will be carried and set up. The references primarily cover indoor recording; they do not establish a complete outdoor kit.
Assemble a Kit by Function
Treat this as a planning list rather than a mandatory shopping list. The supplied guides organize their setups around cameras, support, microphones, lighting, and the recording space. [c1] [c2]
| Function | What to Arrange | What to Check |
|---|---|---|
| Capture video | A camera you can operate confidently | Can you see the frame and keep the subject in focus? |
| Hold the frame | A tripod or suitable camera support | Does it hold your camera securely at the intended angle? |
| Capture speech | A microphone and its recording destination | Is speech clear in the actual filming position? |
| Light the subject | Available light or a controlled light source | Does your face remain clearly visible throughout the shot? |
| Establish the scene | An existing room or a separate backdrop | Does the background suit the video without distracting from it? |
| Complete the recording | Necessary power, storage, and connections | Can you record, save, and play back a test clip? |
Start by testing equipment you already have rather than assuming every category requires a new purchase. If you later consider a dedicated camera, Sanchez’s guide identifies ease of use, autofocus, a self-viewing screen, lens options, and image output as considerations—not a single required model. [c2]
A separate monitor, remote, or backup audio recorder can remain optional. The guide presents these as additional accessories rather than the starting point. [c2]
Arrange the Camera, Lighting, and Background
Set the camera position first, then inspect the whole frame. Choose a background that fits the content: an existing room, a simple wall, or a deliberately arranged set are all approaches discussed in the studio guide. You do not need to rebuild a room simply because it will appear in a vlog. [c2]
For lighting, begin with a manageable arrangement and judge it through the camera. Local Creative describes lights on either side of a camera and lowered shades to control changing daylight. Sanchez describes a three-point arrangement with a key light, fill light, and hair light. These are examples to adapt, not identical requirements. [c1] [c2]
Try this sequence:
- Put the camera where it captures the intended face or workspace view.
- Arrange your main light and check the result on screen.
- Adjust the light or your position if shadows obscure important details.
- Add another light only if the test shows a specific need.
- Check the background for objects you do not want visible.
- Note the final positions so you can recreate them.
If you have a permanent recording corner, consider leaving the arrangement ready when practical. Local Creative’s example keeps equipment set up to reduce repeated preparation. That is an individual workflow example, not a guaranteed time saving for every creator. [c1]
Set up Speech Recording Before the Full Take
Choose the microphone arrangement around your position and movement. Sanchez’s guide discusses a camera-mounted microphone, a clipped lavalier, a microphone on a boom, and a visible microphone on a stand or arm. A lavalier or boom arrangement provides a way to position the microphone near the speaker without relying solely on the camera’s location. [c2]
Before recording, decide where the audio will be saved: in the camera, on a computer, or in a separate recording device. The references describe different routes. Sanchez records microphone audio into the camera; Local Creative describes capturing a camera feed and a separate microphone through computer recording software. Neither example establishes compatibility for your particular equipment. [c1] [c2]
Record speech at the position you will actually use, then listen to playback. Check for background noise, echo, clothing contact, and whether the intended microphone was selected.
Keep room echo and incoming noise separate in your troubleshooting. Sanchez’s guide distinguishes sound dampening from soundproofing and suggests rugs, furniture, panels, or acoustic blankets for reducing room reflections. These measures should not be treated as a promise to block outside sound. [c2]
Test the Setup and Make It Repeatable
Use a short trial recording to decide whether the setup works for your vlog. The checklist below is a suggested workflow, not a benchmark from the references.
Watch and listen to the saved clip rather than judging only the live preview. If you find a problem, change one part of the setup and test again. A dark face calls for a lighting adjustment; an unstable frame calls for a support check; unclear speech calls for an audio check. Avoid adding unrelated equipment while the cause is still uncertain.
Once the test is usable, write down the positions and recording choices. A repeatable arrangement is consistent with both guides’ emphasis on a usable recording space and Local Creative’s example of keeping the setup ready. [c1] [c2]
Pre-Recording Vlog Checklist
- [ ] The frame shows the intended face, hands, or workspace.
- [ ] The camera support is secure.
- [ ] The subject stays in focus during expected movement.
- [ ] Lighting is suitable for the planned take.
- [ ] The background contains only what I intend to show.
- [ ] The intended microphone and recording destination are selected.
- [ ] Power, storage, and connections are ready.
- [ ] A short test clip has been saved and played back.
- [ ] Speech is understandable and picture and sound align.
- [ ] Setup positions and recording choices are noted for next time.
FAQ
Do I Need a Dedicated Room for a YouTube Setup?
No dedicated room is established as a requirement in the supplied guides. Sanchez discusses functional rooms and simple backdrops as alternatives to a purpose-built set, while Local Creative uses a home office. Choose a space that accommodates your framing, lighting, and sound needs. [c1] [c2]
Do I Need Three Lights to Start?
Not as a universal requirement. Sanchez presents three-point lighting as a starting arrangement, while Local Creative describes a different office lighting setup. Begin with an arrangement you can manage, inspect a test clip, and add lights only to solve a visible problem. [c1] [c2]
Should I Record Audio Separately from Video?
It depends on your recording route. The references describe microphone audio recorded into a camera and separate camera and microphone sources captured on a computer. If you save sound and video in separate files, include a synchronization check in your workflow. The supplied sources do not verify connections for every camera, microphone, or computer. [c1] [c2]