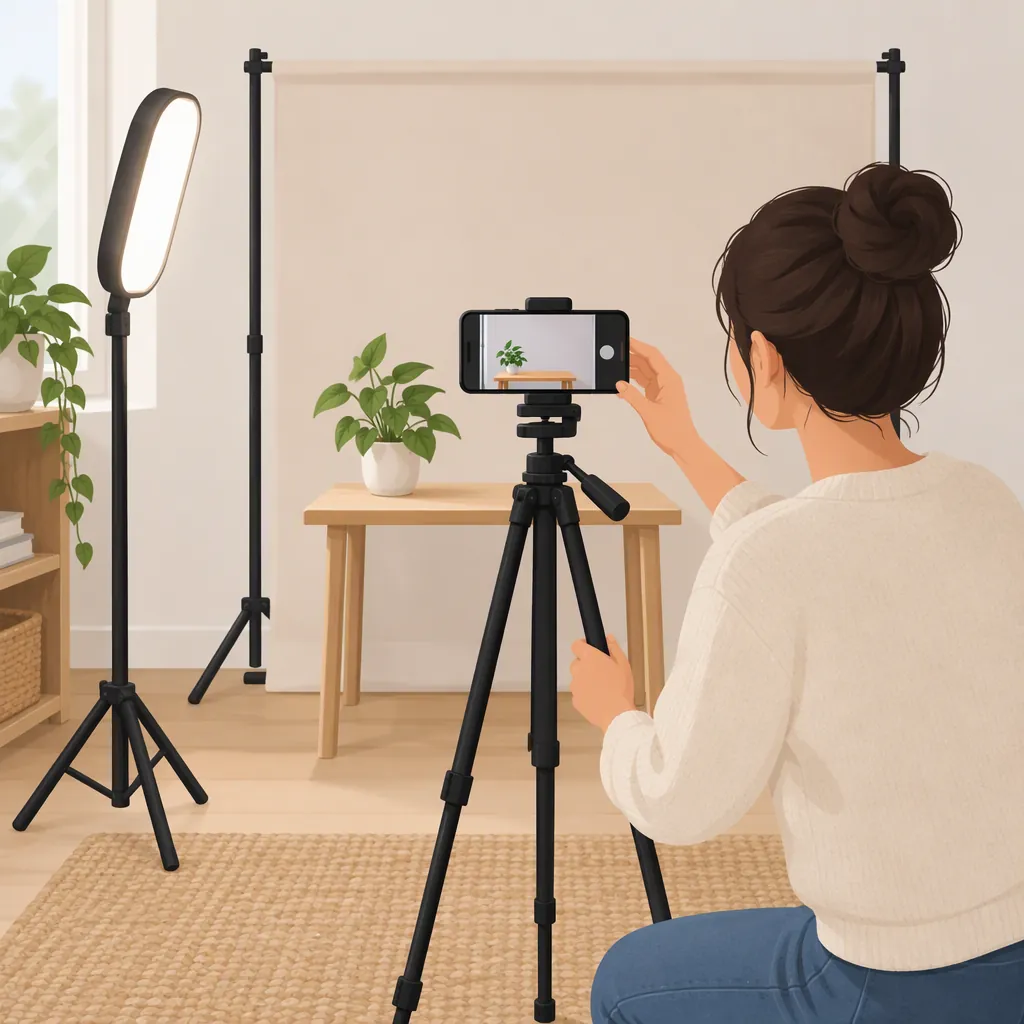
How to Set up a Simple Phone Filming Space Without Buying a Camera
Start with your phone, a clear corner, and a stable place to support it. Arrange your background, try facing toward a window or an existing lamp, and record a short test with spoken audio. Adjust the position and framing after reviewing the clip. Treat this as a starting layout to test in your room, not a requirement to buy equipment.
Choose One Small Filming Area
For a first setup, plan a seated, talking-to-camera shot. Choose a spot where you can leave enough room for yourself, your phone, and a clear walking path.
Before moving furniture, look at the space through your phone’s camera preview:
- Remove personal documents, addresses, and other details you do not want in the recording.
- Keep only the background objects you want viewers to see.
- Try a plain wall, curtain, or tidy shelf as your starting background.
- Compare two possible positions rather than rearranging the entire room.
Choose the position based on the test image and sound, not how impressive the room looks in person.
Position the Phone Before Adding Anything
Choose portrait or landscape framing for the intended destination of your video, then keep that orientation for the test.
If you already have a phone stand, use it. Otherwise, try a stable tabletop support that holds the phone securely without covering the lens. Do not balance the phone on an unstable stack or near an edge. If you cannot secure it, change the layout rather than risk a fall.
For a seated shot, start with the lens near your eye level. Use the camera preview to leave a little space above your head and include any hand movements that matter to the recording. Move the phone or chair until the composition feels suitable.
If you use the rear camera, record a brief framing check and review it before filming the full take.
Test Available Light and Room Sound
Try a position facing toward a window, then compare it with a position slightly turned to one side. If you are filming after dark, try an existing lamp. Keep lamps on secure surfaces and follow their normal safety instructions; do not cover them with fabric or paper.
Review your face and background in the recorded clip. If either looks too bright or too dark for your intended result, change one thing at a time: your seat position, the phone position, a curtain, or the lamp placement.
Next, record a few sentences at your normal speaking volume. Listen back for anything you want to change, such as traffic, appliances, room echo, or an indistinct voice. Try another location or move the phone closer while preserving the framing you need. Do not assume a new microphone is necessary before comparing those tests.
Short Picture-And-Sound Test
1. Record yourself speaking two or three sentences.
2. Include any gestures you expect to use.
3. Play the clip back with sound.
4. Check framing, face visibility, background privacy, and voice clarity.
5. Change one setup detail.
6. Record the same sentences again and compare.
Save a Repeatable Layout
Once you prefer a test, take a reference photo of the setup and note the phone position, chair position, orientation, and lighting arrangement. Check the phone’s battery and available storage before a longer recording, and make another short test whenever you recreate the space.
Keep accessories separate from the basic room plan. The supplied Instagram post presents an accessory-based mobile-filmmaking setup and includes promotional language; it does not establish what equipment your room needs. [citation-1]
For this simple setup, let your own test identify the next adjustment. An awkward frame calls for another positioning test; unwanted background details call for a background change. Consider additional equipment only if you can name a specific problem that the existing setup has not resolved.
FAQ
Should I Buy a Camera Before Setting up the Space?
For this starting plan, use your existing phone first. Record and review a short clip before deciding whether there is a specific limitation that requires different equipment.
What Should I Do If I Do Not Have a Tripod?
Use an existing stand or a secure tabletop support if one is available. Check that the phone stays in place and that the lens is unobstructed. Avoid unstable stacks and exposed edges; change the setup if you cannot support the phone safely.
How Should I Start in a Small Room?
Try a seated shot with a simple background. Use the phone preview to choose the smallest area that includes you and any necessary gestures, then check the recorded picture and sound before making further changes.
Sources
- [citation-1] Instagram