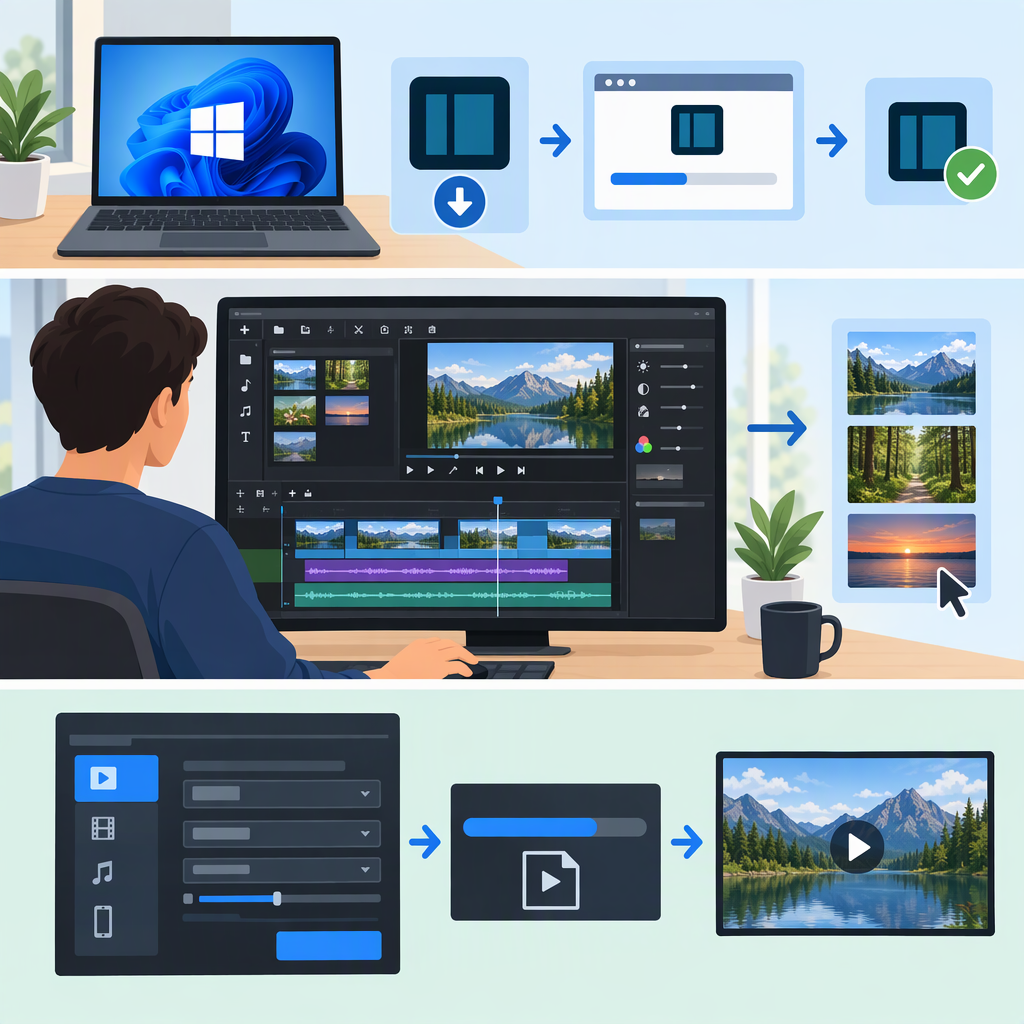
How to Use Shotcut on Windows: Install, Edit, and Export
You can use Shotcut on a Windows PC to assemble and trim clips, preview an edit, and export a video file. The official download page currently lists Shotcut 26.9.27 and provides Windows downloads for Intel/AMD and ARM PCs. Its current Windows requirement is 64-bit Windows 10, version 1809 or later, or Windows 11. A basic edit can be made on one timeline track; you do not need to add titles or effects to complete the workflow below. (shotcut.org)
1. Check Your PC and Download Shotcut
Before downloading, check your Windows version and whether your PC uses an Intel/AMD or ARM processor. Choose the matching option on the official Shotcut download page. The page offers both an installer and a portable ZIP for Windows. If you choose the installer, download and run it, then follow its prompts. If you use the ZIP, follow the instructions provided for that download rather than assuming it installs like the regular installer. (shotcut.org)
Shotcut’s published minimums also vary by workload: its FAQ lists 4 GB RAM for standard-definition editing, 8 GB for HD, and 16 GB for 4K, plus a compatible Direct3D 11 GPU on Windows. These are listed minimums, not a guarantee that every project will play smoothly. The FAQ suggests Preview Scaling and Proxy features to help reduce preview lag on PCs near the lower end of the CPU and RAM requirements. (shotcut.org)
If you use Windows 7 or 8: the download page says the last Shotcut version supporting those systems is 22.12.21. The current release does not list those Windows versions as supported. (shotcut.org)
2. Start a Project and Add a Video
- Open Shotcut and create a new project. Choose a project name and folder if prompted.
- Open a video file using File > Open (or the Open button). The clip opens in the Source player.
- Make the Timeline visible if it is not already. Drag the clip from the player into the timeline to begin your sequence.
- Press Space to play or pause the preview. Watch the timeline preview to check that the clip appears and plays as expected. Shotcut’s keyboard reference lists Space as a play/pause shortcut. (shotcut.org)
For a simple first edit, use one clip. To join another clip, open it and add it after the first on the timeline. If you are unsure where to place it, zoom in on the timeline and check that it follows the first clip rather than covering it.
3. Trim the Beginning or End
On the timeline, move the pointer to the clip’s left edge until the green trim control appears; drag it right to remove material from the beginning. Move to the right edge until the red trim control appears; drag it left to shorten the ending. Trimming changes the visible portion and duration of the clip. (forum.shotcut.org)
Play the edited clip again. If you trimmed too much, undo with Ctrl+Z or drag the edge back. Save your editable project with File > Save or Ctrl+S. Shotcut saves the project separately from the finished video; its FAQ identifies the project file as MLT XML. (shotcut.org)
4. Export the Video and Check the Result
Saving the project does not create the shareable video. To export, open File > Export Video… or the Export panel. For a first export, Shotcut’s Export Basics guide says the default settings create an H.264 MP4 and adapt to the project’s resolution and frame rate. Click Export File, choose a folder and filename in the Windows save dialog, and start the export. Wait for the export job to finish before closing Shotcut. (forum.shotcut.org)
The default is a practical starting point when you do not have a destination-specific requirement. If a website, client, or playback device specifies a format or settings, follow those requirements instead; no single export setting is guaranteed to suit every destination. Shotcut’s FAQ, for example, suggests H.264 High Profile or YouTube for uploading to a video-sharing site. (shotcut.org)
When the job finishes, find the file in the folder you chose and play it. Check the start, the trimmed point, and the end; confirm the picture and any audio you intended to keep are present. Shotcut’s Quick Start Guide also describes opening the completed export from its finished job to play it in Shotcut. (forum.shotcut.org)
Project File Vs. Exported Video
- Project file: preserves the editable Shotcut project so you can return to the edit.
- Exported video: the rendered file you can play or share.
Save the project before exporting, and keep both if you may want to revise the video later. Export settings, interface details, and compatibility guidance can change between releases, so use the official download page and documentation for the version you install.