Shotcut Video Editor: Overview and First Steps
Shotcut is a free, open-source desktop video editor for Windows, macOS, and Linux. It supports native timeline editing and a wide range of audio and video formats through FFmpeg. [c1]
This overview explains its core capabilities and provides a source-clip review exercise: opening footage, controlling playback, and marking in and out points. It also outlines what to learn next before completing a timeline edit or export.
Which Shotcut Does This Article Cover?
This article covers the desktop editor described at shotcut.org. [c1]
Google Play separately lists AI Video Editor: ShotCut AI under Shotcut Video Workshop, with ads and in-app purchases. That listing’s AI features, pricing details, and mobile instructions should not be applied to desktop Shotcut. The cited sources do not establish a publisher relationship between the two products. [c2]
Core Editing Capabilities
Native Editing and Format Support
Shotcut’s home page describes native editing without a separate import requirement and broad audio and video format support through FFmpeg. It also supports timelines containing different formats, resolutions, and frame rates within a project. [c1]
These capabilities do not guarantee compatibility with every file. Likewise, the listed resolution support up to 4K does not establish smooth playback or export speed on a particular computer. [c1]
A Multitrack, Non-Linear Timeline
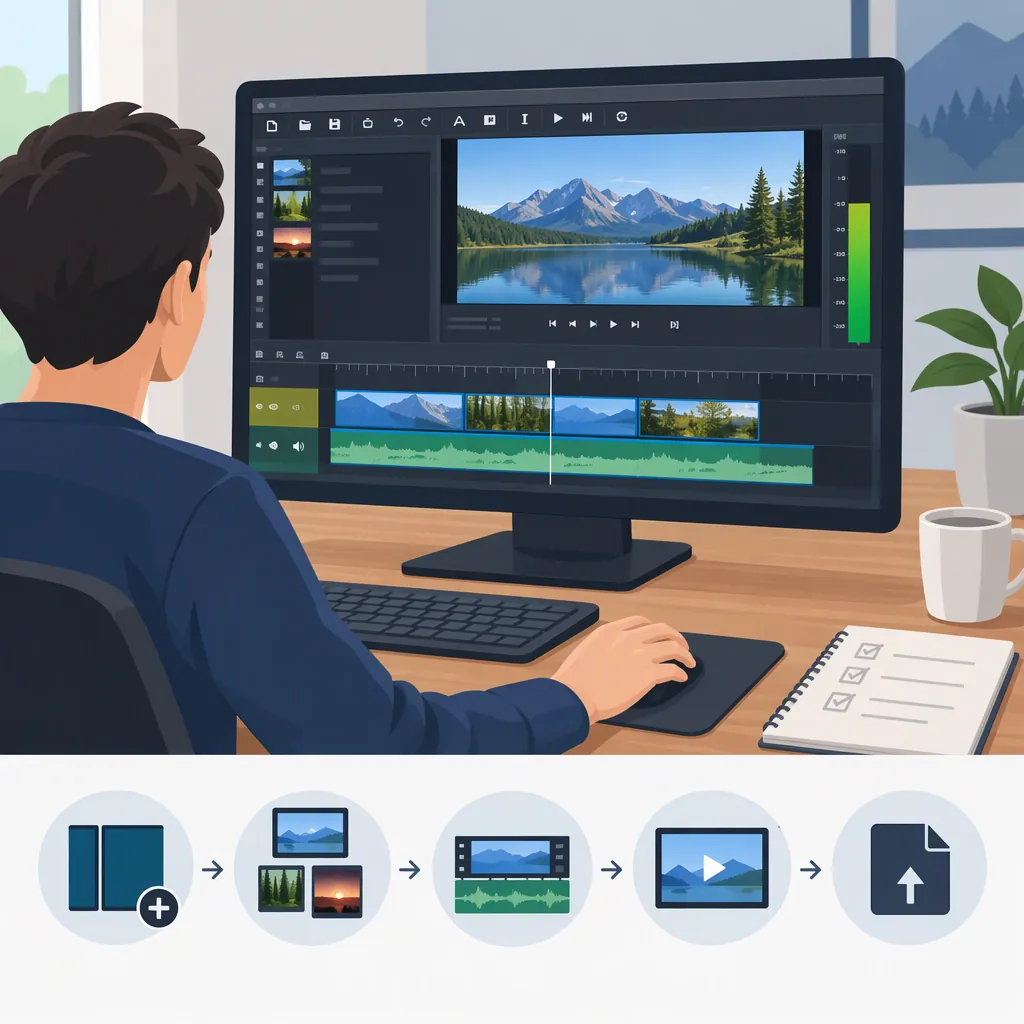
Shotcut uses a multitrack timeline for non-linear editing. This is the editing model used to arrange media across tracks and build a sequence, rather than simply play a single source file. [c3]
Reviewing a source clip and marking a passage are preparation for that work—not a completed timeline edit.
Panels for Inspecting and Managing Media
Shotcut lists dockable and undockable panels for detailed media properties, a playlist, filters, history, encoding, and a jobs queue. [c1]
For an initial session, keep the task narrow: inspect one clip, locate a useful passage, and note its intended place in your sequence. Explore additional panels as you learn the corresponding editing tasks.
First Steps: Open, Preview, and Mark Footage
Shotcut’s home-page quickstart documents opening files through drag-and-drop, the menu, or the toolbar. It also provides keyboard controls for playback, precise positioning, and marking source boundaries. [c1]
| Task | Documented control |
|---|---|
| Control playback speed and direction | J, K, and L |
| Increase playback speed | Press J or L repeatedly |
| Step frame by frame | Left or Right arrow |
| Move one second at a time | Page Up or Page Down |
| Set the in point | I |
| Set the out point | O |
| Jump among start, in, out, and end positions | Alt+Left or Alt+Right |
These controls are documented in the desktop Shotcut quickstart. [c1]
Source-Clip Review Exercise
Use a short clip to practice identifying a passage you want to keep. This exercise covers source review only; it does not place the passage on the timeline or export a video.
- Open the clip. Drag a media file into Shotcut, or open it using the menu or toolbar.
- Explore playback. Use J, K, and L to control playback speed and direction. Repeat J or L when you need to move faster.
- Find a possible start. Use playback to reach the relevant action or speech, then refine the position with the Left and Right arrow keys.
- Mark the start. Press I to set the in point.
- Find and mark the end. Move to the intended end of the passage, refine the position frame by frame, and press O to set the out point.
- Check the boundaries. Use Alt+Left or Alt+Right to navigate among the start, in, out, and end positions.
The opening methods and keyboard controls in this exercise come from Shotcut’s home-page quickstart. [c1]
Afterward, check whether your chosen boundaries include the intended action or speech without cutting it off. Write a brief note describing the passage and where it should appear in your planned sequence. This gives you a concrete selection to work with when you learn timeline editing.
What to Learn Next: A Minimal Editing Checklist
The cited home-page quickstart covers opening, playback, marking, and navigation. It does not provide a complete procedure for placing clips on the timeline, splitting them, saving a project, or configuring export. Exact menu paths and export settings are therefore outside this overview. [c1]
Use the following as a follow-up learning checklist, not as a verified sequence of Shotcut commands:
| Next task to learn | Result to check |
|---|---|
| Place a selected passage on the timeline | The intended material appears in the sequence. |
| Trim or split a timeline clip | The retained portion begins and ends where intended. |
| Arrange clips in order | Playback follows the planned sequence. |
| Save and reopen the editing project | You can resume work on the sequence. |
| Configure and export the finished video | The output meets the required dimensions and frame rate. |
| Review the exported file | There are no unintended frames, missing passages, or obvious audio problems. |
Before working through these tasks, write down your intended clip order and delivery requirements. Use Shotcut’s documentation to verify the commands for your installed version; the official home page provides Tutorials and How To resources. [c1]
The distinction matters: a marked source passage is preparation, a timeline sequence is the edit, and an exported file is the deliverable. Completing the review exercise prepares you for the next stage but does not replace it.
FAQ
Is the Desktop Shotcut Video Editor Free?
Yes. Shotcut’s official home page describes the desktop editor as free and open source. [c1]
Does Shotcut Work on Windows, Macos, and Linux?
The official home page lists all three platforms. The cited material does not establish minimum hardware requirements or performance for a particular computer. [c1]
Can Shotcut Work with 4K Video?
Shotcut lists resolution support up to 4K. That is a capability statement, not a guarantee of real-time playback or a particular export speed. [c1]
How Can I Move Through Footage Precisely?
Use the Left and Right arrow keys to step frame by frame. Page Up and Page Down move one second at a time, while Alt+Left and Alt+Right jump among the start, in, out, and end positions. [c1]
Does Setting in and Out Points Complete an Edit?
No. I and O mark the source in and out points in the documented quickstart. That quickstart does not cover the complete timeline-to-export process; marking a passage is only the source-review stage. [c1]