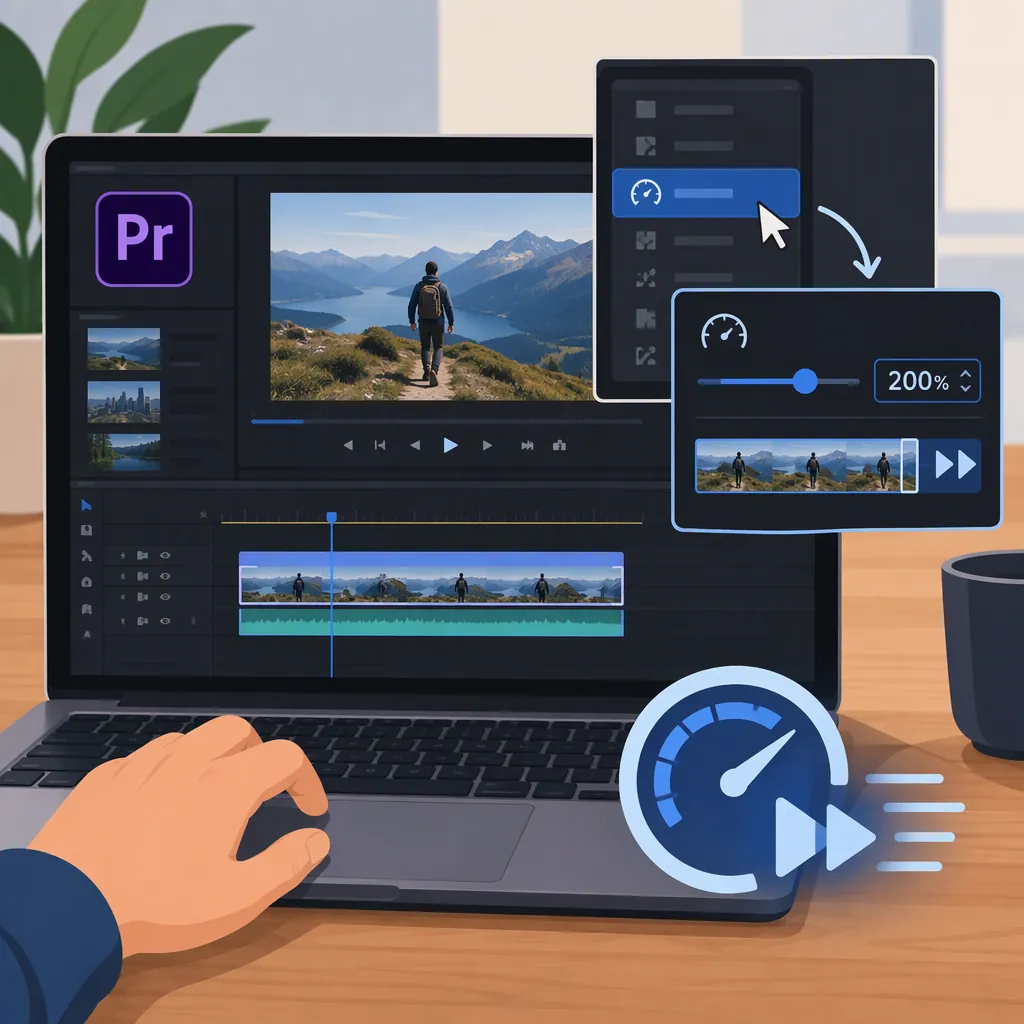
How to Speed up Video in Premiere Pro
To speed up video in Premiere Pro, select the clip in your timeline, open Clip > Speed/Duration, enter a speed above 100%, and click OK. Speed and duration are linked by default, so increasing speed shortens the clip. Enable Ripple Edit if you want to close the resulting timeline gap automatically. These steps follow a 2019 tutorial; interface details may differ in your version. [reference-1]
Speed up a Clip with Speed/Duration
Use Speed/Duration when you want to enter a specific playback speed.
- Select the clip you want to speed up in the timeline.
- Choose Clip > Speed/Duration, or right-click the clip and choose Speed/Duration.
- Enter a value above 100% in the speed field.
- Leave speed and duration linked if you want the clip length to adjust with the speed.
- Click OK to apply the change. [reference-1]
For an illustrative timing example, 200% means twice the original playback speed. With speed and duration linked, a 10-second clip becomes 5 seconds long. This is a timing calculation, not a recommendation for every shot.
The cited walkthrough was published in 2019, so use these menu names as a guide rather than a guarantee of the exact layout in your installed version. [reference-1]
Decide Whether to Close Timeline Gaps
A speed increase shortens the clip when speed and duration remain linked. The tutorial describes Ripple Edit as the option that automatically closes gaps after the change is applied. Enable it when closing the gap is your intended result. [reference-1]
Before confirming, decide whether the surrounding edit should close up or retain its spacing. After applying the change, review the cut into the next shot rather than judging the sped-up clip in isolation.
Speed-Change Review Checklist
- Confirm that the intended clip is selected.
- Check that the speed value is above 100%.
- Decide whether Ripple Edit should close the resulting gap.
- Apply the change and play through the following cut.
- Check that the new timing still fits the edit.
Use Rate Stretch for a Timeline-Based Adjustment
The Rate Stretch Tool provides another way to change a clip's speed and duration by adjusting its length in the timeline. The cited tutorial identifies R as its shortcut and places the tool beneath the Ripple and Rolling edit tools. [reference-1]
Use this method when your starting point is the space the clip needs to occupy. Activate Rate Stretch and shorten the clip with a timeline trim to speed it up. If your starting point is an exact percentage, use Speed/Duration instead. [reference-1]
Apply a Speed Change to Multiple Clips
You can select multiple clips and apply Speed/Duration changes together. The tutorial demonstrates this with two clips set to 105%, a modest speed increase. That value is an example from the source, not a universal setting. [reference-1]
For a batch adjustment, select the intended clips, open Speed/Duration, enter the shared speed, and confirm. Then review each affected edit. A percentage that suits one shot may not suit the pacing of another.
FAQ
What Speed Value Makes a Premiere Pro Clip Faster?
Enter a value above 100% in Speed/Duration. The cited tutorial uses 105% for a slight increase; 200% represents twice the original playback speed. [reference-1]
Why Did My Clip Get Shorter After I Increased Its Speed?
Speed and duration are linked by default in the workflow described by the source. Increasing speed therefore reduces the clip's duration. The controls can also be unlinked for separate adjustment. [reference-1]
Is Reverse Speed Required to Speed up a Clip?
No. Increasing the speed percentage speeds up playback. Reverse Speed is a separate checkbox that reverses the clip's playback direction; leave it unchecked if you want forward playback. [reference-1]
Sources
- [reference-1] How to Speed Up or Reverse a Clip in Premiere Pro