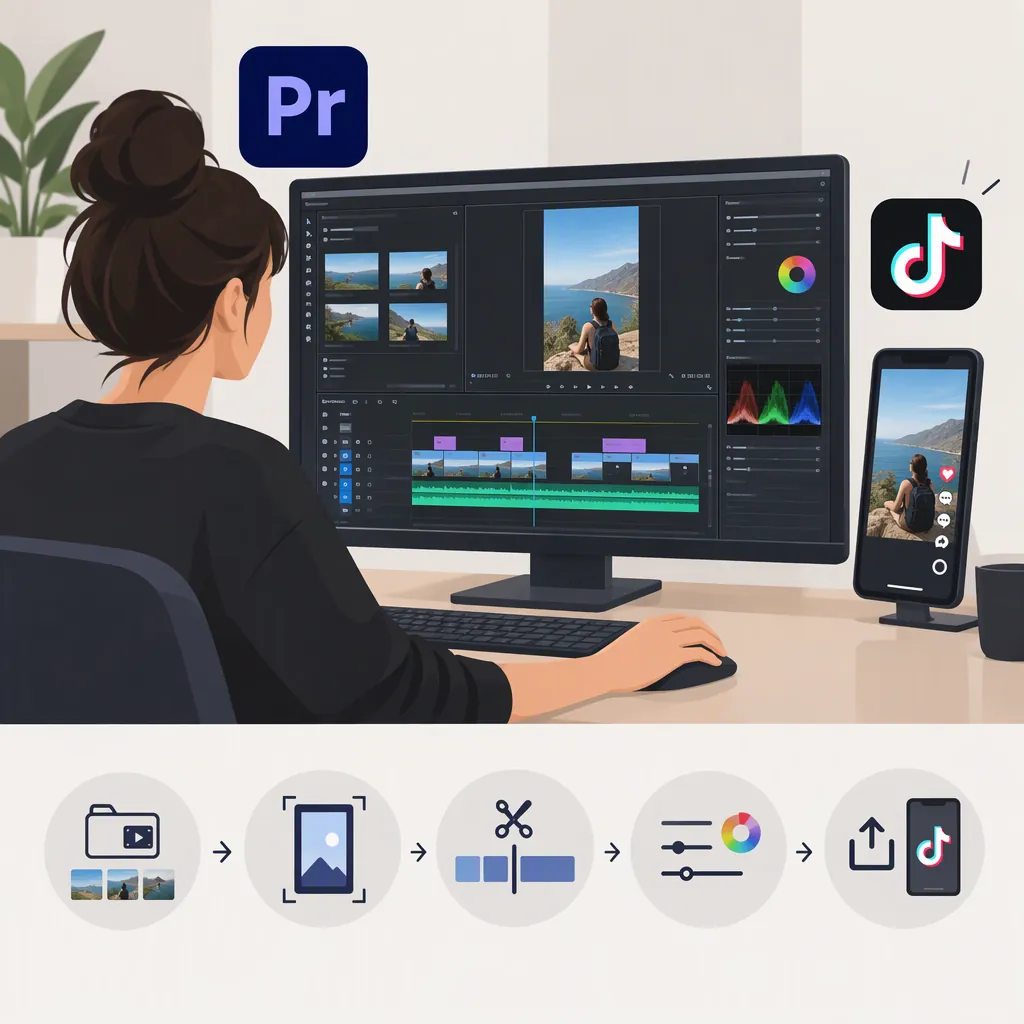
How to Make TikTok Videos in Premiere Pro
To make TikTok videos in Premiere Pro, import your footage, create a 1080 × 1920 vertical sequence, trim and arrange your clips, adjust their framing, and export an H.264 MP4 with matching dimensions and frame rate. The sequence and export settings below follow Hollyland’s third-party guide and are starting points—not guarantees of how TikTok will process or display your upload. [citation-1]
1. Prepare Your Footage and Choose a Frame Rate
Before building the timeline, gather the video clips, audio, and any images you intend to use. Import them into your Premiere Pro project and identify which shots will carry the main action or explanation.
Check the source footage’s frame rate before choosing the sequence timebase. Use the frame-rate information available in your project’s clip metadata or the original file’s metadata; do not infer it from how smooth the preview looks.
The guide discusses these choices: [citation-1]
| Source and Editing Goal | Sequence Starting Point |
|---|---|
| Footage recorded at 24 fps, retaining that cadence | 24 fps |
| Footage recorded at 30 fps | 30 fps |
| Footage recorded at 60 fps, retaining that motion rate | 60 fps |
These are examples, not an exhaustive list of possible source frame rates. Choosing a 60 fps sequence for 30 fps footage does not create newly captured motion. [citation-1]
For mixed-frame-rate footage, choose a timebase with your main clips and intended result in mind. Before editing the entire video, assemble and export a short test containing your most important moving shot and any planned slow motion. Watch for uneven motion, visible jumps, and whether the slow motion behaves as intended. There is no single best timebase for every mixed-source project.
2. Create a Vertical Sequence
Set up the delivery canvas before building the full edit.
Open File → New → Sequence, select the Settings tab, and enter the following values. Hollyland’s guide provides this custom vertical setup; menu labels may differ by Premiere Pro version. [citation-1]
| Setting | Starting Value |
|---|---|
| Editing Mode | Custom |
| Frame Size | 1080 horizontal × 1920 vertical |
| Pixel Aspect Ratio | Square Pixels (1.0) |
| Fields | No Fields (Progressive Scan) |
| Audio Sample Rate | 48000 Hz |
| Timebase | Chosen with the source footage in mind; see the examples above |
Name the sequence clearly, such as TikTok_Vertical_30fps, and click OK. Confirm that the Program Monitor displays a tall frame. Width comes first: 1080 × 1920, not 1920 × 1080. [citation-1]
For consistently shot vertical footage, another option is to drag a clip onto the Project panel’s New Item icon to create a sequence that matches the clip. Inspect the resulting dimensions and frame rate rather than assuming they match your intended output. [citation-1]
Sequence Setup Checklist
- Width is 1080 and height is 1920.
- Pixel aspect ratio is Square Pixels (1.0).
- Fields are set to progressive.
- The timebase suits the source footage and editing goal.
- The Program Monitor displays a vertical canvas.
3. Trim, Arrange, and Reframe Your Clips
Work in two passes: first make the story or action understandable, then refine the vertical composition.
Build a Minimal Rough Cut
Use this editing sequence as a practical workflow, not a TikTok requirement:
- Place your first selected clip in the vertical sequence. Add the other clips you expect to use.
- Trim unwanted beginnings and endings. Move each clip’s timeline edges inward to remove setup time or material after the useful action.
- Remove an unwanted pause within a shot. Make cuts on either side of the pause, remove that section, and close the resulting gap. Play across the join to check that the action or sentence still makes sense.
- Arrange the remaining clips in viewing order. Check for accidental gaps or overlaps after moving them.
- Play the rough cut from beginning to end. Remove repetition or cuts that make the video harder to follow.
For example, a simple demonstration might show the result, the essential steps, and a final view of the result. Use an order that suits your material rather than treating that structure as a formula.
Adjust the Vertical Composition
For each shot, decide what must remain visible: a face, a gesture, an object, or an important background detail.
The guide identifies manual Position and Scale adjustments in Effect Controls, plus Auto Reframe, as options for adapting footage to a vertical frame. [citation-1]
For a manual pass:
- Select the clip in the timeline.
- Open Effect Controls and locate Position and Scale.
- Adjust Scale to establish the size of the subject in the vertical frame.
- Adjust Position to place the important action where you want it.
- Review the beginning, middle, and end of the shot, then play it through. A crop that works on the first frame may lose a moving subject later. [citation-1]
For an assisted approach, search for Auto Reframe in the Effects panel and apply it to the clip. Review its result throughout the shot rather than assuming the automatic framing matches your intended composition. [citation-1]
If a horizontal shot cannot keep all essential action visible in a tight vertical crop, reconsider the shot or composition rather than enlarging it further.
Review Text and Audio
Before export:
- If you add captions or on-screen text, keep them readable and check that they do not cover essential action.
- Listen across every cut for missing words, abrupt volume changes, or unintended silence.
- Check text placement on a phone and again in the upload preview; do not assume a fixed margin guarantees unobstructed display.
- Replay moving subjects to catch moments when they leave the crop.
These are editorial review recommendations, not fixed TikTok rules or promises of better performance.
4. Export a Vertical Mp4
Open File → Export → Media. Start with H.264 and Match Source – High Bitrate, then inspect the actual output settings rather than relying on the preset name alone. [citation-1]
| Export Setting | Starting Value |
|---|---|
| Format | H.264 |
| Output File | .mp4 |
| Frame Size | 1080 × 1920 |
| Frame Rate | Match the sequence |
| Bitrate Encoding | VBR, 2 Pass |
| Target Bitrate | 8 Mbps |
| Maximum Bitrate | 16 Mbps |
| Audio | AAC, 320 kbps |
These values come from Hollyland’s guide; they are not mandatory TikTok settings. Review the rendered result and adjust your export if it does not preserve the detail your footage needs. [citation-1]
Confirm the intended export range and output filename, then export the video. Check the rendered file itself—not only the timeline preview.
Export Review Checklist
- Format is H.264 and the filename ends in
.mp4. - Output dimensions are 1080 × 1920.
- Export frame rate matches the sequence.
- The file contains the intended beginning and ending.
- No unintended gaps or blank frames remain.
- Framing, text, motion, and audio have been reviewed in the rendered file.
5. Troubleshoot and Check the Upload Preview
| Problem | What to Check |
|---|---|
| Black bars or an unexpected landscape frame | Inspect sequence dimensions, export dimensions, clip scaling, and any nested sequences. |
| A subject is cut off | Revisit that clip’s Position and Scale or Auto Reframe result. |
| Motion looks uneven | Compare the source, sequence, and export frame rates before attributing the issue to the upload. |
The guide supports these framing and frame-rate checks, including inspecting nested sequences when the output dimensions appear correct but bars remain. [citation-1]
As a final review, watch the exported file on a phone. Then inspect TikTok’s upload preview for cropping and text placement before publishing.
Evidence boundary: The technical settings in this article rely on one Hollyland Store guide, not current Adobe or TikTok documentation. The basic editing steps are a recommended workflow, not additional claims attributed to that guide. Interface labels can vary by Premiere Pro version. These settings do not establish current TikTok upload limits or guarantee final playback quality.
FAQ
Can I Use Horizontal Footage for a TikTok Video?
Yes. Place it in a vertical sequence and use Position and Scale or Auto Reframe to adjust the composition. Check the entire shot: horizontal footage may contain important action that cannot all fit within one vertical crop. [citation-1]
Do I Have to Choose Either 30 Fps or 60 Fps?
No. Those are common examples in the guide, which also discusses 24 fps for footage captured at that rate. Choose with your source footage and intended motion in mind; changing 30 fps footage to a 60 fps sequence does not create new captured frames. [citation-1]
Why Are There Black Bars Even Though My Export Is 1080 × 1920?
Check the sequence as well as the export. A nested sequence with different dimensions or the way a clip is scaled may still affect the picture inside a correctly sized output frame. The guide specifically recommends inspecting nested sequences when the export dimensions look correct. [citation-1]
Are These Export Settings TikTok’s Official Requirements?
No. H.264 MP4, 1080 × 1920 output, and the listed bitrate values are recommendations from Hollyland’s third-party guide. They are a practical export starting point, not a complete or independently verified statement of TikTok’s current upload requirements. [citation-1]