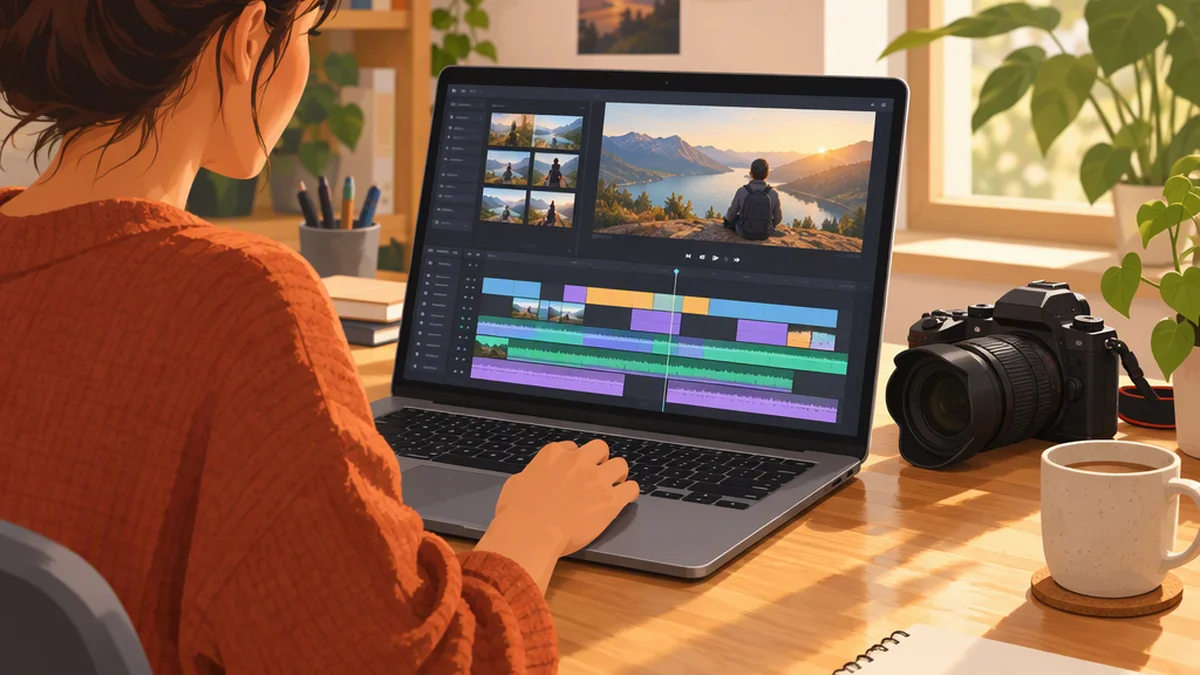
Premiere Elements: A Practical Guide for Beginner Video Editors
Premiere Elements is Adobe’s consumer-focused video editor for turning clips, photos, music, and titles into finished videos without learning a full professional editing application. Its simplified and guided workflows help beginners get started, while a more detailed timeline provides greater control over cuts, effects, audio, and color.
It is worth considering for family videos, travel diaries, hobby projects, and small-scale social content. Before buying, test your own footage, confirm the export options you need, and check the license’s expiry conditions.
What Is Premiere Elements?
Premiere Elements brings common editing tasks into one application: importing media, trimming and arranging clips, adding titles and transitions, adjusting audio, correcting color, and exporting a finished video.
It is not the same product as Adobe Premiere Pro. PCMag describes Elements as a consumer editor that can provide an on-ramp to more serious editing, while noting limitations compared with professional or enthusiast-oriented alternatives. [1]
Scope of this guide: The two linked reviews do not have confirmed dates or product versions in the information available for this guide. Their feature and licensing findings are treated as review-based background, not a verified description of the current release. Check the exact edition you are considering before relying on a feature or purchase term. The workflow below describes editing actions rather than version-specific menu paths.
Who Should Use Premiere Elements?
Premiere Elements is a reasonable fit when you want help with everyday editing but still want to make manual adjustments.
Example projects include:
- A family highlight video assembled from phone clips.
- A travel diary with music and location captions.
- A hobby film using several video and audio tracks.
- A short instructional video with narration and titles.
- A vertical social video adapted from landscape footage.
Guided workflows can help you learn specific tasks. Automated tools described in the reviews, such as Smart Trim and Auto Reframe, can also provide a starting point, but their decisions still need review. [1]
If you need multicamera editing, built-in screen recording, professional collaboration, or a particular import or export format, make those requirements part of your product comparison.
How to Edit a First Video in Premiere Elements
Start with a small project so you can test the complete workflow before committing to a longer edit.
Example project: a one-minute travel highlight made from a few phone clips, one music track, and an opening title. Exact button and panel names depend on your installed version.
1. Organize and Import Your Media
Put your original clips, photographs, music, and voice recordings in clearly named folders. Keep exported videos separate, and do not overwrite the originals.
Import your files into the editor, then add the clips to the timeline. You can also organize media through the Organizer, which PCMag describes as offering ratings, keyword tags, albums, searches, and filters for people, places, dates, and media types. [1]
Before editing, confirm that representative clips import correctly and that their picture and sound play as expected. This is especially important when using footage from a new camera or phone.
2. Choose the Video’s Shape and Resolution
Decide where the finished video will be viewed:
- Landscape: suitable for television viewing and conventional landscape video.
- Vertical: suitable for destinations designed around vertical short-form video.
Check the project’s aspect ratio and frame size before building the edit. PCMag describes aspect-ratio controls and Auto Reframe in its reviewed release. [1]
For the example travel video, 1920 × 1080 landscape output is a reasonable choice if the source footage is landscape and at least that resolution. Use a frame rate that matches the main footage unless the destination requires something different.
For mixed frame rates, test a short export and check motion before completing the project. Increasing output resolution does not restore detail missing from the source.
3. Build and Trim a Rough Cut
Use the simplified editing view if it provides enough control. Move to the detailed timeline when you need more precise placement or access to additional tracks.
Arrange clips in story order, then trim them:
- To shorten a clip, adjust its beginning or end on the timeline while checking the preview.
- To remove a section in the middle, split the clip at both ends of that section, select the unwanted segment, and delete it.
- After deleting material, check whether a gap remains and close it if necessary.
Remove pauses, camera bumps, and repeated material before adding effects. Watch the rough cut with sound: each clip should contribute information, emotion, or continuity.
Smart Trim can suggest sections to remove, according to PCMag’s review. Treat those suggestions as optional and inspect them before accepting. [1]
4. Check Framing and Transitions
Use direct cuts for most edits. Add a dissolve or another transition only when it helps communicate a change in time, place, or mood.
If you adapt landscape footage to a vertical frame, inspect every shot. Auto Reframe can help keep important content in view, but an automatic crop may exclude a second person, a caption, or a relevant object. PCMag describes automatic reframing with manual crop adjustment. [1]
Check the beginning, middle, and end of reframed clips—not just the first frame.
5. Add a Simple Title
Add an opening title or location caption using the title tools in your version. Keep text short, use strong contrast, and leave space around the edges.
For the example project, a brief location-and-date title is enough. You do not need an animated title on every clip.
The reviewed releases include title styles and motion-title templates, though the selection may differ in your edition. [1]
6. Balance Dialogue and Music
Select the relevant clip or audio track and adjust its volume controls. Set dialogue first, then lower music until speech remains easy to understand. If music plays without speech elsewhere, adjust those sections separately rather than keeping one level throughout.
Listen through headphones and ordinary speakers if possible. Check for sudden changes between clips and distracting background noise.
PCMag describes audio tools including DeHummer, DeEsser, reverb, and Music Remix. [1] Cleanup tools can help, but they cannot reliably repair every recording problem. Prioritize clear speech over adding effects.
7. Make Basic Picture Corrections
Start with exposure and white balance. Make clips recorded under different lighting reasonably consistent before applying a creative look.
The PCMag review describes controls including white balance, exposure, LUTs, color wheels, and curves. [1] Use only the adjustments your footage needs, checking skin tones, highlights, and shadows after each major change.
Apply stabilization selectively. It can improve handheld footage, but it may crop the image, introduce distortion, and take time to process. Review the result before keeping it.
8. Preview and Export
Watch the complete timeline before exporting. Check:
- The opening seconds and final frame.
- Title spelling and readability.
- Dialogue clarity and music levels.
- Unwanted gaps, black frames, or abrupt cuts.
- Cropping and stabilization artifacts.
In the export controls, choose a supported file format and confirm the frame size, frame rate, and quality settings. PCMag describes controls for these settings. [1]
For the example project, export at 1920 × 1080 with the chosen project frame rate if that meets the destination’s requirements. If you also need vertical video, prepare and inspect a vertical version rather than relying on the destination to crop it.
Play the exported file outside the editor. A successful export is not necessarily a correctly framed, readable, and audible video.
Strengths and Limitations to Consider
Premiere Elements’ main strength is the balance between assistance and manual control. You can begin with simpler workflows and move to more detailed editing as your needs grow.
The reviews describe multiple tracks, effects, titles, audio processing, and color adjustments. These tools can support polished personal projects without requiring a professional production workflow. [1][2]
Feature Limitations Reported in the Reviews
PCMag reports that its reviewed release lacked multicamera editing, screen-capture recording, DVD authoring and burning, and some export formats. It also reports that mobile and web versions had been discontinued for that release. These findings are not a confirmed list of current limitations. [1]
Before buying, test the requirements that matter to your work:
- Can it import footage from your camera or phone?
- Can your computer play and edit that footage comfortably?
- Are your essential editing tools available?
- Can it export the file type, resolution, and frame rate your destination needs?
A short representative project is more useful than a feature list alone: import your footage, make a few cuts, apply the effects you need, and export the required format.
Licensing: Check What Expires
PCMag and DIY Video Editor describe the reviewed offering as a one-time purchase with a three-year license, rather than a recurring Creative Cloud subscription. That description is not a verified current offer. [1][2]
The available review information does not establish whether the three-year term limits software use, updates, or another entitlement. It also does not establish whether the software remains usable afterward or what renewal or repurchase arrangements apply.
Do not interpret “one-time purchase” as permanent use. Before purchasing, check Adobe’s current terms for the exact edition and confirm:
- What expires at the end of the license term.
- Whether the application remains usable afterward.
- Whether continued use requires renewal or repurchase.
- What operating-system support and trial conditions apply.
Premiere Elements Versus Premiere Pro
Choose Premiere Elements when guided tools, a simpler starting point, and everyday personal or hobby editing are your priorities.
Consider Premiere Pro when your work depends on professional production requirements such as multicamera workflows, complex project management, collaboration, or broader format support.
Compare the current products against your actual needs rather than choosing solely by name. The useful question is not which editor has more features, but which one can complete your projects reliably on the computer you intend to use.
FAQ
Does Premiere Elements Require a Subscription?
The linked reviews describe a one-time purchase with a three-year license rather than a recurring Creative Cloud subscription. They do not establish the current purchase terms or what happens after expiry. Confirm those conditions for the edition you plan to buy. [1][2]
Can Premiere Elements Edit 4K Video?
PCMag reports 4K support and testing with high-resolution footage in its reviewed release. [1] Performance depends on your computer, storage, source format, and effects. Test footage from your own device, including an export, before committing.
Can Premiere Elements Edit Vertical Social Videos?
PCMag describes aspect-ratio and reframing tools that can help prepare vertical edits. [1] Check their availability in your edition and review every reframed shot, because automated cropping can remove important content.
Does Premiere Elements Include Screen Recording or Multicamera Editing?
PCMag identifies both as absent in its reviewed release. Check the current feature list if either capability is essential. Importing footage recorded with a separate screen-recording tool is different from recording your screen inside the editor. [1]
What Editing Tasks Can Premiere Elements Automate?
The reviews describe Smart Trim for suggesting sections to remove and Auto Reframe for adapting framing to a different aspect ratio. [1] These automate parts of editing; they do not, by themselves, establish a complete automatic video-making workflow.
Review clip selection, framing, audio, and effects before exporting.
Bottom Line
Premiere Elements is worth considering for beginner-friendly family, travel, hobby, and social-video editing. Its appeal is the combination of guided assistance and room for more precise manual work.
Start with a short project using your own footage. Confirm the complete import-to-export workflow, check essential features in the exact edition you are considering, and clarify the license’s expiry conditions before purchasing.