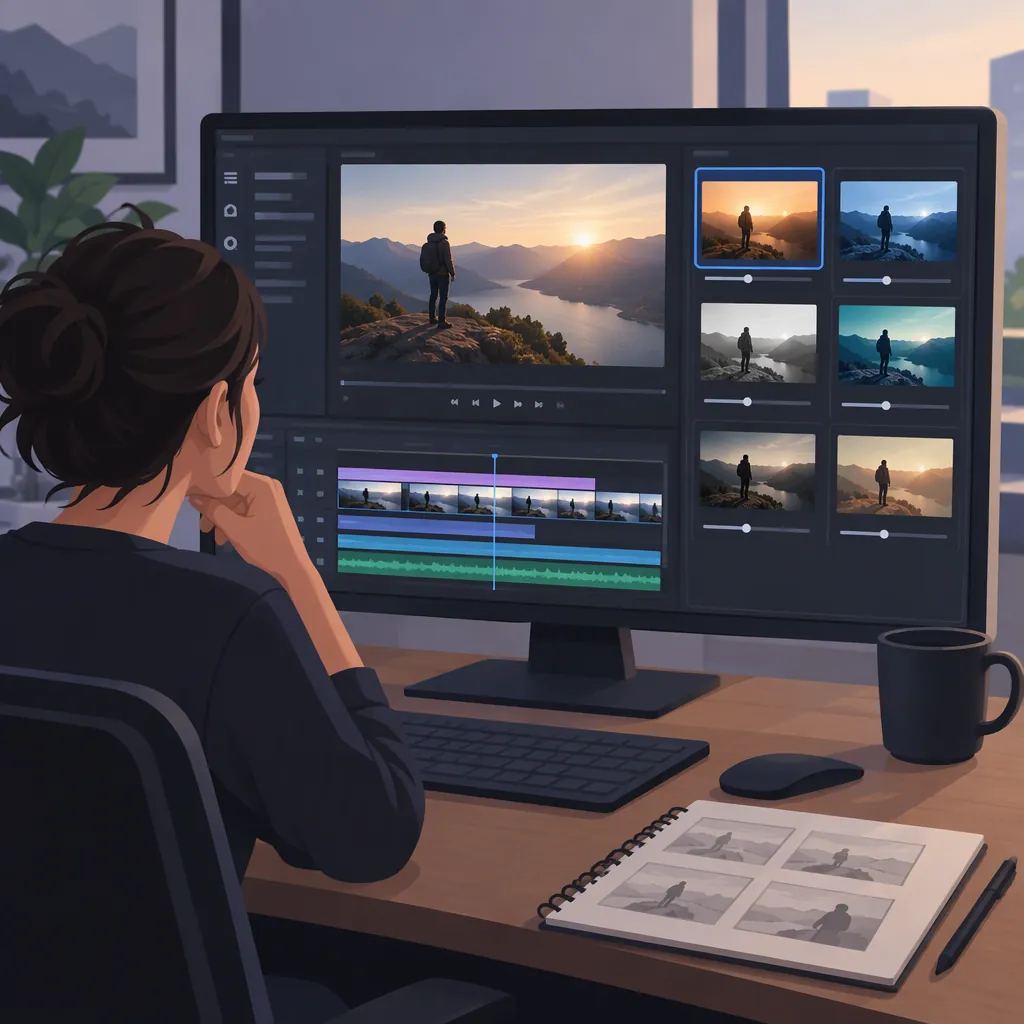
Premiere Pro Video Effects: Choose, Customize, and Review
Choose Premiere Pro video effects by what the shot needs: Blur FX for softening, Magnify FX for enlarging a detail, Vignette FX for darkening edges, or Camera Shake FX for simulated handheld movement. Adobe’s modern-effects reference describes these functions and their customization options. [c1]
Start with one effect, adjust it for a specific purpose, and review the whole shot before combining treatments. The examples below come from Adobe’s modern effects documentation—not a list guaranteed to be available in every Premiere Pro version.
Match the Effect to the Editing Goal
Use the intended visual result to narrow your choice. Adobe documents the following modern effects and functions. [c1]
| Editing goal | Effect to consider | Documented function |
|---|---|---|
| Enlarge a small detail | Magnify FX | Enlarges a selected area, with controls for lens size, magnification, edge softness, border, shadow, and position. |
| Soften the image | Blur FX | Provides controlled blur for selective focus or background softening. |
| Create shaped background softening | Bokeh Blur FX | Softens the background using shapes such as circles or hexagons. |
| Draw attention toward the center | Vignette FX | Darkens the edges of the footage. |
| Add a lens-flare artifact | Lens Flare FX | Simulates a lens flare with shape, streak-intensity, and color controls. |
| Add glow around a focal area | Focus Glow FX | Applies a localized glow around focal areas. |
| Emphasize contours with glow | Edge Glow FX | Adds a radiant glow to outlines or contours. |
| Distort color alignment | RGB Split FX | Splits color channels for chromatic distortion. |
| Add handheld-style movement | Camera Shake FX | Simulates handheld camera movement. |
Treat this table as a shortlist, not a recipe. If the viewer needs to read a small detail, try magnification before adding unrelated glow or shake. For a light treatment, distinguish the goal: a simulated lens flare, localized glow, and glowing contours are different looks.
Check Availability Before Planning the Look
Before relying on an effect:
- Note your installed Premiere Pro version.
- Compare the effect’s exact name with Adobe’s modern-effects reference. [c1]
- Consult Adobe’s public documentation for your version if the name or controls do not match.
- If you cannot confirm availability, pause rather than assuming a similarly named effect behaves identically or that a downloaded template supplies the missing effect.
This article does not establish a minimum version or a version-by-version availability list.
Prepare to Apply and Customize an Effect
Separate finding and applying the effect from adjusting an applied effect. Adobe’s help navigation lists topics for finding and grouping effects, applying effects, removing effects, and adjusting controls in Effect Controls. However, those navigation labels alone do not establish the detailed procedures. [c1]
For the application stage, consult the corresponding Adobe instructions for your installed version. Confirm that you can:
- Locate the intended effect by its exact name.
- Apply it to the intended timeline clip.
- Identify that applied effect in Effect Controls.
- Follow the documented method for undoing a change or removing the effect.
These are setup checkpoints, not verified click-by-click instructions. The reference used here supports the effect functions and customization guidance below, but it does not provide a complete find–apply–remove procedure.
Customize One Look at a Time
Adobe states that its modern effects, transitions, and animations can be used in their default state or customized through their parameters. It also describes expanding an applied effect or transition’s properties in the Effect Controls panel. [c1]
Once your chosen effect is applied, use a specific visual goal to guide adjustments rather than changing several controls at once.
Example: Highlight a Detail with Magnify Fx
Magnify FX enlarges a selected area. Adobe documents controls for lens size, magnification, edge softness, border, shadow, and position. [c1]
For an already-applied Magnify FX effect:
- Define the detail. Decide exactly what the viewer should notice.
- Open Effect Controls and expand the applied effect’s properties. This is the panel workflow described in Adobe’s reference. [c1]
- Evaluate position first. Place the magnified area where it serves the intended detail.
- Adjust magnification separately. Aim for enough enlargement to make the detail useful without losing its surrounding context.
- Evaluate lens size and edge softness. Decide how much of the frame the treatment should occupy and how distinct its boundary should appear.
- Consider border and shadow only if needed. Judge whether they clarify the highlighted area or become distractions.
- Compare with the untreated shot. Review the same moment, then the beginning, middle, and end of the shot.
- Keep, revise, or remove. If the treatment does not serve the purpose, use the undo or removal procedure verified for your version.
The adjustment order and visual checks are editorial recommendations, not Adobe-prescribed settings. No universal values are established here. If the subject moves, do not assume a single position setting will remain appropriate throughout the shot.
Effect Review Worksheet
Use this worksheet for one shot:
- Intended viewer focus: __________
- Selected effect: __________
- Parameter changed: __________
- What improved: __________
- What became distracting: __________
- Result at the beginning, middle, and end: __________
- Consistency with adjacent cuts: __________
- Decision—keep, revise, or remove: __________
Review adjacent cuts as well as the treated clip. A look can work within one shot yet create an unintended change in style at the cut.
Choose Texture and Channel Treatments Deliberately
Adobe documents three options with different purposes: [c1]
| Effect | Documented capabilities | Selection guidance |
|---|---|---|
| Noise | Adds controlled, animated noise, with overall noise-level and shadow, midtone, and highlight adjustments. | Consider it when the goal is texture rather than movement. |
| Gradient | Supports linear and radial gradients, with color and texture controls. | Consider it for a designed gradient or textured background. |
| Channel Blur | Blurs individual color channels, including alpha, in RGB, HSV, and YUV modes. | Consider it when the goal involves individual channels rather than general image softening. |
Choose the effect before experimenting with its treatment. For example, a request to “soften the image” does not necessarily call for channel-specific changes; Blur FX may be the more relevant starting point. [c1]
Explore Randomized Variations with Surprise Me
Adobe documents Surprise Me as a way to generate randomized configurations. The numbered sequence below comes from its transition example; it is not a general application procedure for Noise, Gradient, or Channel Blur. Use it only where the documented button is available. [c1]
- Select the transition in your sequence.
- Open Effect Controls and expand the applied effect or transition’s properties.
- Select Surprise Me.
- Repeat to explore other variations. [c1]
After exploring, review the chosen variation against the original editing goal. A randomized configuration is a candidate look, not a substitute for checking readability, subject emphasis, and consistency across cuts. The documentation does not establish that every effect in every version has this feature.
Keep Effects and Templates Distinct
A template listing is not the same thing as an entry in Premiere Pro’s effects library. Mixkit’s catalog labels downloadable items as Premiere Pro project files or mogrt files. For example, it lists Zoom Transition as a project and Retro Shape Title as a mogrt. It also states that customization options vary by template. [c2]
If you need a packaged title or sequence design, a template may be relevant. If you need to change the appearance of footage, identify the appropriate effect first rather than assuming a downloaded template is a plug-in.
Check an individual template’s requirements and terms before using it. Mixkit’s cited page refers to CC 2020 as the latest version; that wording should not be treated as current compatibility guidance. This article does not establish compatibility or licensing for any individual download. [c2]
FAQ
Which Premiere Pro Effect Should I Consider for Blur?
Adobe describes Blur FX for controlled blur, Bokeh Blur FX for shaped background softening, and Channel Blur for individual-channel blurring. Choose according to whether you need general softening, a shaped bokeh treatment, or channel-specific changes. [c1]
Which Effect Should I Consider for Glow?
Adobe describes Focus Glow FX for localized glow around focal areas and Edge Glow FX for glowing outlines or contours. Lens Flare FX instead simulates a lens-flare artifact. Choose by the intended visual result rather than treating these as interchangeable light effects. [c1]
What If I Cannot Find an Effect Named in This Article?
These are examples from Adobe’s modern-effects reference, not a universal inventory for all versions. Check the exact name against that reference and consult Adobe’s documentation for your installed version before proceeding. This article does not establish minimum-version availability. [c1]
Does Camera Shake Fx Stabilize Shaky Footage?
No. Adobe describes Camera Shake FX as adding simulated handheld movement. Its help navigation lists Warp Stabilizer separately under stabilizing shaky footage; the two serve different editing goals. [c1]
Is Surprise Me a Standard Step for Every Video Effect?
Do not assume so. Adobe’s documented sequence begins by selecting a transition, then expanding its properties in Effect Controls and choosing Surprise Me. Follow it only where the button is available; the reference does not establish universal availability across effects and versions. [c1]
Are Mixkit Templates Built-In Premiere Pro Effects?
Do not treat them as built-in effects. Mixkit identifies its downloadable items as projects or mogrts, while Adobe’s reference describes Premiere’s modern effects. A template can contain a designed visual treatment without being an effect-library entry. [c1] [c2]