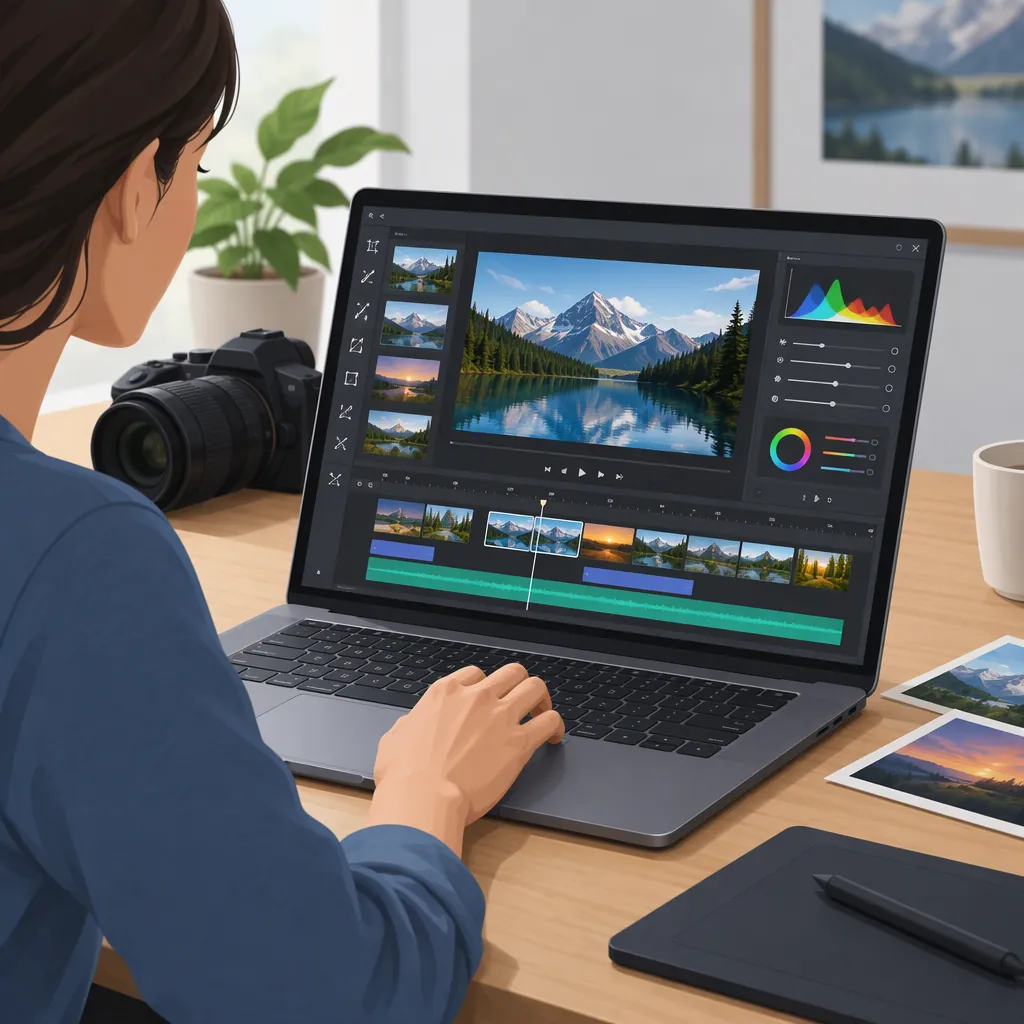
Photoshop Video Editor: A Photo-Editing Overview
If you searched for “photoshop video editor” but want to edit a photograph, start with Photoshop’s image-editing topics: opening images, cropping and straightening, adjusting color and tone, retouching, and saving or exporting. Adobe’s desktop Help navigation lists these separately from video and animation topics. [c1]
This overview helps you identify the relevant photo-editing subjects and plan an edit. Scope: the cited Photoshop resource is a desktop Timeline article. Its navigation names photo-editing topics, but its body teaches video editing—not the commands or settings for a complete photo workflow. The guidance below is therefore a topic-selection and planning guide, not a verified click-by-click tutorial or instructions for Photoshop on web or mobile. [c1]
Start with the Photo’s Needs
Before choosing a tool, identify what you want to change. A useful editing brief answers four questions:
- Composition: Is the subject framed as intended? Is a horizon or another reference line tilted?
- Tone and color: Does the image look too light, too dark, or noticeably off-color?
- Details: Are there small spots or other distractions you want to address?
- Output: Where will the finished image be used, and what dimensions or file format does that destination require?
These questions keep the edit focused. You do not need to explore every tool listed in Photoshop Help to decide which subjects are relevant to one photograph.
Match the Photo Problem to a Help Topic
Photoshop’s desktop Help navigation provides more useful direction when read as a problem-to-topic map rather than a long list of tool names. The following associations reflect the subjects named in that navigation; they do not establish specific settings or guarantee a result. [c1]
| Photo problem or goal | Relevant Photoshop Help topic | What to investigate |
|---|---|---|
| Unwanted space around the subject | Crop photos; Crop tool options | Framing and crop options. [c1] |
| A tilted photo | Straighten tilted photos | Correcting the image’s alignment. [c1] |
| Different output dimensions | Resize images; Change the pixel dimensions of images | Image dimensions, separately from composition. [c1] |
| Overall brightness or contrast concerns | Apply the Brightness/Contrast adjustment | Brightness and contrast controls. [c1] |
| Tonal range concerns | Adjust tonal range and color balance using Levels; Adjust color and tone with Curves | Tonal adjustment topics. [c1] |
| Color intensity or hue concerns | Apply a Hue or Saturation adjustment | Hue and saturation adjustment. [c1] |
| Color-balance concerns | Apply Color Balance adjustment in Photoshop | Color-balance controls. [c1] |
| Small spots or imperfections | Remove small spots with the Spot Healing Brush; Remove imperfections with the Spot Healing Brush | Spot-retouching instructions. [c1] |
| A larger area needing retouching | Retouch a large area with the Healing Brush tool; Retouch images with the Clone Stamp tool | Area-retouching and cloning topics. [c1] |
| An adjustment intended for only part of the image | Use layer masks to target adjustment or fill layers; Selection tools overview | Targeting an image area. [c1] |
| A finished image file | Save your work; Save images in JPEG format; Fine-tune export settings with Export As | Saving and export instructions. [c1] |
For example, a tilted image with a small distracting spot points to straightening and spot retouching. A photograph that needs different pixel dimensions points to resizing. Naming the problem first makes the relevant Help topic easier to identify.
Plan a Basic Photo Edit
Use the following as a preparation checklist, not as a prescribed Photoshop command sequence.
1. Identify the Image You Will Open
Locate the source photograph and decide which file you intend to edit. Photoshop’s desktop Help includes Open and import files in Photoshop and related import topics. Consult those instructions for the opening procedure appropriate to your file. [c1]
2. Separate Framing from Dimensions
Decide whether you want a different composition, a straighter image, different pixel dimensions, or some combination of these. Adobe lists cropping, straightening, resizing, and changing pixel dimensions as distinct Help subjects. [c1]
Write down the intended framing and any required output dimensions before choosing a topic.
3. Name the Tone or Color Issue
Avoid treating Brightness/Contrast, Hue/Saturation, Color Balance, Levels, and Curves as an interchangeable checklist. The Help navigation identifies separate subjects for brightness and contrast, hue and saturation, color balance, tonal range, and color-and-tone adjustment. [c1]
Describe the issue in plain language—such as “the image looks too dark” or “the colors look off”—then consult the corresponding instructions.
4. Decide Whether Retouching Is Necessary
Identify the specific detail you want to address rather than making unspecified changes across the photograph. Adobe’s topic names distinguish small-spot removal, larger-area healing, and Clone Stamp retouching. [c1]
If only part of the photograph needs an adjustment, the navigation also identifies selections and masks, including masks used to target adjustment or fill layers. [c1]
5. Define the Output Before Saving
Record the destination’s requirements: file format, pixel dimensions, and any file-size limit. Photoshop Help lists saving your work, JPEG saving, PNG and GIF saving, and Export As as separate subjects. Use the corresponding instructions to determine the appropriate procedure; the topic list alone does not establish export settings. [c1]
As a final review checklist, compare the result with your initial goals: framing, alignment, tone, color, details, and output requirements.
Where Video Editing Fits
Photoshop’s desktop Timeline instructions concern video clips, including clip order, trimming, transitions, audio, and playback speed. Those controls address editing over time, rather than providing a basic still-photo workflow. [c1]
Other Adobe video editors are separate products: Adobe Express documents its own browser-based video workflow, while Adobe’s Premiere page identifies Premiere as professional video editing software. Neither should be treated as a source of Photoshop photo-editing commands. [c2] [c3]
FAQ
Which Photoshop Help Topic Should I Start with for a Photograph?
Start with the problem you want to solve. For framing, look for cropping or straightening; for brightness or color, look for the corresponding adjustment topic; for small imperfections, look for Spot Healing Brush instructions. These subjects appear in Photoshop’s desktop Help navigation. [c1]
Should I Crop or Resize the Image?
First decide whether your goal is composition or output dimensions. Photoshop Help lists Crop photos, Resize images, and Change the pixel dimensions of images separately. Use the relevant instructions rather than assuming one topic covers all three needs. [c1]
Do I Need to Use Every Color-Adjustment Tool?
No tool list should be treated as a mandatory editing checklist. The navigation presents Brightness/Contrast, Hue/Saturation, Color Balance, Levels, and Curves as separate adjustment topics. Select the subject that matches the issue you have identified. [c1]
Where Should I Look for Saving and Export Guidance?
Look under Photoshop’s desktop Save and export topics. The navigation includes Save your work, image-format-specific saving topics, and Fine-tune export settings with Export As. Match the instructions to your required output. [c1]
Are Adobe Express Video Instructions Also Photoshop Instructions?
No. Adobe Express’s video-editor page describes its own trimming, cropping, splitting, and MP4-download workflow. Those instructions should not be attributed to Photoshop. [c2]