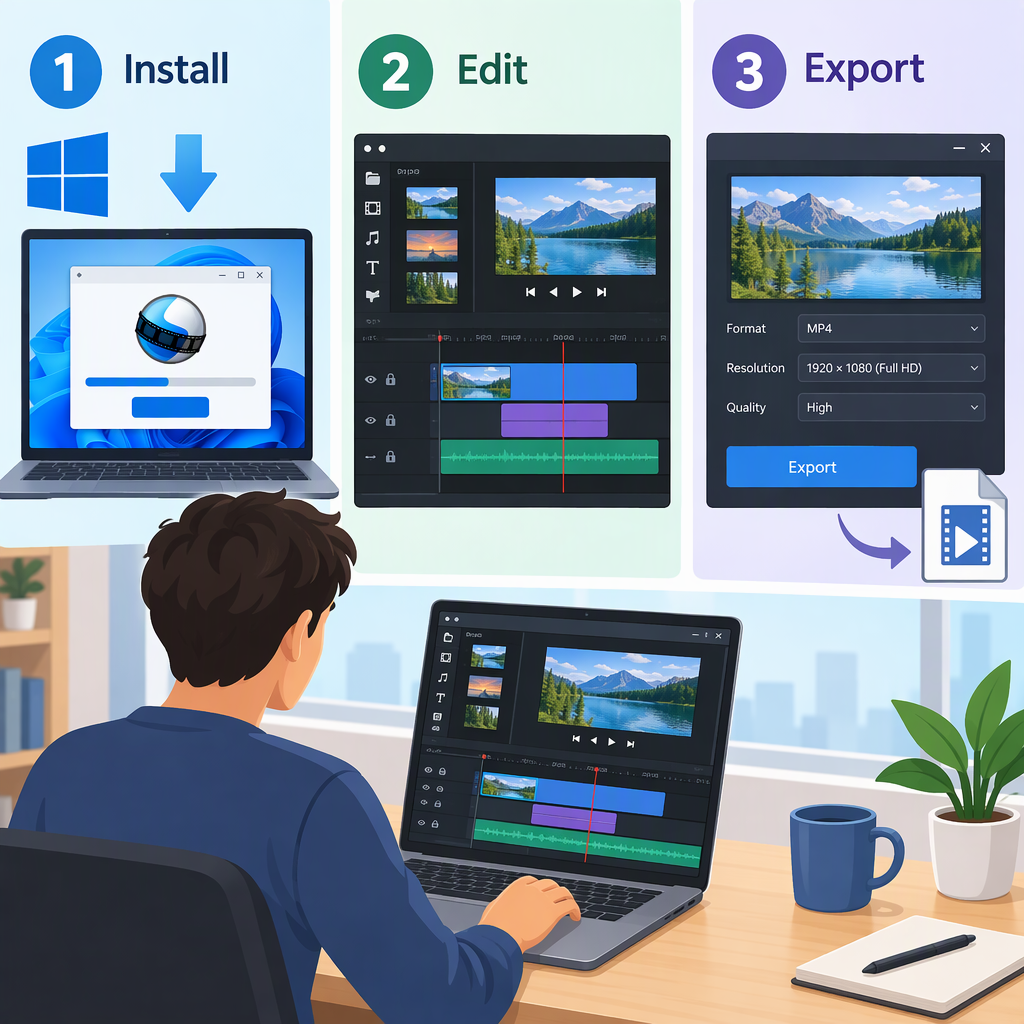
How to Use Openshot on Windows: Install, Edit, and Export
OpenShot’s Windows workflow is straightforward: install it from the official download page, import your media, arrange clips on the timeline, preview the edit, then export a video. This walkthrough follows the OpenShot 4.1.0 user guide; the download page currently displays v4.1.1, so a few labels or details may differ between versions. (openshot.org)
Install Openshot on a Windows PC
- Open the official OpenShot download page and choose the Windows option. Select the regular stable download rather than a daily build unless you specifically want an in-development version. The page separates the Windows download from daily builds. (openshot.org)
- Before installing, check OpenShot’s published system requirements. That page lists 64-bit Windows 8/8.1/10/11, a 64-bit x86_64-compatible multicore processor, at least 4 GB RAM, and 1 GB of storage for installation and use. The requirements page was last modified in 2023, so treat it as OpenShot’s published baseline—not a guarantee of support for every current PC or future release. (support.openshot.org)
- Run the downloaded Windows installer and follow its on-screen instructions. OpenShot’s installation guide says the installed program is then available from the Windows Start menu. Launch it from there. (httpswww.openshot.org)
Make a Basic Edit
For a first project, use a few video clips and, if needed, one audio file. Keep the original media in place after importing: OpenShot makes the files available to the project rather than copying them into it. (https.openshot.org)
- Import media. In OpenShot, choose File → Import Files, or drag media from File Explorer into the Project Files area. Video, image, and audio files appear in the Project Files panel. (https.openshot.org)
- Build the sequence. Drag a video clip from Project Files onto a timeline track. Add more clips and drag them left or right to set their order; time runs from left to right. Put audio on a track as well if you want it in the finished video. (openshot.org)
- Trim an unwanted beginning or ending. Click the clip on the timeline, then drag its left or right edge inward. Play the result to check the cut; zooming in on the timeline can help with a more precise trim. This edge-drag method removes footage from a clip’s start or end. (openshot.org)
- Preview the edit. Play the timeline and check that the clips appear in the intended order and that the audio starts and ends where you expect. If something is off, move or trim the clips and preview again.
- Save a project you may want to edit later. Use File → Save Project As to keep a named project file. OpenShot’s documentation describes the project as the file that records the media references and edits; keep the original imported media available when reopening it. (openshot.org)
Example: For a short two-shot edit, import two clips and a music file, place the clips consecutively on a video track, trim excess time from their outer edges, and place the music on another track. Preview the sequence before exporting. This example applies the documented import, timeline, trim, and preview steps; it is not a report of a hands-on test.
Export the Finished Video
- Click Export Video at the top of the window, or choose File → Export Video.
- For an ordinary video to watch or share, start in the default Simple export view. The OpenShot 4.1.0 guide says its default export produces an MP4 using H.264 video and AAC audio, and describes that output as compatible with most media players and several common websites. (web.openshot.org)
- Choose a destination and filename. If you need a specific size or frame rate, choose a matching video profile; otherwise, the defaults are a reasonable starting point. The guide advises keeping the export profile’s aspect ratio consistent with the project, since a mismatch can make the image appear stretched, cropped, or letterboxed. (web.openshot.org)
- Click Export Video to render the file. Open the exported video from the destination you selected and check the beginning, end, picture, and sound.
For a project with a defined target—such as a particular resolution and frame rate—set the matching project profile before editing when possible. OpenShot’s guide lists HD 720p 30 fps as its default project profile and recommends switching to the intended target profile before starting the edit. (httpwww.openshot.org)
If Something Does Not Work
- Media is missing when you reopen the project: Check that the original files have not been moved, renamed, or deleted since import; the project references those files rather than copying them. (https.openshot.org)
- The export looks different from the preview: Check that the export profile’s aspect ratio matches the project profile. (web.openshot.org)
- The controls do not match these steps: Compare your installed version with the version of the user guide you are using. The steps here follow the 4.1.0 guide, while OpenShot’s download page displays v4.1.1. (openshot.org)