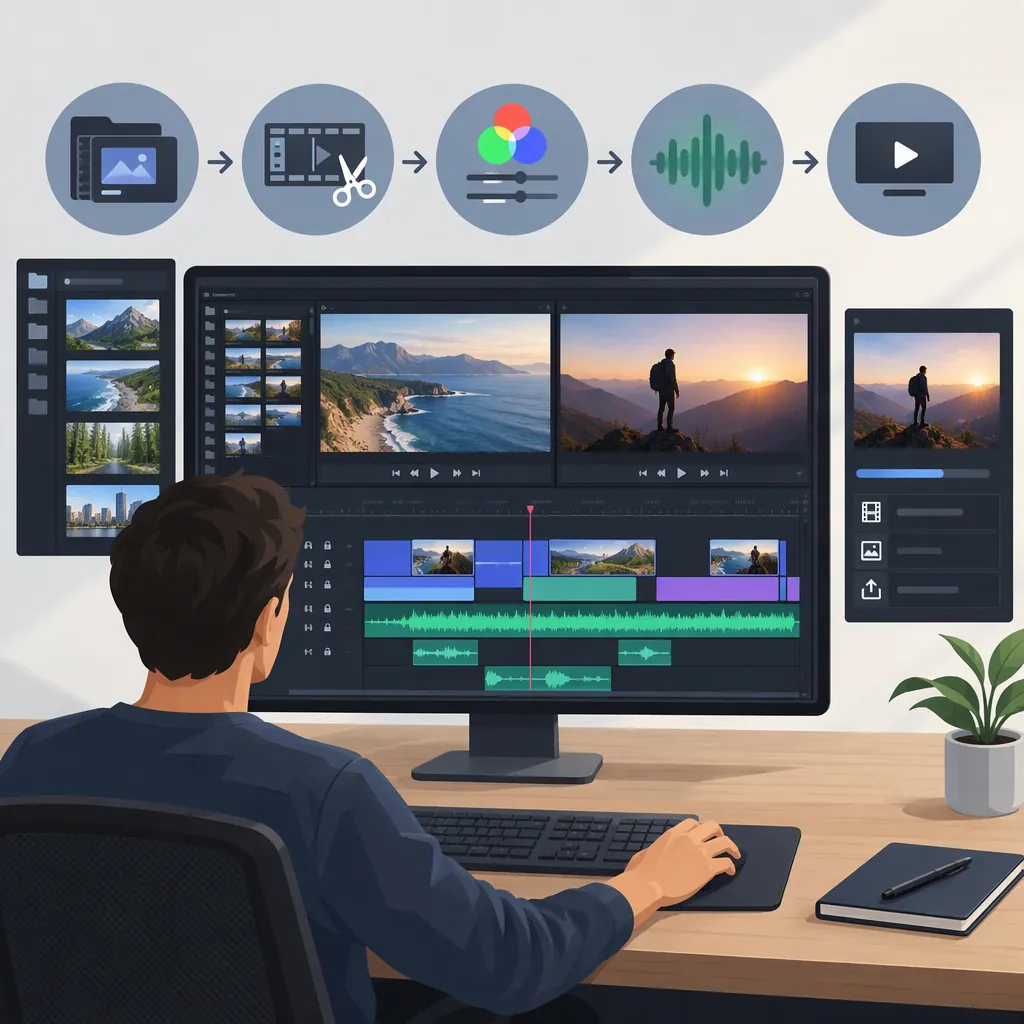
Lightworks Video Editor: From Media Import to Export
A documented Lightworks v2026.1 editing workflow moves from importing media into bins to assembling a sequence, checking track targets and linked audio, trimming cut points, and reviewing the export source and monitored tracks. This overview follows the public v2026.1 release notes; controls and shortcuts may differ in older versions or customized setups. [lwks-2026]
The practice steps below are suggested learning exercises, not requirements imposed by Lightworks. Use a short practice sequence before applying unfamiliar controls to an existing edit.
Prepare Your Project and Organize Media
For an existing project, back it up before opening it in v2026.1. The release notes warn that this version adds clip and project information and do not guarantee that an updated project will reopen perfectly in an older version. [lwks-2026]
The Content Manager separates Collections, Tags, Searches, and Bins. Its New button can create a sequence or bin. In the Import panel, ADD TO BIN lets you choose no bin, an existing bin, or a newly named bin. If a bin is already selected, it is offered first as the import destination. [lwks-2026]
For a small practice edit, choose a few clips with recognizable filenames. Select the destination bin explicitly, then review the imported material before building the sequence.
Project Preparation Checklist
- Back up an existing project before updating.
- Create or select a bin for the practice media.
- Check the ADD TO BIN destination before importing.
- Review the imported clips and identify the material for your sequence. [lwks-2026]
Assemble a Practice Sequence
Use New in the Content Manager to create a Sequence. Material can be dragged into the timeline from a bin or viewer. Snapping works when dropping material from either location, and a green indicator shows when material snaps into alignment. [lwks-2026]
For this exercise, place two clips in the timeline in the intended viewing order. Start with one video track and its associated audio rather than overlapping video layers. Review the clip names, order, and audio placement before trimming.
If you need additional tracks, the documented drop zones can create them: dropping material above the top video track or below the bottom audio track makes the tracks the material needs, with appropriate grouping for material such as stereo audio pairs. [lwks-2026]
Before continuing, review the sequence and check that:
- The clips appear in the intended order.
- Picture and associated audio are present.
- Any gap between clips is intentional.
- The playhead is over the clip you intend to trim.
These checks provide a simple starting point for the exercise; they are not a complete sequence-setup procedure.
Check Track Targets, Locks, and Clip Links
In Lightworks v2026.1, three controls have distinct roles:
- Track Target: The V1, A1, and similar buttons determine which tracks an edit uses. With no targets lit, Insert, Replace, Remove, and Delete operate across every track. With targets lit, those edits use the targeted tracks. [lwks-2026]
- Track Lock: An untargeted track can still be held in sync with an edit. Locking takes it out of that behavior; an untargeted track is therefore not protected in the same way as a locked track. [lwks-2026]
- Clip Link: On by default, this keeps linked clips—typically video and its audio—together for selection, movement, deletion, and trimming. [lwks-2026]
How Track Targets Affect Keyboard Trimming
Keyboard trimming has a more specific target rule:
| Target state in v2026.1 | What a trim key changes |
|---|---|
| No Track Targets lit | The top clip under the playhead, plus its audio |
| One or more Track Targets lit | The clips on the targeted tracks |
| Other untargeted tracks participating in a ripple trim | Black on those tracks is trimmed to keep them in sync |
These are the documented v2026.1 rules. During an unjoined trim, changing a target changes whether that track trims its clip or black. When the trim is joined, the targets return to their previous state. [lwks-2026]
Inspect targets, locks, and Clip Link before a test edit, then review both picture and associated audio afterward.
Also check whether the Selection Tool is active. In v2026.1, a plain click with this tool selects the clicked segment and everything after it on unlocked tracks; Cmd/Ctrl+click adds or removes a single segment. A plain click is therefore not a single-segment selection in this mode. [lwks-2026]
Practice the Unjoin, Move, Join Trim
The documented trimming model has three stages: unjoin the cut points, move the trim, and join to finish. Place the playhead over the intended clip before using the keyboard trim commands. [lwks-2026]
Lightworks V2026.1 Documented Trim Bindings
| Key | Action |
|---|---|
| W | Unjoin the start of the current clip |
| E | Unjoin the end of the current clip |
| U | Unjoin a Move Cut at the nearest cut |
| Y | Unjoin a Slip of the current clip |
| T | Unjoin a Slide of the current clip |
| Left/Right Arrow | Move an active trim by one frame |
| Alt+Space | Preview the trim |
| Tab | Join the trim, or reopen the last trim |
These bindings come from the v2026.1 release notes; a customized keyboard configuration may differ. [lwks-2026]
The Cut and Selection tools are exclusive modes: while either is active, other operations such as trimming or creating fades are unavailable. Leave those tools before attempting the exercise. [lwks-2026]
One-Frame Trim Exercise: V2026.1 Documented Bindings
Use the simple sequence assembled above, with one video track and its linked audio:
- Place the playhead over the first clip.
- Confirm that no Track Targets are lit and that the relevant video and audio tracks are unlocked.
- Keep Clip Link on.
- Turn Sync on and inspect the amber Track Sync indicators for the tracks expected to move.
- Leave the Cut or Selection Tool if active.
- Press E to unjoin the clip’s end.
- Press one arrow key to adjust the active trim by one frame.
- Press Alt+Space to preview.
- Press Tab to finish, then review the cut and associated audio. [lwks-2026]
This starting state is intended to make the exercise easier to interpret: the keyboard trim acts on the top clip and its audio, while Sync controls subsequent material. Confirm your installed shortcut configuration if the keys behave differently. [lwks-2026]
Understand Sync and Missing Media
Sync and Ripple Behavior
Sync controls what happens after a trim point and is on by default. With Sync on, subsequent material moves to fill space or make room on tracks participating in sync. With Sync off, shortening a clip leaves black in its place, while lengthening it covers adjacent black. [lwks-2026]
Move Cut, Slip, and Slide do not ripple, so the Sync button does not affect those operations. The amber Track Sync indicators show which tracks will move to stay in sync; a track without that indicator, such as a locked track, will not move. [lwks-2026]
If a trim produces an unexpected gap or moves other material, inspect both the Sync state and each track’s participation rather than checking targets alone.
Relink Versus Conform
If source files have moved, distinguish Relink from Conform:
- Relink primarily reconnects offline clips.
- Conform replaces material within a sequence with matching clips elsewhere in the project, such as for an offline-to-online workflow. [lwks-2026]
The release notes caution that permissive relink matching—especially Ignore Any Suffix—requires checking the matches before accepting them. Do not assume that a loosely matched filename identifies the intended source. [lwks-2026]
Export the Sequence and Review the Result
Open Export and Check the Source
From the timeline’s Tools side menu, choose Export. The v2026.1 Export panel contains a source list and a preset system, and it can queue sequences, clips, or subclips. Confirm that the source list contains the intended sequence before choosing the export preset. [lwks-2026]
Check track monitoring before proceeding. The release notes state that export follows what is visible and audible in the timeline:
- Tracks disabled through their Monitor buttons are excluded.
- Video solo states affect output.
- Subtitle burn-in requires both a monitored subtitle track and Subtitles enabled under Overlays. [lwks-2026]
Check the Preset Before Starting
Inspect the intended preset’s settings and whether Auto start is enabled. An Auto start preset begins exporting as soon as it is selected from the menu, so complete the source and monitoring checks first. [lwks-2026]
That provides one documented way to start an export. The supplied notes do not identify the manual-start button or completion-status controls for a non-Auto start export, so this overview does not specify those controls.
Export Review Checklist
Before starting:
- Confirm the intended sequence in the export source list.
- Inspect track Monitor buttons and any video solo state.
- Check the preset settings and whether Auto start is enabled.
- For burned-in subtitles, check subtitle monitoring and Overlays → Subtitles. [lwks-2026]
After the file is available:
- Watch it separately from the editing timeline.
- Check the beginning and end.
- Listen for missing or unintended audio.
- Inspect framing and any intended subtitles.
The separate-file review is a suggested quality check. The supplied release notes describe export behavior but do not establish every format or plan restriction, hardware performance, or behavior in other versions.
FAQ
How Do I Turn Imported Clips into a Sequence?
In v2026.1, use the Content Manager’s New button to create a Sequence, then drag material from a bin or viewer into the timeline. For practice, arrange a few clips in the intended order and check picture and audio before trimming. The sequence creation and drag-in behavior are documented; the small practice arrangement is a teaching suggestion. [lwks-2026]
Why Might Trimming Be Unavailable?
In v2026.1, the Cut and Selection tools prevent other editing operations, including trimming, while active. Check whether either tool is active before investigating other causes. This is one documented cause, not a complete troubleshooting diagnosis. [lwks-2026]
Which Clip Does a Keyboard Trim Affect?
With no Track Targets lit, a v2026.1 trim key trims the top clip under the playhead and its audio. With targets lit, it trims clips on those tracks; other untargeted tracks participating in a ripple trim use black to stay in sync. Check targets and locks before trimming. [lwks-2026]
Why Does Shortening a Clip Leave Black?
Check the Sync state. The release notes describe Sync off as leaving black when a clip is shortened rather than moving subsequent material to close the space. Track locks and the amber Track Sync indicators also warrant inspection. [lwks-2026]
How Can I Check My Lightworks Shortcuts?
The v2026.1 Keyboard Shortcuts panel includes command descriptions and can export the current view as CSV or an HTML report. Use your installed shortcut configuration when it differs from the documented examples here. [lwks-2026]
Why Might a Track or Subtitles Be Missing from an Export?
Check the track Monitor buttons and any video solo state. Export follows the monitored picture and audio, including when exporting a sequence from a bin. Burned-in subtitles additionally require a monitored subtitle track and Subtitles enabled under Overlays. These are documented checks, not an exhaustive diagnosis. [lwks-2026]