Kdenlive Video Editor: Features and a First-Project Workflow
Kdenlive is a free, open-source, non-linear video editor. Its name stands for KDE Non-Linear Video Editor, and its website lists Linux, Windows, macOS, and BSD support. Its toolset covers media organization, timeline editing, audio mixing, effects, color adjustment, titles, subtitles, and rendering. For a first project, focus on organizing footage, assembling a short sequence, checking sound and text, and reviewing an exported test. [c1] [c2]
Understand the Kdenlive Editing Workspace
Kdenlive’s non-linear workflow lets you build an edit around selected clips rather than treating the source recording as a fixed sequence. Its website describes media bins, tags, filters, metadata review, and proxy editing alongside timeline tools such as markers, nested sequences, multicam editing, and three-point editing. [c1]
For an initial project, keep the structure simple: organize your source material, assemble one sequence, and use markers to note unfinished decisions. Leave multicam and nested sequences for projects that actually need them.
Kdenlive also offers a configurable interface and keyboard shortcuts. Customize these around repeated tasks once you know which operations you use most, rather than changing the entire workspace before your first edit. [c2]
Build a Focused First Project
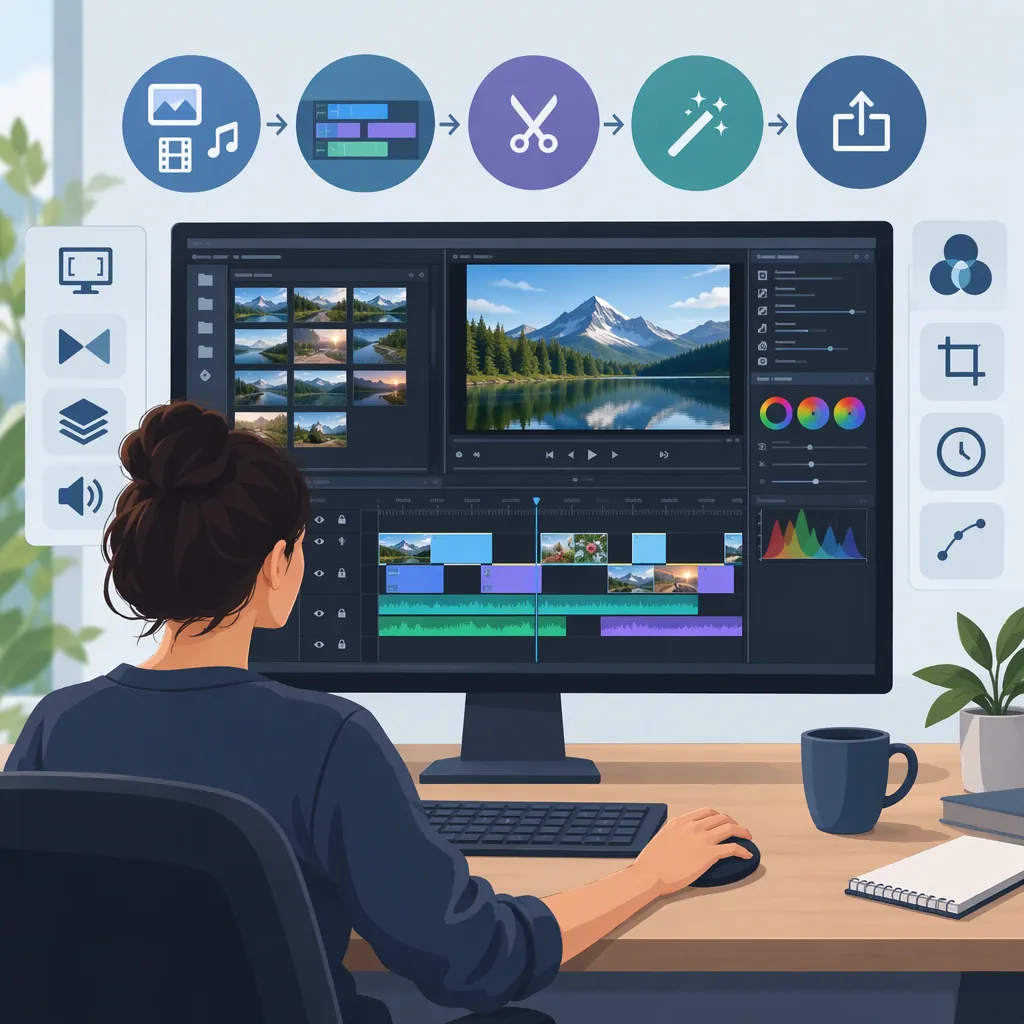
Use a short practice edit to learn Kdenlive’s workflow without introducing every available feature. The following exercise uses its documented media organization, editing, audio, title, subtitle, and rendering capabilities; it is a suggested learning sequence, not a version-specific menu walkthrough. [c1] [c2]
- Organize the media. Separate footage, audio, and graphics into clearly named bins. Review the source clips before assembling the sequence.
- Create the rough cut. Choose the necessary moments and arrange them in story order. Judge the sequence before adding decorative effects.
- Review the sound. Use the audio mixer to work on the soundtrack. Listen for abrupt changes and places where music competes with speech.
- Add necessary text. Use title clips for on-screen labels and subtitle tools for dialogue text. Check wording, timing, and readability.
- Render a test. Review the resulting file from beginning to end, then revise any problems before producing the final deliverable.
These steps are intentionally outcome-based. The supplied sources describe capabilities but do not establish exact controls or menu locations for every release.
First-Project Review Checklist
- [ ] Source footage, audio, and graphics are organized.
- [ ] The sequence communicates the intended message without extra shots.
- [ ] Speech remains understandable when music is present.
- [ ] Titles and subtitles have been checked for wording and timing.
- [ ] Color adjustments have been reviewed across adjacent shots.
- [ ] The exported test has been watched and listened to in full.
Use Effects, Color, and Subtitles with Purpose
Kdenlive documents audio and video effects, keyframes, transitions, and compositions for combining layers. Start with a clear purpose for each adjustment: correcting a problem, directing attention, or explaining information. Add complexity only when it improves the edit. [c1]
For color work, the website lists LUT support, basic correction, creative grading, and image-analysis tools including a histogram, vectorscope, RGB parade, and waveform. A useful first exercise is to compare neighboring shots and make deliberate adjustments rather than applying a look indiscriminately. The presence of these tools does not by itself establish color accuracy for a particular display or delivery workflow. [c1]
The subtitle toolset includes automatic transcription, layering, and styling. Treat generated text as a draft: review names, punctuation, timing, and line breaks against the recording. The provided references do not establish transcription accuracy or language coverage. [c1]
Check Compatibility and Export Results
The Kdenlive website lists Linux, Windows, macOS, and BSD, while the KDE Applications page describes support for many audio and video formats. These are broad availability and capability statements—not confirmation that a particular operating-system version, source file, or export setting will work in your setup. [c1] [c2]
Before committing a full project, test representative footage and render a short sample in the intended delivery format. Check picture, sound, text, and playback in the destination environment.
Proxy editing is another documented option to evaluate when source playback makes editing difficult. The supplied references do not provide hardware benchmarks or establish how much it will improve performance on your computer. [c1] [c2]
The KDE Applications page explicitly labels nightly installers as unstable builds intended for testing. Keep that distinction in mind when selecting a build for a project rather than assuming every listed installer has the same purpose. [c2]
FAQ
Is Kdenlive Free and Open Source?
Yes. The Kdenlive website identifies it as a free and open-source video editor. [c1]
Which Platforms Does Kdenlive Support?
The Kdenlive website lists Linux, Windows, macOS, and BSD. The supplied overview does not specify minimum operating-system versions or hardware requirements, so it should not be read as a compatibility guarantee for every device. [c1]
Can Kdenlive Create Titles and Subtitles?
Yes. Kdenlive lists title clips and subtitle tools, including automatic transcription, layering, and styling. Review generated subtitles before delivery; the supplied sources do not establish transcription accuracy. [c1]
What Should I Learn First in Kdenlive?
A useful starting exercise is one short sequence: organize media in bins, assemble the edit, adjust audio, add necessary text, and review a rendered test. This is a suggested learning order based on Kdenlive’s documented capabilities, not a required workflow. [c1] [c2]