How to Film Yourself in iMovie on Mac
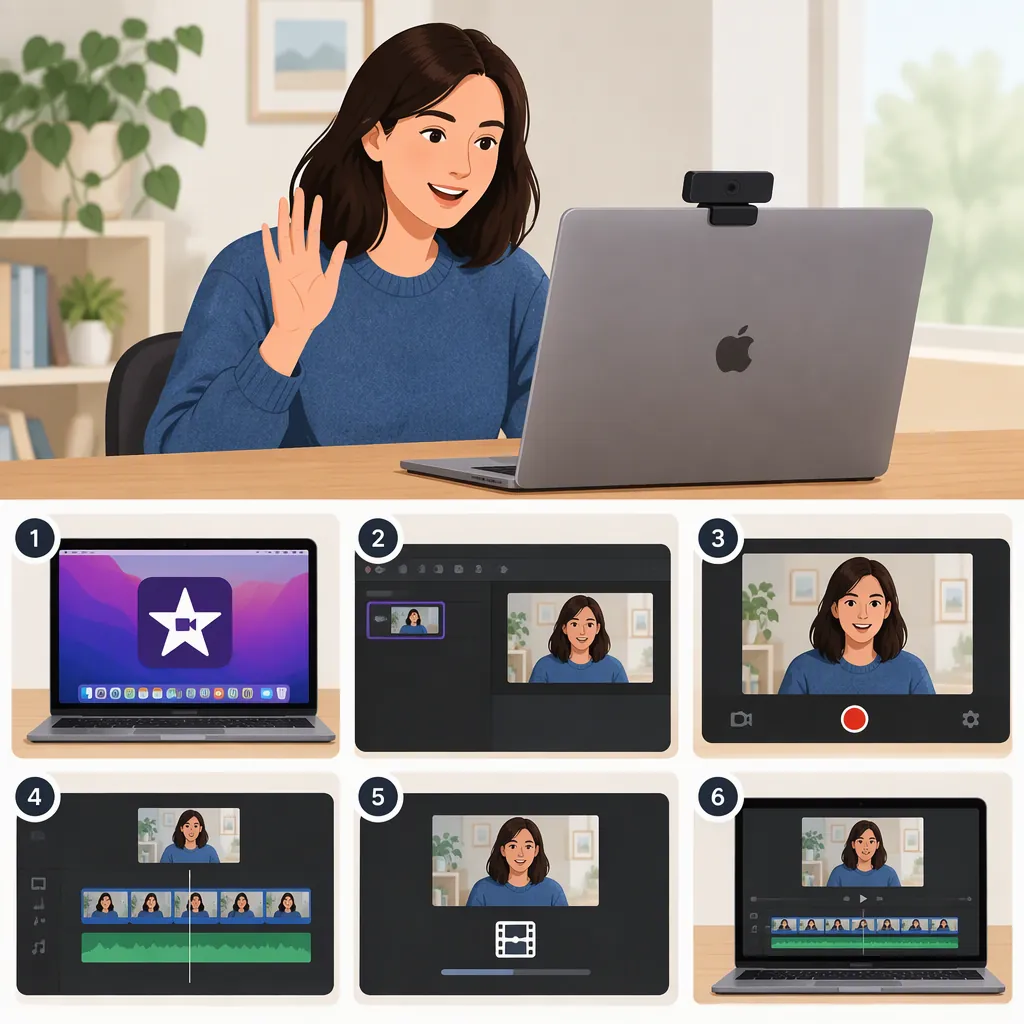
To film yourself in iMovie on Mac, open the Import window, select the built-in camera under Cameras, and choose a destination in the “Import to” menu. Click Record below the live preview to start filming, then click it again to stop. Apple documents this workflow for the FaceTime HD camera built into your Mac. [imovie-record]
Before You Start
These steps cover recording directly into iMovie on Mac using the built-in FaceTime HD camera. They are not instructions for recording on an iPhone or iPad, or for using an external webcam. Apple provides separate iMovie user guides for Mac, iPhone, and iPad. [imovie-record] [imovie-support]
As a practical preparation step, decide what you want to say and position yourself so you can check your framing in the live preview before recording.
Open the Camera Preview
- Open iMovie on your Mac.
- Click the Import button in the toolbar.
- If you do not see Import, click Media in the toolbar, then click Import.
- If Image Capture, Photos, or another photo app opens, close that window.
- In the Import window’s sidebar, find Cameras and select the built-in camera.
A live camera image appears in the Import window. Use that preview to check that you are in the frame before starting your take. [imovie-record]
Choose Where Your Recording Goes
At the top of the Import window, open the “Import to” menu and choose one of these destinations:
- An existing event: Select the event from the menu.
- A new event: Choose New Event, enter a name, and click OK.
- The open project: Choose Project Media.
Choose the destination before you begin recording so your clips go into the intended event or the open project’s media. [imovie-record]
Record Yourself and Finish the Session
- Click the Record button below the live video image to start recording.
- Deliver your take.
- Click Record again to stop.
- Repeat the start-and-stop process if you want another take. iMovie creates a new clip for each recording.
- When you are finished, click Close to end the recording session and return to the main iMovie window. [imovie-record]
For a manageable first attempt, consider recording a short practice take before your full delivery. That is a filming suggestion, not an additional iMovie setting.
Recording Checklist
- Open Import and select the built-in camera.
- Check your framing in the live preview.
- Choose an “Import to” destination.
- Click Record to start the take.
- Click Record again to stop.
- Repeat for additional takes, then click Close. [imovie-record]
FAQ
Can I Record Myself Directly in iMovie?
Yes, on a Mac with a built-in FaceTime HD camera, Apple documents recording directly into iMovie through the Import window. These steps do not establish the same workflow for iPhone, iPad, or external cameras. [imovie-record]
What If I Cannot See the Import Button?
Click Media in the iMovie toolbar, then click Import. This is Apple’s documented step when the Import button is not visible. [imovie-record]
Can I Record More than One Take?
Yes. Click Record to start a take and click it again to stop. Repeat as needed; a new clip is created for each recording. [imovie-record]
Where Does iMovie Put My Recorded Clips?
You choose the destination using the “Import to” menu before recording. The documented options are an existing event, a new event, or Project Media for the open project. [imovie-record]
Sources
-
[imovie-record] Record video into iMovie on Mac - Apple Support (HK)
-
[imovie-support] iMovie - Official Apple Support