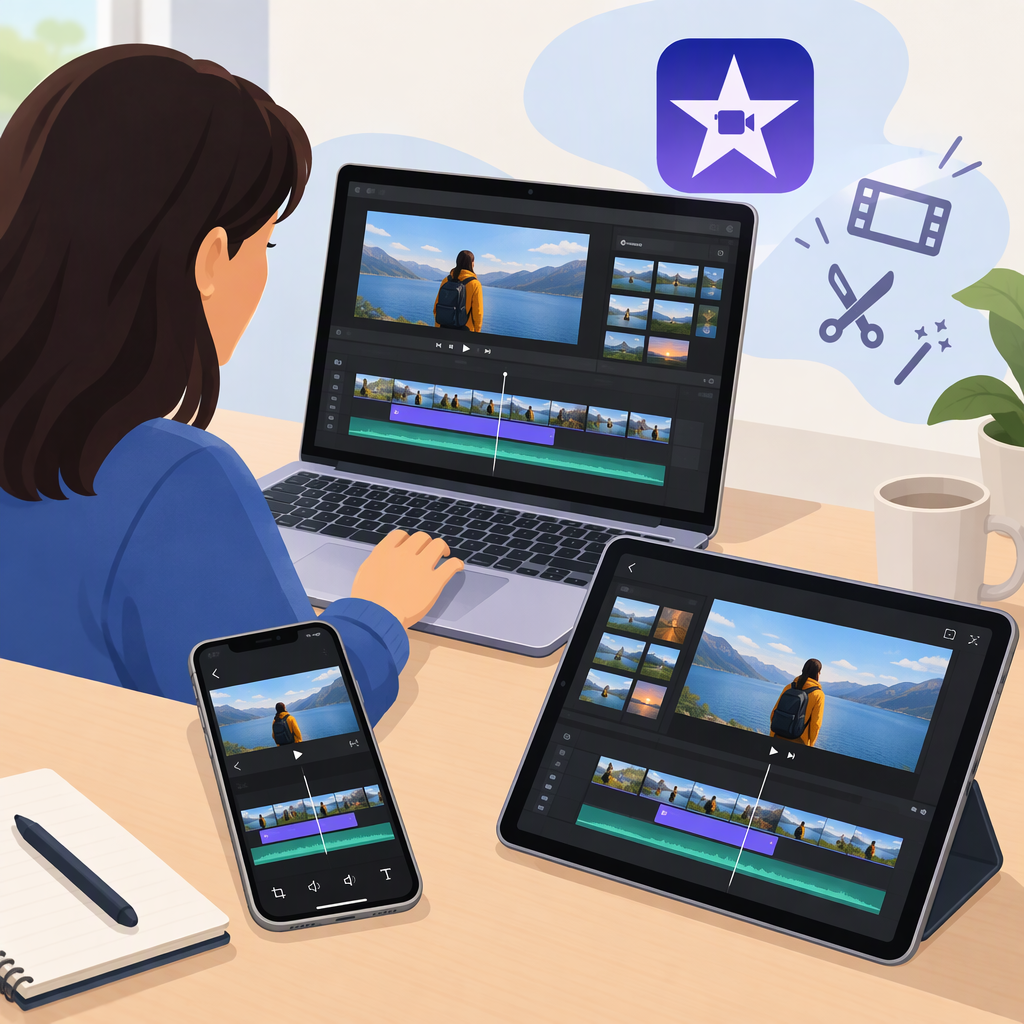
iMovie Video Editing: A Beginner’s Guide for Mac, iPhone, and iPad
A basic iMovie edit follows four steps: choose a project type for your device, add and arrange your video or photos, trim and review the sequence, then export or share the finished video. The controls differ between Mac and iPhone or iPad, so follow the instructions for the device you’re using—not a mixture of all three.
This guide focuses on a straightforward movie project. On iPhone and iPad, iMovie also offers Magic Movie and storyboard projects: these provide more guidance or automatic assembly, while a movie project gives you direct control over the timeline. (support.apple.com)
Choose the Workflow for Your Device
- Mac: In iMovie, choose Create New > Movie. You can browse clips in your library or Photos and add them to the timeline. (support.apple.com)
- iPhone or iPad: Start a Movie project for direct timeline editing. If you’d rather begin with an automatically assembled video or guided structure, consider Magic Movie or a storyboard instead. Apple documents these as distinct project types. (support.apple.com)
Use the iMovie User Guide for Mac, iPhone, or iPad that matches your device. Menu names, gestures, and available options are not interchangeable across platforms, and controls can vary by app or operating-system version.
Create a Rough Cut
A rough cut is the first version of your video with clips in a useful order. Before editing, decide what should happen first, next, and last. That simple plan makes it easier to choose clips and spot material that doesn’t help tell the story.
On Mac
- Open iMovie and choose Create New > Movie.
- Select an event or your Photos library to browse source footage.
- Drag clips—or selected portions of clips—from the browser into the timeline. The order in the timeline determines the order viewers see them. (support.apple.com)
- To shorten a clip, adjust its start or end point in the timeline. This is called trimming. To change the sequence, drag clips to a different position; you can also split a clip into two. (support.apple.com)
On iPhone or iPad
- Create a Movie project and select video clips or photos from the media browser.
- Add them to the timeline. On these devices, the white vertical line—the playhead—marks where a clip will be inserted. (support.apple.com)
- In a movie project, move clips into sequence, trim their duration, or tap a clip to reveal controls such as split or delete. The documented gestures are for the mobile timeline; Mac uses different controls. (support.apple.com)
Example: For a short cooking video, you might arrange a finished-dish shot first, followed by preparation and cooking clips, then a final serving shot. Trim pauses at the start or end of each clip so the sequence moves along. This is an illustrative editing plan, not a result from a product test.
Refine and Review the Edit
Play the project from the beginning and watch the whole sequence. Check that the clips appear in a sensible order, cuts don’t leave long pauses, and spoken audio is understandable. If something feels out of place, move, trim, or remove that clip, then play the sequence again.
Treat polish as optional. A title can identify a person, place, or topic; music or a transition may help a particular edit, but neither is required for a clear sequence. iMovie’s guides document titles and audio on Mac and mobile devices, but the available controls depend on the project type and platform. (support.apple.com)
If you add music under speech, listen to the result before exporting. The practical check is whether the voice remains clear—not whether the edit contains a particular effect or soundtrack.
Export or Share the Finished Video
Choose based on what you need to deliver:
- A playable video: Export or share a video file. On iPhone and iPad, Apple documents Share Video as a way to save to the photo library or iCloud Drive, send via AirDrop, Mail, or Messages, or share online. The choices shown depend on the device and available sharing services. (support.apple.com)
- A file from Mac: Select the movie and choose File > Share > File. The export dialog includes a format choice, including video and audio or audio only. Choose a destination and finish the share process. (support.apple.com)
- An editable project to continue elsewhere: On iPhone or iPad, Export Project packages the project and its media for transfer or archiving. That is different from exporting a finished video. Apple notes that a project from a newer iOS or iPadOS version may not open in an older macOS version of iMovie. (support.apple.com)
Before sharing, play the exported video or open it from its saved location. Confirm that it plays, the picture is in the expected order, and the sound is present. If you’re sending it to someone, choose a sharing route they can access; if you need to keep editing, send the project rather than only the finished video.
Quick Checklist
- I followed the instructions for Mac, iPhone, or iPad—not a different device.
- The clips are in the intended order, and unnecessary starts or pauses are trimmed.
- I watched the complete edit and checked the sound.
- I chose a finished video for playback or sharing, or an editable project for continued editing.
- I opened or played the saved result to confirm it’s the file I intended to make.