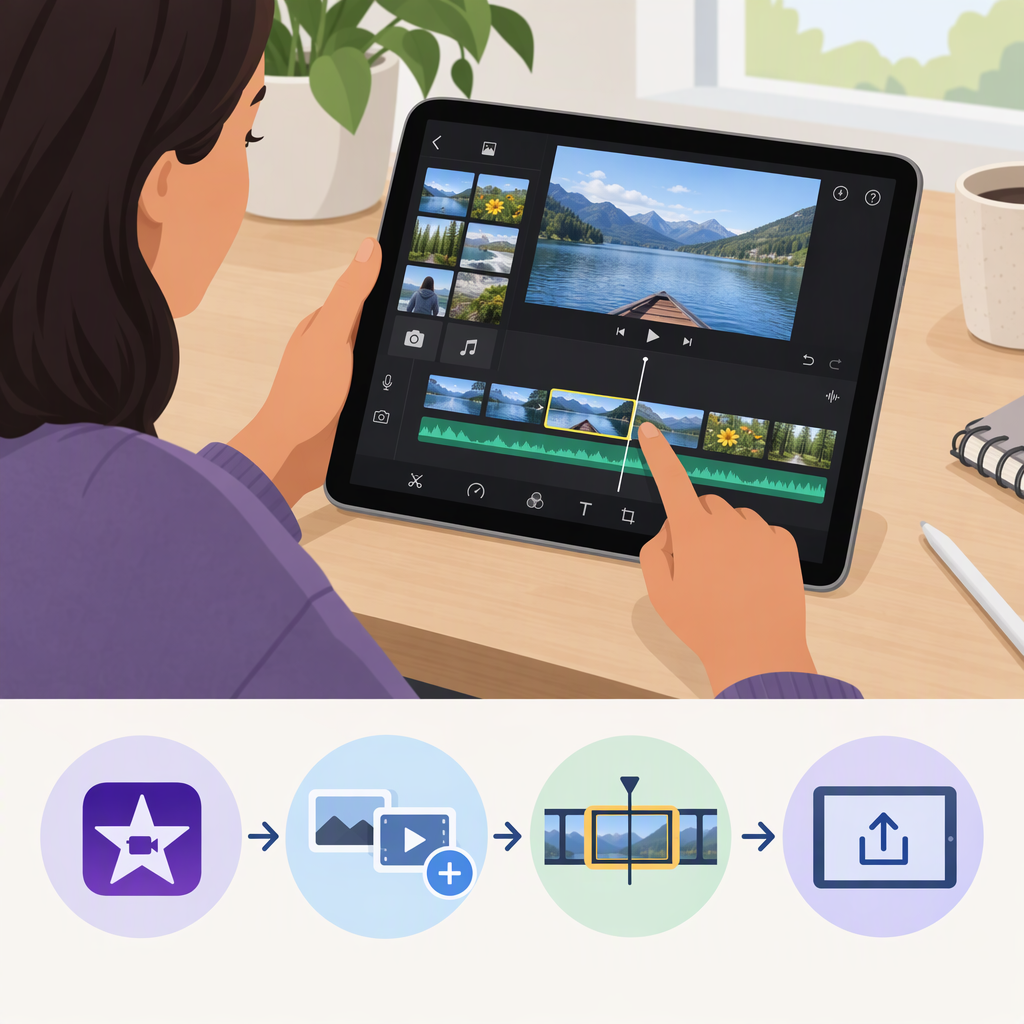
How to Use iMovie on iPad: A Beginner’s Guide
To make a basic video in iMovie on iPad, create a Movie project, select your photos or videos, arrange and trim them in the timeline, preview the result, then use Share Video to save or send the finished movie. Choose a Movie project when you want to arrange clips yourself; iMovie also offers guided project types such as storyboards. (support.apple.com)
1. Start a Project and Add Media
- Open iMovie. If you’re not already in the Projects browser, tap Projects.
- Tap Start New Project, then Movie.
- Select the videos and photos you want to include. Tap a video to preview it, or touch and hold a thumbnail to preview it.
- Tap Create Movie. Your selected media appears in the timeline, where clips are shown in sequence. (support.apple.com)
To add more media after the project opens, move the white playhead to roughly where you want the new item. Tap Add Media. Choose Video to browse video clips, or Photos or Albums to choose a photo. Select an item and tap Add to Project. iMovie places it before or after the existing clip nearest the playhead. If an iCloud Photos item shows a download button, download it to the iPad before adding it. (support.apple.com)
If a photo or video isn’t available: check whether it appears in the Photos library or an available album. Media stored in iCloud may need to download first. iMovie’s project-start guidance also says to allow access to the photo library; camera and microphone access are needed if you want to record directly in iMovie. (support.apple.com)
2. Make a Simple Edit
The timeline is the row of clip thumbnails below the viewer. A straightforward first edit is to put clips in the intended order, shorten any unnecessary beginnings or endings, and play the sequence to check it. (support.apple.com)
- Reorder a clip or photo: Touch and hold it in the timeline until it lifts, drag it to a new position, then release.
- Trim a clip or photo: Tap it in the timeline, then drag either yellow trim handle at its edge. Trimming a photo changes how long it stays onscreen. You can’t extend a video beyond the footage that was originally recorded.
- Split a clip (optional): Position the playhead where you want the cut. Tap the clip, tap the actions button, then tap Split. This divides one clip into two, so you can remove or adjust one section separately. (support.apple.com)
Example: Suppose your timeline has a wide shot followed by a close-up, but the close-up should come first. Touch and hold the close-up, drag it ahead of the wide shot, and release. Then trim any extra footage from the start or end of either clip. This illustrates the documented timeline gestures; the result depends on the footage you choose.
To review the edit, tap Play below the viewer. Playback starts at the playhead, so move it to the beginning if you want to check the whole sequence from the start. (support.apple.com)
3. Optional Finishing Touches
You can finish a basic sequence without adding effects. If you want to polish it, iMovie’s iPad guide includes options for titles, themes, transitions, music, and sound effects. Add these only after the clip order and timing work as intended. (support.apple.com)
4. Save or Share the Finished Video
A project is the editable iMovie timeline; a shared video is the finished movie file. To create a video file, go to the Projects browser, tap the project, tap Share, then tap Share Video. In Options, choose from the output choices shown, such as resolution or frame rate when available. The options can depend on the project’s media; Apple notes that frame-rate and HDR choices may not appear for every video. (support.apple.com)
Then choose a destination:
- Tap Save Video to put the video in your photo library.
- Tap Save to Files to choose a folder on the iPad or in iCloud Drive.
- Or select an available sharing method, such as AirDrop, Mail, or Messages. (support.apple.com)
If you want to keep editing the project on another Apple device, use Export Project instead of Share Video. Export Project packages the project with the media it uses; it is not the same as saving a finished video file. (support.apple.com)
Quick Checklist
- The selected video and photo thumbnails appear in the timeline.
- Clips are in the order you want, and unnecessary footage has been trimmed.
- You’ve played the sequence to review it.
- You chose Share Video for a finished movie, or Export Project if you need the editable project.
This guide uses English interface labels because the requested locale is en-US. Apple’s cited instructions are for iMovie on iPad; exact on-screen choices for sharing and output depend on the project and the options shown in the app.