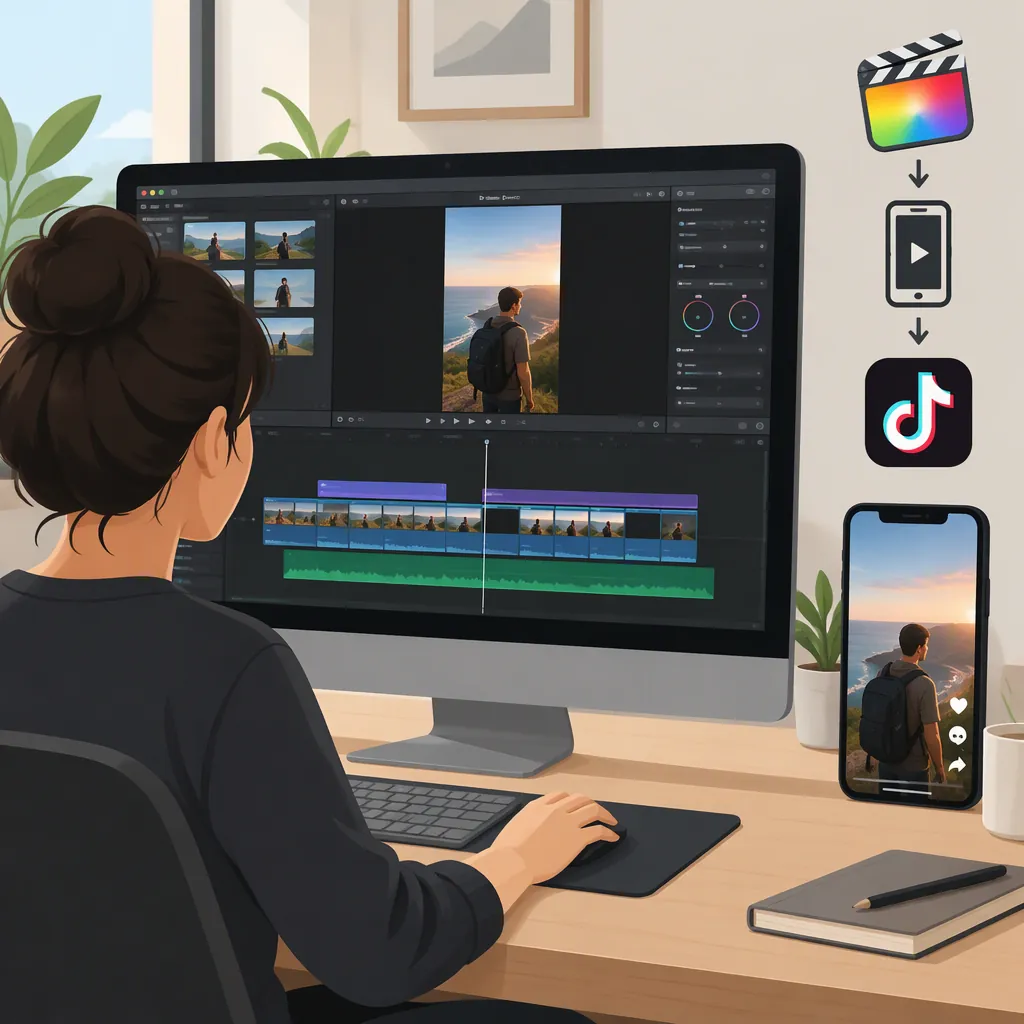
How to Make TikTok Videos in Final Cut Pro
To make a TikTok video in Final Cut Pro, assemble and trim a short edit, prepare a vertical version, check each shot’s framing, and export a file for review. If you already have a widescreen project, Duplicate Project As with Smart Conform provides a starting point for reframing it. A 1080 × 1920 frame is a vertical 9:16 working option—not a statement of TikTok’s current upload requirements. [c1]
FMC’s July 28, 2022 tutorial supports the Smart Conform workflow below. Its worked example converts widescreen footage to square; this article adapts that method for a vertical edit. Interface wording may differ in your installed version. [c1]
1. Choose Your Starting Point
Separate the initial edit from the aspect-ratio conversion:
- Starting with footage: Create a project, assemble the necessary shots, and trim the sequence before reviewing its vertical framing.
- Starting with an existing edit: Review and shorten the sequence first, then duplicate it for the vertical version. Keep the original as a reference.
The FMC tutorial describes both new and existing projects, but its detailed instructions begin with an existing 1920 × 1080 project. It does not demonstrate media import or a complete new-project setup. [c1]
Before editing, write down:
| Planning question | Your answer |
|---|---|
| What single idea should the video communicate? | ______ |
| Which shot introduces that idea? | ______ |
| Which shots are essential to explain or demonstrate it? | ______ |
| What pauses or repeated information can go? | ______ |
| Where does the explanation or action finish? | ______ |
These are editorial recommendations, not platform duration rules. Choose a length that fits the material rather than stretching or shortening it to an unsupported limit.
2. Assemble and Trim the Short Edit
Use this practical sequence to turn the plan into a timeline. It describes the editing actions to complete, rather than version-specific menu commands or keyboard shortcuts.
- Bring the needed footage into Final Cut Pro. Organize the clips you intend to use so you can find the opening, essential action, and ending.
- Select the useful part of the opening clip. Choose where the relevant action begins and ends, then place that portion in the project timeline.
- Add the remaining essential shots in order. Build a rough sequence before spending time on detailed framing.
- Locate each unnecessary section. Play the timeline, pause where a delay or repeated explanation begins, and identify where useful material resumes.
- Shorten or remove the redundant material. For excess footage at a shot’s beginning or end, trim the clip boundary. For unwanted material inside a shot, separate that section from the portions you want to keep and remove it.
- Replay each changed join. Check that the action and speech still make sense and that the cut has not removed information needed to understand the next shot.
- Watch the complete sequence. Remove any remaining repetition and stop where the explanation or action is complete.
Treat this as an assembly checklist, not a documented command-by-command tutorial. The available reference does not establish import commands, trimming shortcuts, or deletion behavior for a particular Final Cut Pro version.
A useful trimming test is: If this section disappeared, would the viewer lose necessary information? If not, consider removing it. Conversely, retain a pause when it helps the viewer understand an action or read included text.
3. Create the Vertical Version with Smart Conform
Smart Conform analyzes visual content and reframes clips when the project’s aspect ratio changes. FMC identifies 1080 × 1920 as a vertical 9:16 format, although its illustrated duplication settings are for a square output. [c1]
For an existing widescreen edit:
- Select the project and right-click it.
- Choose Duplicate Project As.
- Set the duplicate to a vertical aspect ratio, using 1080 × 1920 as the working frame size.
- Enable Smart Conform and confirm the duplication.
- Wait for the analysis to finish.
- Open the duplicate from the library and review the result. [c1]
This vertical setup adapts the tutorial’s duplication method; it is not a demonstrated TikTok preset. Keep the original project available for comparison while checking what the narrower frame excludes.
If you started with a project that is already vertical, focus on reviewing its framing rather than treating widescreen conversion as a required step.
4. Correct Framing Shot by Shot
Automatic reframing is a first pass, not a final approval. Smart Conform analyzes elements such as faces and other areas of visual interest, but FMC notes that the result may need manual correction through transformation settings. [c1]
For each shot:
- Identify the essential subject or action.
- Play the entire shot in the vertical frame.
- Note anything important that leaves the frame or is cut off.
- Where necessary, adjust the clip’s transformation settings.
- Replay the entire shot after the adjustment—not just the frame where you made it. [c1]
Static framing example: If a stationary subject is too close to one edge after automatic reframing, use a position adjustment to bring the necessary detail into view. Check both the beginning and ending of the shot before accepting the correction.
A fixed position adjustment may not solve a shot in which the subject moves across the original widescreen image. Mark that shot for additional attention instead of assuming that a good-looking paused frame means the full shot works. The reference does not provide a detailed control-location or keyframing procedure, so those version-specific instructions are outside this walkthrough. [c1]
| Shot | Essential detail | Visible throughout? | Action needed |
|---|---|---|---|
| Opening | ______ | ______ | ______ |
| Middle | ______ | ______ | ______ |
| Ending | ______ | ______ | ______ |
5. Export a File, Then Review It
FMC’s workflow ends with exporting the resized video after correcting its framing. It does not specify an export dialog, codec, bitrate, or preset. [c1]
Keep creating the file separate from checking TikTok’s upload requirements.
File-Creation Checklist
Use the export controls available in your installed Final Cut Pro version to work through these checks:
- Confirm the project: Make sure the finished vertical version—not the original widescreen edit—is the project you intend to export.
- Choose file output: Select an output option that creates a video file you can inspect before uploading.
- Review the output settings: Check that the output retains the intended vertical dimensions. For the working format used here, that means 1080 pixels wide by 1920 pixels high.
- Choose a filename and save location: Use a name that distinguishes the vertical version from the original and a folder where you can find it.
- Complete the export: Wait for file creation to finish before opening the result.
These are output checks, not a verified sequence of menu labels. The cited tutorial cannot establish an exact export preset for your installed version or TikTok’s current requirements.
Finished-File Checklist
Play the exported file from beginning to end:
- Does the opening introduce the idea without an unnecessary setup?
- Do cuts preserve understandable action and speech?
- Is essential detail visible throughout every shot?
- Is any included text readable?
- Is speech understandable, without unintended silence?
- Does the video end intentionally?
If possible, inspect the file on a phone to assess framing and text at the intended viewing size. If you find a problem, correct the project and export a replacement.
Before uploading, separately verify TikTok’s current accepted formats, file-size and duration limits, and other upload requirements. A vertical frame alone does not establish that the file meets every platform requirement.
FAQ
What Frame Size Can I Use for a Vertical TikTok Edit?
FMC describes 1080 × 1920 as a vertical 9:16 format. It is the working format used here, not proof of TikTok’s current upload specification. [c1]
Can I Reuse an Existing Widescreen Final Cut Pro Project?
Yes. The tutorial demonstrates Duplicate Project As with Smart Conform for changing a project’s aspect ratio. Its worked example is square; the vertical workflow above adapts that approach. [c1]
Does Smart Conform Eliminate Manual Framing Work?
No. FMC explicitly notes that automatic reframing can need correction through transformation settings. Review every shot from beginning to end. [c1]
Does This Workflow Specify a TikTok Export Preset?
No. The reference ends with exporting the resized video but does not document a preset or current TikTok upload limits. Check the output settings in your installed version and verify platform requirements separately. [c1]