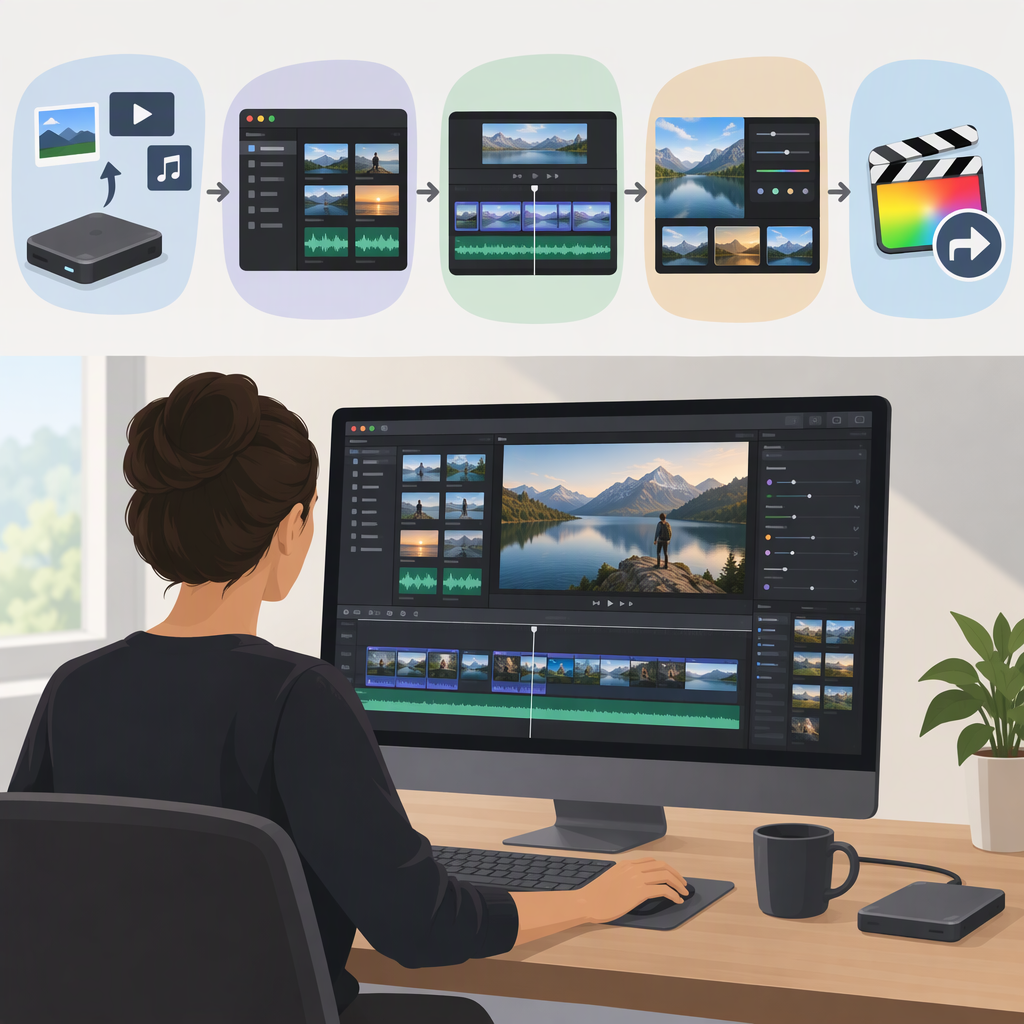
Final Cut Pro Editing: A Basic Workflow from Import to Export
This guide covers a basic Final Cut Pro for Mac workflow: organize and import footage, assemble a rough cut, review it, then export a file for its intended destination. Apple’s user guide has separate workflows for Mac and iPad; the steps below are for Mac, so don’t assume the same controls apply on iPad. The guide pages cited below are Apple documentation; this article does not assume a particular app version.
1. Prepare a Library, Event, and Project
In Final Cut Pro, a library holds events and projects. An event organizes clips and can also hold projects. A project is the timeline where you arrange and edit media. These terms describe different levels of organization, not interchangeable names for the same thing. (support.apple.com)
- Open Final Cut Pro. If prompted to create a library, name it and save it.
- In the Libraries sidebar, select the event where you want to keep the project. If you’re starting without imported media, import it first.
- Choose File > Import > Media, select footage, and choose the event and storage options in the import window. You can copy media into the library or leave it in its existing location. Copying creates another stored copy; leaving files in place avoids that duplication, but the library then refers to media stored elsewhere. Keep track of those original files if you move or share the project. (support.apple.com)
- With the event selected, choose File > New > Project (or press Command-N), name the project, and set its properties if needed. In most cases, Final Cut Pro can set project properties based on the first video clip added; if you have a delivery requirement, use settings appropriate to that intended use rather than assuming one setup fits every project. (support.apple.com)
Expected result: Your imported footage appears as clips in the event, and you have a named project timeline ready for editing.
2. Assemble and Revise a Rough Cut
For a straightforward first edit, select a clip or a portion of a clip in the browser and add it to the timeline. Arrange the main shots in the order you want the viewer to see them. Final Cut Pro’s primary storyline is the main sequence; when you insert, trim, or move clips there, surrounding clips can move to close gaps or make room. (support.apple.com)
Use the action that matches the change you want:
- Reorder a shot: Select it in the timeline and drag it to a new position. Other clips may ripple to make room and close the space left behind. (support.apple.com)
- Shorten or lengthen a shot: Adjust its start or end in the timeline. The default trim is a ripple edit, so changing the clip’s duration moves subsequent clips earlier or later rather than leaving a gap. Play across the edit afterward to check the pacing. (support.apple.com)
- Remove unwanted material: Select the clip or range in the timeline and press Delete. The selection is removed from the project and following clips ripple to close the gap. This does not delete the source footage from the browser or the original media file. If you want to preserve the project’s timing instead, use Edit > Replace with Gap; that leaves an empty gap in the timeline. (support.apple.com)
Hypothetical example: Suppose a three-shot sequence has a long pause at the end of its second shot. Shorten that shot to remove the pause, then play from before the cut through the next shot. If the transition now feels abrupt, adjust the edit point or choose a different usable moment from the source clip. This is an illustrative workflow, not a test result.
3. Review Before Export
Play the project from the beginning, then replay the joins that changed during editing. Keep the review practical:
- Check that shots appear in the intended order and that each cut lands at a useful moment.
- Look for accidental black frames, unintended gaps, or a shot that ends too soon.
- Listen for dialogue or other important audio that is missing, unexpectedly interrupted, or much louder or quieter than nearby material.
- Confirm that titles or other added elements, if any, are visible for the intended part of the edit.
Final Cut Pro provides playback options for reviewing a project, including playback from a chosen point. (support.apple.com) These are general editorial checks, not a substitute for a destination’s technical delivery requirements. Advanced color, effects, and detailed audio mixing are beyond this basic workflow.
4. Export for the Intended Use
Choose an export destination based on what the recipient or platform needs. Final Cut Pro’s Export File destination offers choices such as Video and Audio, Video Only, and Audio Only, as well as publishing formats such as Computer and Web Hosting. The chosen format affects which settings are available, and resolution changes are available for publishing formats. Don’t treat any one format or resolution as universally correct. (support.apple.com)
- Select the project in the browser or timeline.
- Open the Share menu or click the Share button, then choose Export File (the name may vary if destinations have been customized).
- Choose the format and available settings that match the recipient’s or destination’s requirements. If you have no special delivery specification, select an appropriate general-purpose option and confirm whether you need both video and audio.
- Complete the export dialog and choose where to save the output file.
- After export finishes, open the file and check that it plays, includes the expected picture and sound, and is saved where you can find it. Final Cut Pro can show export progress in the Background Tasks window. (support.apple.com)
If the destination specifies codec, frame size, frame rate, aspect ratio, captions, or audio requirements, follow those instructions; the task here does not identify a specific destination, so no platform-specific preset is prescribed. For a mastering, broadcast, or post-production handoff, consult the recipient’s specifications rather than assuming a publishing preset is suitable. (support.apple.com)