How to Use Filmora on a Windows PC: A Beginner’s Guide
Filmora on Windows: The Basic Workflow
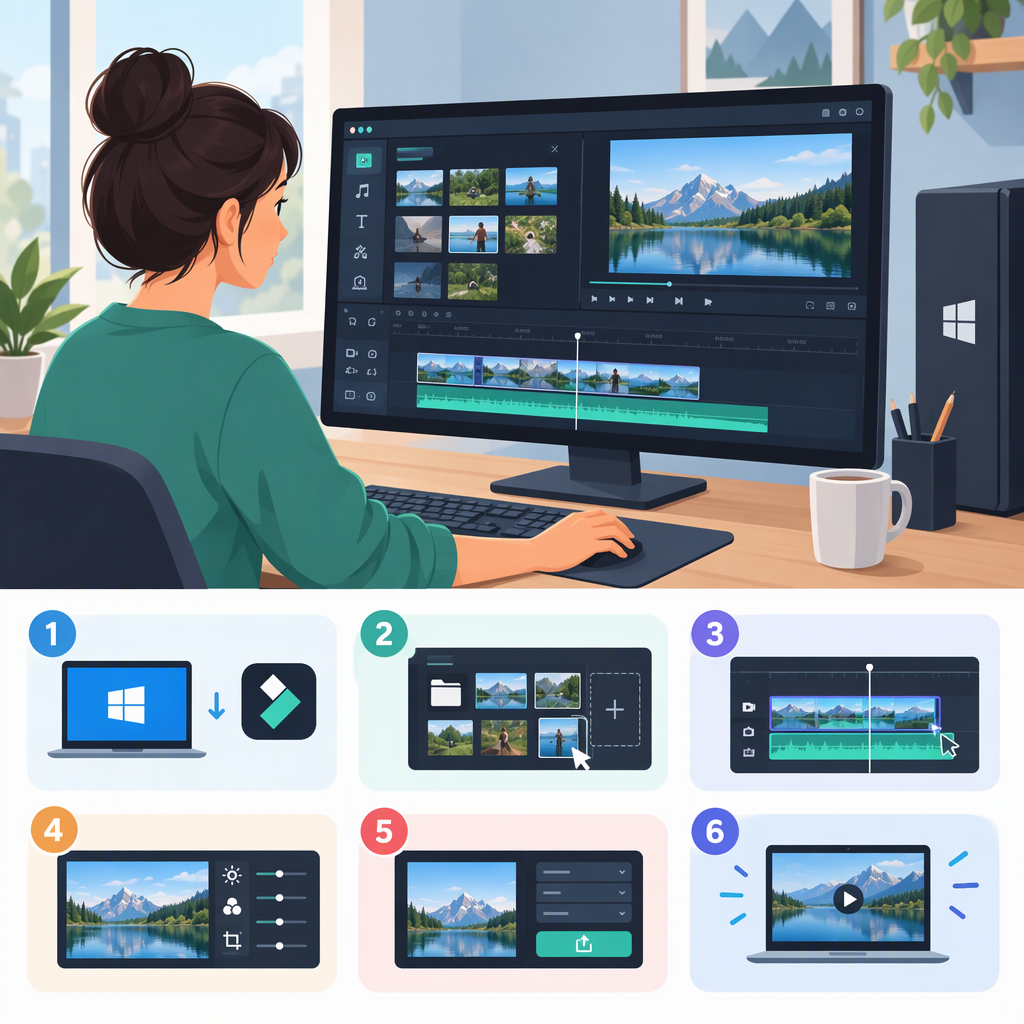
A beginner’s edit follows a simple sequence: install Filmora for Windows, create a project, import media, arrange and trim clips on the timeline, preview and save the project, then export a video file. This guide follows Wondershare’s Windows online user guide and its project and export instructions. Wondershare’s product page identifies Filmora 16 as its current desktop release; if you use another version, interface labels and steps may differ, so choose the matching version of the official Windows user guide. (filmora.wondershare.com)
Before You Start: Choose and Install a Version
- Check your computer against the system requirements for your intended version. Wondershare’s requirements page lists Windows 11, 10, 8.1, or 7 on x64; Windows 11 or 10 on ARM; and at least 8 GB of RAM. It recommends 16 GB RAM and 4 GB VRAM for HD and 4K editing. These are the requirements currently listed on that page; check it again if you use a different Filmora release or Windows setup. (filmora.wondershare.com)
- Get the Windows installer from Filmora’s official site. Use the official download and installation guide and follow its Windows instructions. Avoid relying on a third-party download page for the installer. (filmora.wondershare.com)
- Install and launch Filmora. After installation, open the program and start a new project. If the screens you see do not match the instructions, use the guide for your installed version; the official guide index lists PDFs for Filmora 15 and several earlier versions. (filmora.wondershare.com)
Create a Project and Make a Basic Edit
- Start a project. From Filmora’s startup window, choose the aspect ratio that suits your intended video and create a project. The project guide says the default is 16:9 and describes 1:1, 9:16, and custom aspect-ratio choices. You can also start a new project from the menu. (filmora.wondershare.com)
- Import your media. Add video, image, or audio files using Filmora’s import options. Its Windows guide lists importing through the File menu, Project Media, or drag and drop. (filmora.wondershare.com)
- Put clips in order. Drag the clips you want from your media area onto the timeline, arranging them in the sequence you want. Filmora’s Windows guidance describes drag-and-drop media placement on timeline tracks. (filmora.wondershare.com)
- Trim unwanted portions. Select a clip and use Filmora’s timeline tools or Preview window trim controls. The exact controls can differ by release, so follow the trim instructions for your version rather than assuming every screen has identical labels. (filmora.wondershare.com)
- Preview and save. Play through the edit to check clip order and cuts. Save with File > Save Project or Save Project As, or press Ctrl+S. Filmora saves the editable project as a
.wfpfile. (filmora.wondershare.com)
Keep the source files with the project. A .wfp project stores editing decisions and references to media files; it does not contain the original video, audio, or images. If you move, rename, or delete those files, Filmora may not find them when you reopen the project. Keep them in place, or use Filmora’s project-archive option when you need to bundle a project with its media. (filmora.wondershare.com)
A Simple Practice Edit
For a short landscape video, create a 16:9 project, import two clips, place them in the intended order, trim unwanted starts or ends, and preview the sequence. Save the .wfp project before exporting. This example uses the project guide’s documented 16:9 default and the basic import, timeline, trim, preview, and save workflow; it does not assume a particular camera, resolution, or output format. (filmora.wondershare.com)
Export the Finished Video
- When your edit is ready, select Export in the editing window.
- In the export window, review the filename, save location, format, and resolution. The specific choices available can depend on the Filmora version and export route. (filmora.wondershare.com)
- Choose settings for the intended destination and the footage you edited; there is no single resolution or format that is best for every project. If unsure, check the destination’s current upload requirements and compare them with the options Filmora presents.
- Click Export and wait for the process to finish. Then open the saved video and check that it plays, the beginning and ending are correct, and the picture and sound are present. The editable
.wfpproject and exported video are separate: keep the project and source media if you may want to revise the edit later. (filmora.wondershare.com)
Quick Pre-Export Checklist
- The clips are in the intended order, and the preview plays through the full edit.
- You saved the
.wfpproject and have not moved its source files. - The export filename and save location are clear.
- The format and resolution suit your intended use and match the choices shown in your installed version.
- After exporting, you have opened the resulting file to confirm it plays.