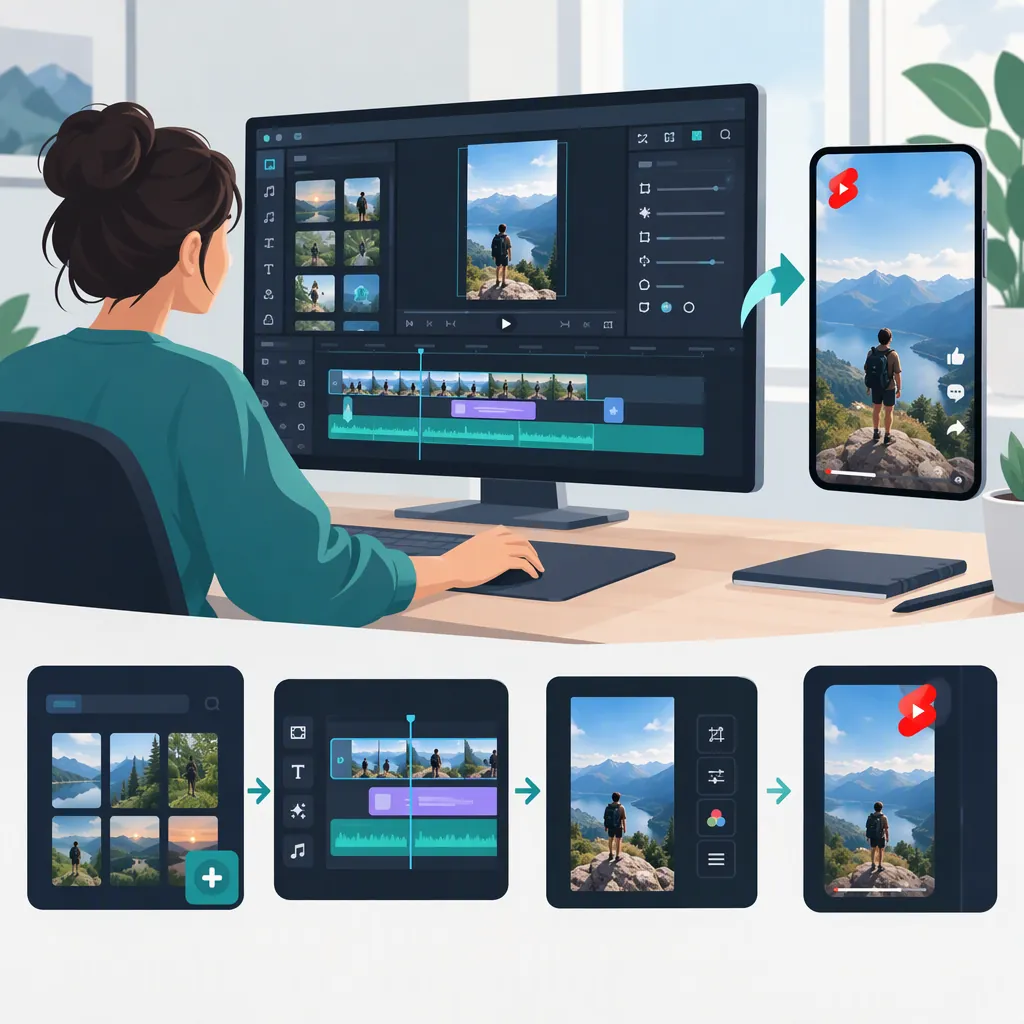
Filmora YouTube Shorts: A Practical Editing Workflow
To edit a YouTube Short in Filmora, select your footage, assemble a rough cut, refine framing and movement, check sound and text, then adjust color and review the result on a phone. The supplied Filmora reference supports selected techniques within this workflow, including testing color treatments, stabilizing tracking footage before grading, and checking brightness and contrast on a physical phone. [c1]
Scope: This is an editorial workflow, not a version-specific button-by-button tutorial. The available source does not document project setup, timeline controls, audio or caption procedures, video export settings, or current YouTube Shorts upload requirements. The steps below distinguish editing decisions from those software and delivery details.
1. Plan the Short and Prepare Your Footage
Start with the message, not the effects. Write one sentence describing what the viewer should understand by the end, then select shots that support it.
- Choose an opening shot. Establish the subject or action the viewer needs to follow.
- Select supporting shots. Give each clip a purpose, such as explaining a detail, showing a change, or continuing an action.
- Choose an ending. Complete the idea rather than stopping at an arbitrary point.
- Check the intended vertical frame. Identify faces, objects, and actions that must remain visible.
- Group footage by lighting. Keep substantially different lighting conditions in separate groups for color review.
The reference recommends placing the subject toward the center of vertical footage and reusing color treatments across clips recorded under consistent lighting. Centered placement is a creative starting point, not a guarantee against every crop or interface overlay. [c1]
Short Planning Sheet
- Main subject or message:
- Opening shot:
- Supporting shots and their purpose:
- Ending shot:
- Details that must remain visible:
- Lighting groups:
Completion checkpoint: You have a selected set of clips and can explain what each contributes.
2. Import Footage and Check the Vertical Composition
The reference describes importing a short test clip and comparing treatments on vertical footage. It does not provide an import-dialog walkthrough or vertical-project configuration instructions. [c1]
Use the following as a preparation sequence, with the actual controls verified for your Filmora installation:
- Record your Filmora version and platform. Use these details when checking instructions for project setup and import.
- Confirm the intended project framing. Resolve the project configuration before evaluating composition.
- Import the selected footage. Begin with a representative clip to inspect the preview, then bring in the remaining selections.
- Review every shot in the intended frame. Check both the start and end of moving shots; a subject visible initially may leave the composition later.
- Flag framing problems. Decide whether a shot needs a crop or position adjustment, a shorter usable section, or replacement footage.
These are composition decisions, not verified Filmora crop-control instructions. Do not assume a shot is ready merely because its subject is centered in one still frame.
Completion checkpoint: The preview has the intended framing, and each selected shot either preserves its important details or has a specific correction noted.
3. Build the Rough Cut Before Adding Style
Arrange the clips into the planned opening, development, and ending. At this stage, judge the sequence rather than its color.
Make a Cut-By-Cut Decision
For each clip:
- Identify where the useful action or information begins.
- Identify where its contribution ends.
- Mark unnecessary lead-in, repetition, or trailing pauses for removal.
- Check how it connects to the next shot.
- Play the sequence again after each substantial change.
This gives you a trimming plan to carry out with the appropriate timeline controls; the source does not establish menu paths or shortcuts for arranging, splitting, or trimming clips.
Choose pacing to suit the material. The reference suggests slow, deliberate movement and minimal cutting for dramatic window-lit storytelling. For energetic B-roll, it discusses quick cuts, whip pans, zooms, and match cuts. Neither approach is a requirement for every Short. [c1]
For tracking footage that needs stabilization, the reference places that adjustment before its suggested color treatment and treats speed changes as optional. Review the movement before grading so that the subject and route through the frame remain understandable. [c1]
Rough-Cut Checklist
- Does the opening establish the subject?
- Does each shot add information, action, or a useful change in perspective?
- Are repetitions or pauses intentional?
- Do transitions help the sequence rather than distract from it?
- Does the ending complete the idea?
- Are movement adjustments necessary, or can the original motion remain?
Completion checkpoint: The sequence communicates its intended idea without depending on filters or decorative effects.
4. Review Sound and On-Screen Text
Make separate listening and reading passes. These are editorial checks; the verified software procedures still depend on your installation.
Sound Pass
- Listen without watching the picture.
- Mark any words or sounds essential to the message that are difficult to understand.
- Note where music or other sound distracts from that message.
- If the edit intentionally follows a soundtrack, check each planned beat alignment.
The reference gives a specific example of dividing a time-lapse into segments and aligning those segments with soundtrack beats. Use this selectively when the footage and music suit that structure; not every cut needs to land on a beat. [c1]
Text Pass
- Watch with sound muted.
- Check that essential text is readable without relying on the soundtrack.
- Mark phrases that disappear before they can be read.
- Check wording and, where applicable, whether captions match the spoken message.
- Identify text that covers faces or important action.
The reference recommends minimal, clean graphics in its studio example. That is a styling suggestion, not a documented procedure for adding titles or captions. [c1]
Correction Record
| Issue | Correction to resolve | Review after correction |
|---|---|---|
| Important speech is difficult to understand | Identify the audio adjustment needed | Listen again without watching |
| Text disappears too quickly | Revise its wording or visible duration | Read it during normal playback |
| Text covers the subject | Revise placement or the shot composition | Check the full shot |
| A planned cut misses the music beat | Revisit the cut timing | Play the surrounding sequence |
Completion checkpoint: The message is understandable, essential text is readable, and any remaining audio or text corrections are recorded.
5. Test Color on Representative Clips
Use one representative clip from each lighting group before applying a treatment more broadly. The reference describes comparing treatments on vertical footage before committing. [c1]
Color-Test Sequence
- Establish subject exposure. For dialogue footage, begin by balancing exposure for the face.
- Compare the untreated and treated image. Judge what the treatment changes, not just its name.
- Inspect highlights. Check lamps, signs, windows, and reflections for distracting brightness or lost detail.
- Inspect shadows. Check whether dark clothing and important background details remain visible.
- Review skin tones and color balance. Look for changes that distract from the subject.
- Compare adjacent shots. Decide whether the treatment remains appropriate as the lighting or camera angle changes.
The reference describes balancing facial exposure before applying its dialogue treatment, then lowering distracting highlights if needed. It also discusses white balance, HSL, and curves as refinement tools; it does not establish where those controls appear in every Filmora platform or edition. [c1]
Optional Examples from the Reference
Soft Dialogue Cinema, Neon Noir Streets, and Smooth Travel Tracking are example names in the c1 source article for indoor dialogue, night-city footage, and tracking shots respectively. They are not a confirmed preset inventory for your installation. Finding those names is not a required workflow step. [c1]
If a named treatment is unavailable, continue using the exposure, highlight, shadow, and consistency checks above rather than assuming another preset is equivalent.
Reuse with a Shot-By-Shot Check
The reference discusses saving filter-and-adjustment combinations and reusing them on similarly lit footage. Use the tested clip as a visual reference, then review every recipient shot; identical settings do not by themselves establish a visual match. [c1]
Completion checkpoint: Important details remain visible, the treatment supports the subject, and neighboring shots do not show unintended color changes.
6. Review the Complete Edit on a Phone
Play the assembled Short from beginning to end. Review framing, pacing, sound, text, and color together rather than treating each successful individual pass as proof that the whole edit works.
The reference explicitly recommends checking graded footage on a physical phone for brightness and contrast. It also presents gentle vignettes, grain, and blur as optional texture effects rather than essential steps. [c1]
Final Review Checklist
- The subject and important details remain visible throughout moving shots.
- Every shot contributes to the sequence.
- Cuts and transitions do not interrupt understanding.
- The intended spoken or written message is understandable.
- Text wording, placement, and timing have been reviewed.
- Brightness and contrast have been checked on a physical phone.
- Optional effects do not obscure useful detail.
- Any problem discovered during this review has been corrected and checked again.
The reference suggests keeping heavily graded Shorts under 30 seconds as a creative choice. That recommendation is not evidence of a YouTube duration limit or eligibility rule. [c1]
Completion checkpoint: The edit passes a full playback review, with no unresolved editorial corrections.
7. Resolve Export and Upload Details Before Delivery
The supplied source does not establish a video export preset, resolution, frame rate, codec, watermark conditions, or current YouTube Shorts eligibility requirements. Its mention of exporting color adjustments as a LUT does not resolve video delivery settings. [c1]
Keep delivery verification separate from creative decisions:
| Item to verify | What to record |
|---|---|
| Filmora installation | Version and platform |
| Project setup | Framing and other settings actually used |
| Video export | Settings supported by applicable Filmora instructions |
| Export conditions | Any watermark or other restrictions relevant to the installation |
| YouTube upload | Current Shorts eligibility and upload requirements |
| Output review | Whether the exported file preserves the intended picture, sound, and text |
Do not treat “vertical,” a cinematic filter, or the source’s under-30-second suggestion as proof that a file meets current upload requirements. Resolve the software and platform details before considering delivery complete.
Completion checkpoint: Applicable export and upload requirements have been verified, the chosen settings have been recorded, and the resulting video has been reviewed.
FAQ
What Order Should I Follow for a Filmora YouTube Short?
Plan and select footage, verify project framing, import clips, build the rough cut, review movement, check sound and text, refine color, and perform a phone review. The reference supports selected techniques within that sequence, particularly stabilization before the tracking treatment, color testing, and phone-screen review. [c1]
How Should I Set up a Vertical Project in Filmora?
Verify the project-setting procedure for your Filmora version and platform. The supplied reference discusses vertical footage and previews, but it does not document the project-configuration controls or establish export dimensions. Check composition in the intended frame before assembling the full edit. [c1]
Do I Need the Named Filters or a Separate Lut Pack?
The reference presents filters as an alternative to a complex LUT workflow. Its named treatments are examples, not proof of availability in your installation. Use subject visibility, highlights, shadows, skin tones, and shot-to-shot consistency to evaluate any treatment you test. [c1]
Which Filmora Export Settings Should I Use for YouTube Shorts?
No specific video export settings are established by the supplied reference. Verify the procedure for your Filmora installation and the current YouTube requirements, then record the settings and review the exported file. The source cannot support a particular resolution, frame rate, codec, or export preset. [c1]
Must a YouTube Short Be Under 30 Seconds?
That requirement is not established here. The reference’s under-30-second recommendation concerns the creative effect of a heavy cinematic grade, not YouTube Shorts eligibility. [c1]