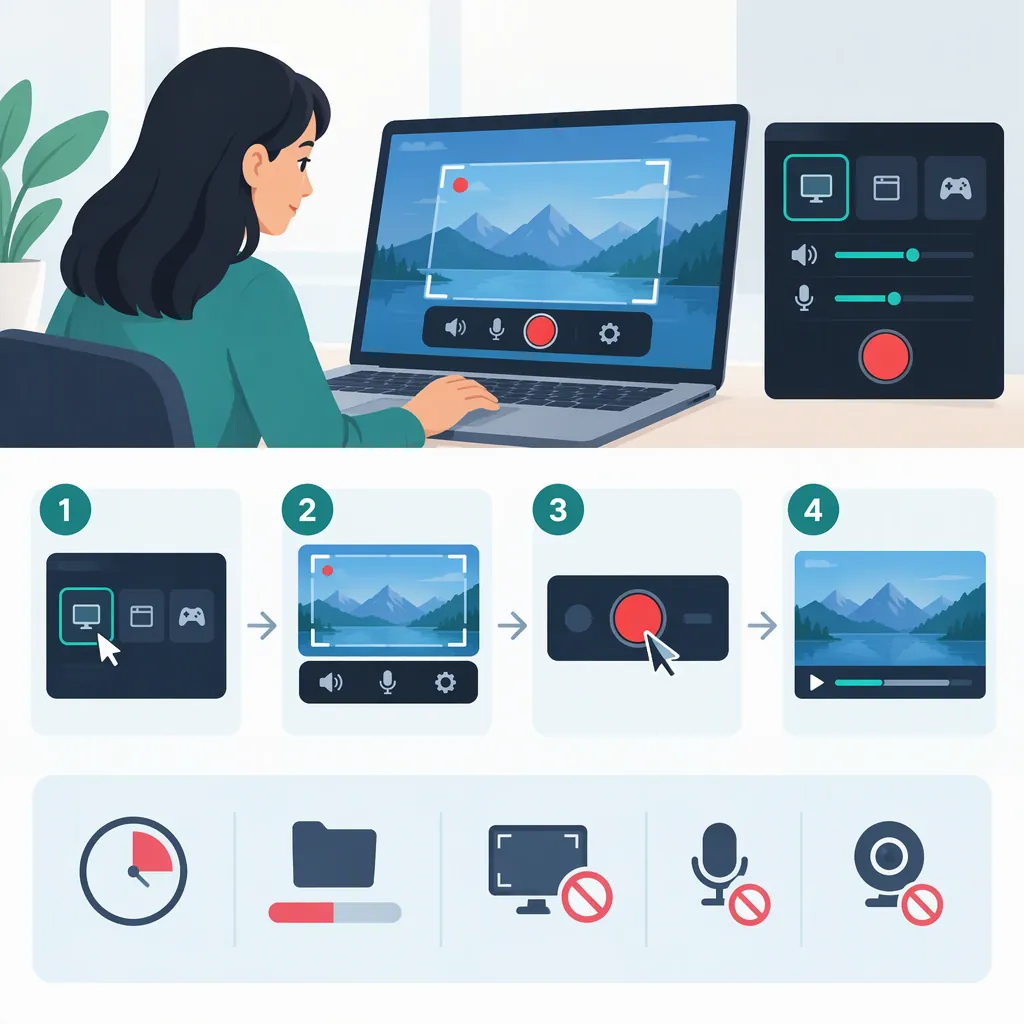
How to Use Filmora Screen Recorder
To record your screen in Filmora on Windows, open File > Record Media > Record PC Screen, choose Area, Full, or Window capture, and enable the microphone, system audio, or camera as needed. Review the recorder settings, click Start Recording, then stop and review the footage in Filmora before exporting. These steps follow the supplied Windows guide; older versions use different labels and controls. [c2] [c3]
Open the Filmora Screen Recorder
The supplied Windows guide describes three ways to open the recorder: [c2]
- Select Screen Recorder from Filmora’s startup window.
- In the editing interface, choose File > Record Media > Record PC Screen.
- Open Media, expand the Record menu, and select Record PC Screen.
The screen-recorder overview also lists Toolbox > Screen Recorder as an entry point. Use the route available in your installed interface rather than expecting every version to show the same menus. The older Filmora 9 and 10 guide instead begins with Create New Project, followed by Record > Record PC Screen. [c1] [c3]
The detailed steps below follow the supplied Windows guide. They are not a verified Mac walkthrough.
Choose the Capture Area
Choose the recording mode before starting: [c2]
| Mode in the Windows Guide | What to Select |
|---|---|
| Area | Drag the boundary around the portion of the screen you want to capture. |
| Full | Select the display you want to record in full. |
| Window | Move the cursor over the available windows and select the application window. |
For a focused demonstration, consider Area or Window rather than including an unrelated desktop. Before recording, inspect the selected region for private messages, account details, or other material you do not intend to share.
If your interface shows Custom or Target Window, those labels appear in the older Filmora 9 and 10 guide. That guide lists Full Screen, Custom, and Target Window as its three recording choices. [c3]
Set Audio, Camera, and Recording Controls
In the Windows guide, Microphone, System Audio, and Camera are separate controls to enable as needed. The recorder settings include frame rate, recording quality, countdown, and mouse effects. When the camera is enabled, the guide describes choosing its display style and resolution, then resizing or repositioning the overlay. [c2]
For narration, select the microphone you intend to use. For a demonstration that needs application sound, enable system audio as well. Leave unnecessary sources off, and make a short test recording before committing to a longer session.
The following checklist is a suggested preparation routine, not a guarantee of recording quality.
Filmora Pre-Recording Checklist
- Confirm the selected Area, Full, or Window capture.
- Remove private information from the visible content.
- Enable only the microphone, system audio, and camera sources you need.
- Review recording quality, frame rate, countdown, and mouse effects.
- Check the stop control or configured shortcut in your version.
- Make a short test with speech and any required application sound.
- Play back the test and check framing, readability, and audio before the main recording.
Record, Review, and Export
After selecting sources and settings, click Start Recording. The supplied Windows guide describes an annotation toolbar for drawing, highlighting, adding text, and inserting shapes during capture. It also documents Add Marker under Settings > Shortcut key, with M as the default shortcut. Confirm that setting in your installation before relying on it. [c2]
Stop the recording when finished. According to the Windows guide, Filmora brings the captured content into the editing workspace, where you can preview and edit it before clicking Export. Review the beginning and end, remove unwanted material, and check that the required audio is present. [c2]
Do not assume F9 is the stop shortcut in every version. The supplied Filmora 9 and 10 guide specifically documents F9 or a customized Start/Stop hotkey, and says the recording is placed in the media library. [c3]
Check Platform and Trial Limits
The supplied screen-recorder overview says the recorder works on Windows and Mac, but identifies Game Recording and the built-in teleprompter as Windows-only features. The Windows guide provides a separate Game Recording workflow; ordinary screen recording and dedicated game capture should not be treated as identical modes. [c1] [c2]
For exports, the overview’s FAQ says trial-version videos include a watermark. Although other wording on that page mentions sharing without watermarks, the trial-specific FAQ gives an explicit restriction. Do not assume a trial export will be watermark-free. [c1]
These instructions summarize the supplied documentation, not hands-on testing. They do not establish capture performance on your computer, compatibility with every game, or identical controls across versions.
FAQ
Can Filmora Record the Screen, Webcam, and Audio Together?
The supplied Windows guide documents enabling the screen, camera, microphone, and system audio during the same session. Select only the sources you need and check them with a short test recording. [c2]
How Do I Record Only One Application Window?
In the supplied Windows workflow, choose Window recording, move the cursor over the available windows, and select the application you want to capture. The older Filmora 9 and 10 guide calls this mode Target Window. [c2] [c3]
Is the Filmora Screen Recorder Trial Watermark-Free?
The supplied screen-recorder overview’s FAQ says trial-version exported videos include a watermark. Do not interpret access to a recording trial as a promise of watermark-free export. [c1]
Do These Windows Instructions Also Apply to Mac?
The supplied overview says Filmora Screen Recorder works on Mac, but the detailed workflow used here comes from the Windows guide. It does not establish identical Mac menu paths. The overview also says Game Recording and the teleprompter are Windows-only. [c1] [c2]